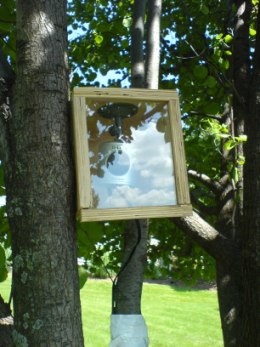
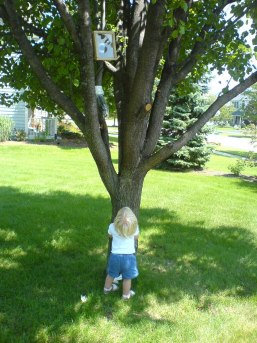
Here’s my first post of the developing construction process time-lapse video. I started with a single camera mounted in a tree facing the back of the addition. It worked, but was a bit tighter of a shot than I would have preferred. I kept the camera here through the foundation dig and pour and the first day of carpentry. At that point, it became clear that sometime the following day they would be erecting the back wall, effectively blocking out all further (interesting) imagery.

My main dilemma was that I only had a single camera and wasn’t quite sure when the workers would be erecting that back wall. Would it be the first wall they put up or the last? I thought I would purchase a second camera and quickly install it…but was unable to locate a single retailer in my area who stocks the DLink DCS-G900.
So, I made an “executive decision” and moved the camera to a roof-mounted position. This turned out to be a rather poor idea. First off, I quickly discovered it wasn’t far enough away to capture the entire site. However, it was now closing in on 8:00PM – too late to turn back, so I quickly set about aiming and focusing it. This was rather tricky as I was basically hanging off a ladder manipulating the focus ring on the camera lens while my wife was directing me from the addition floor with my notebook on her lap. Being a rather inexpensive (cheap!) camera, it has extremely poor low-light performance and by this time the sun was long gone…so getting an accurate focus was simply not possible. Spot lights only served to create “hot” areas in the video which didn’t help at all. I basically turned the focus ring until we thought it might be acceptable and crossed our fingers.

Thankfully it wasn’t as bad as it could have been. It wasn’t very good either…but I did manage to edit together a short snip of video to insert into this point in the time-lapse.The following evening — beginning at 6:00pm to ensure I didn’t once again run out of daylight — I decided to follow my wife’s day-earlier suggestion and mounted the camera to a tree just across the sidewalk roughly 35′ away. Why I don’t simply take my wife’s advice at all times I’ll never know. The distance proved a bit much for my WiFi, but a quick stop to tigerdirect to buy a 7db gain antenna solved that problem quite nicely. It was installed and focused well before the sun went down and I was able to help put the kids to bed!
The position is nearly perfect so I plan to keep this camera there for the remainder of the build. Of course, this camera is unable to capture any of the interior of the project — so I naturally needed to purchase a second one.
This unit is currently mounted in the garage, ready for the crew to break through the back wall. I’d love to put it inside the addition, but there really doesn’t appear to be a place that would provide both a reasonable field of view and still be guaranteed to be out of the way of the workers. Since I’m not present to move the camera while they work, I can’t afford to mis-place as I’m not prepared to pick up the smashed pieces of a camera later that evening!

