Original Rogue RA-90 fresh from the box
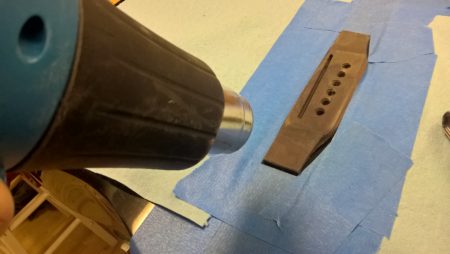
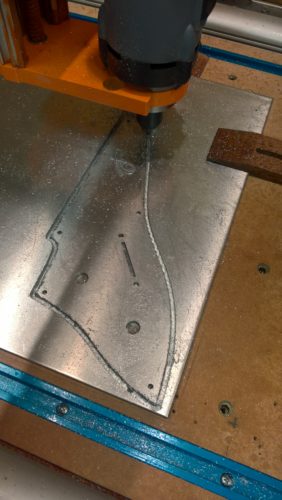
Removing the bridge with a heat gun

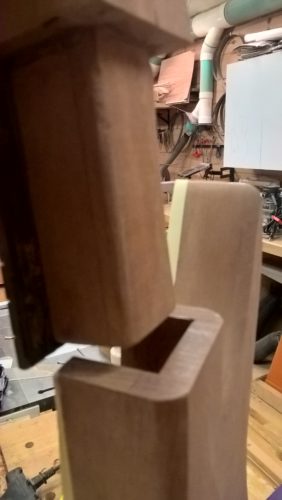
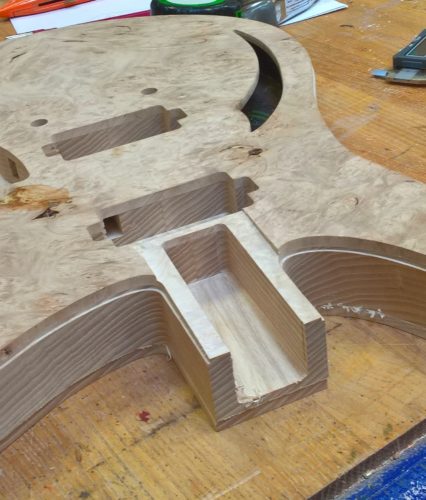
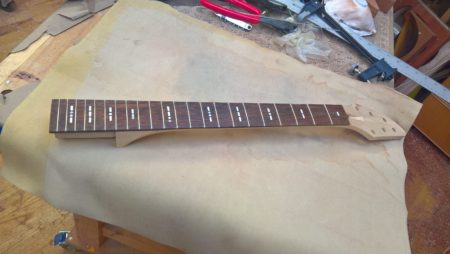
Bridge off

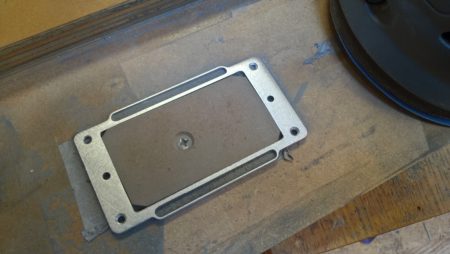
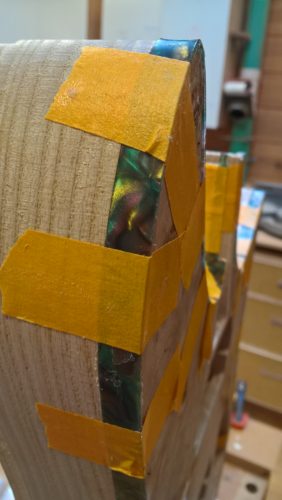
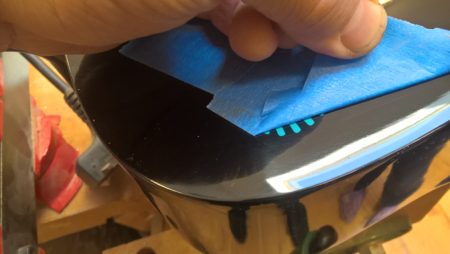
Preparing to transfer the vinyl logo to the guitar body
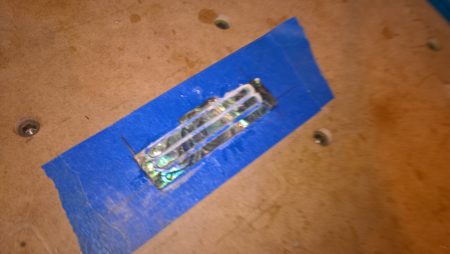
Completing the transfer
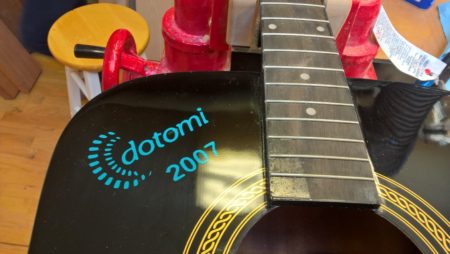
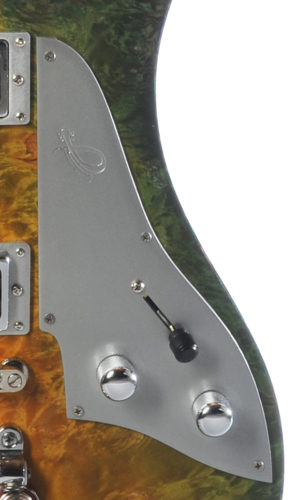
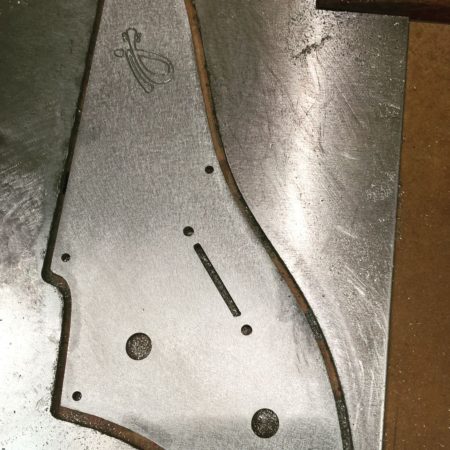
The finished logo transferred to the body
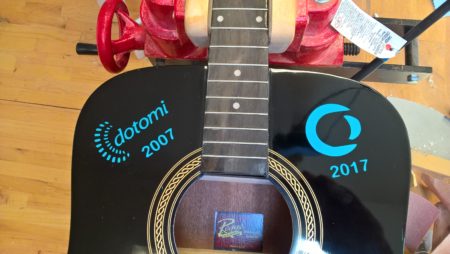
He actually retires in 2018…unfortunately I caught this goof after paint (but was able to fix well enough)

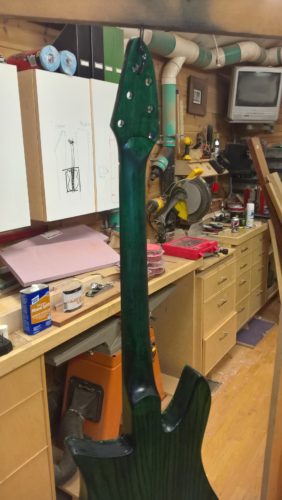
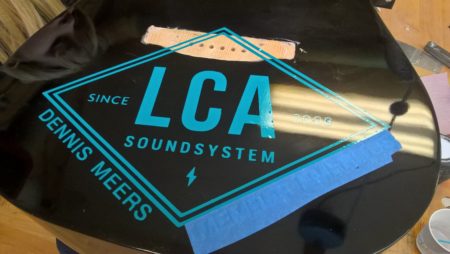
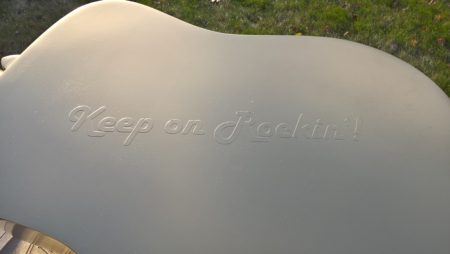
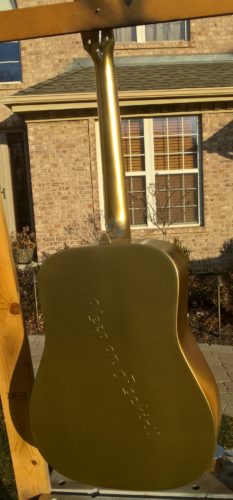
Special message for back
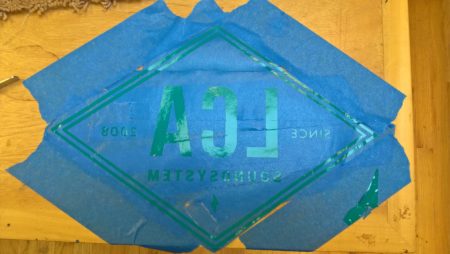
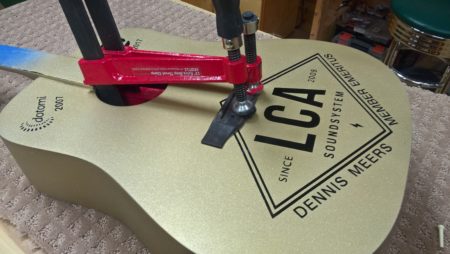
Transferring the large and fairly detailed band logo
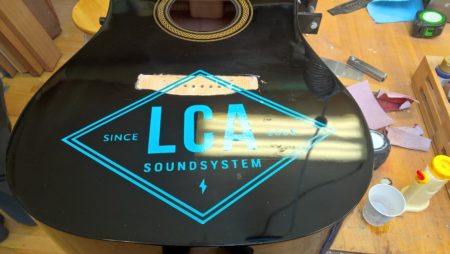
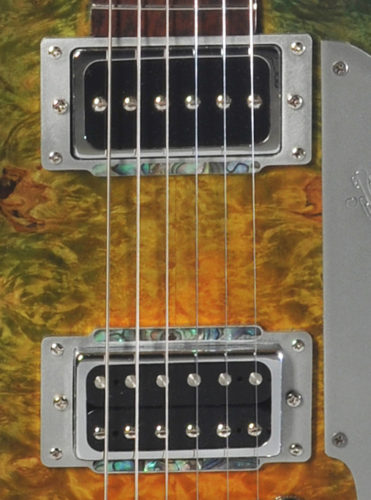
The LCA logo placed – it came out just great.
Adding some lettering to the logo
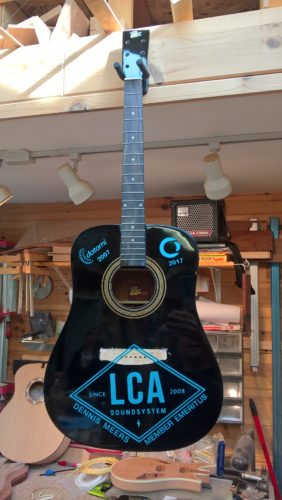
Vinyl decals applied
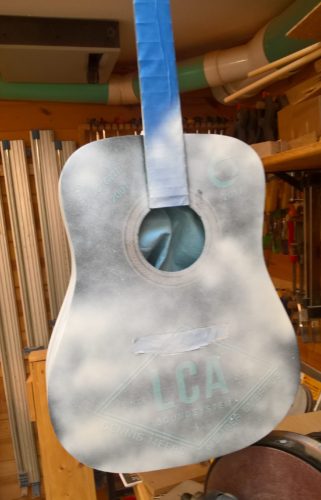
First primer coat
First layer of gold metallic applied
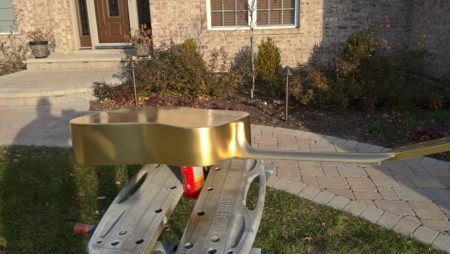
Lookin’ good in gold
Beautiful day for painting a guitar outdoors
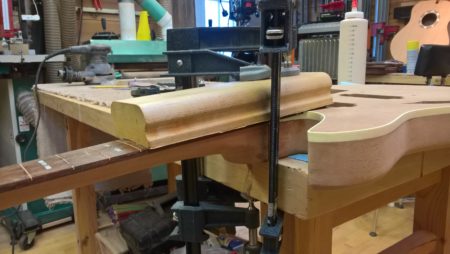
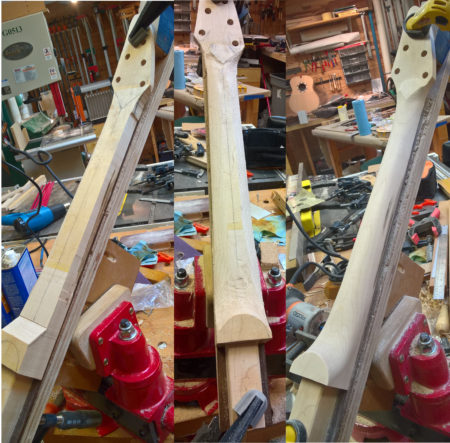
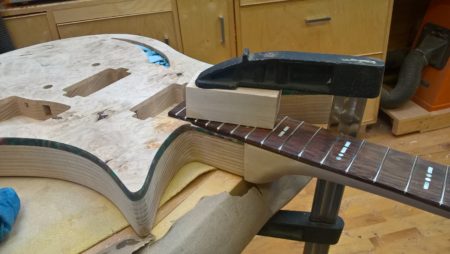
Regluing the bridge

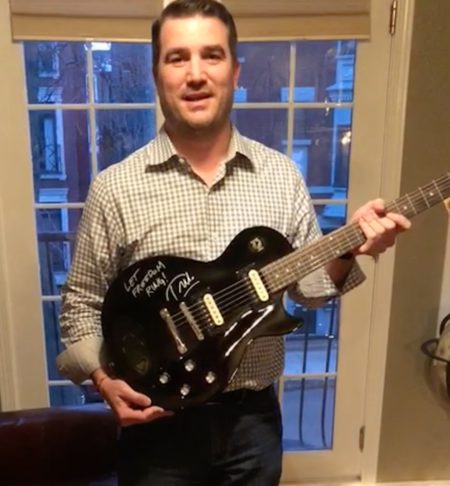
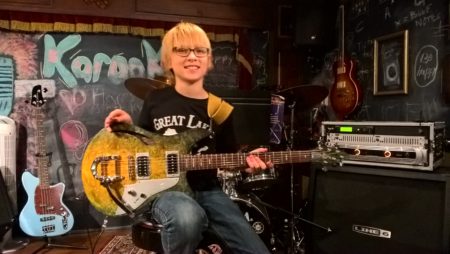
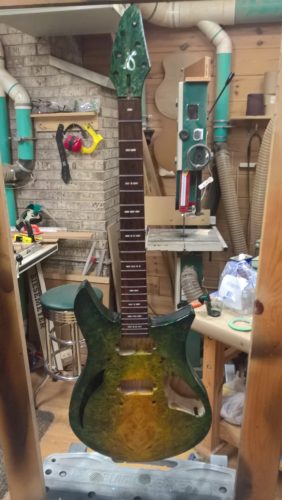
The finsihed guitar
I have the best job ever.
In my job at Conversant not only do I get to work with some of the brightest folks in ad tech and software engineering, I also get to help organize the company band and emcee a gig at the Chicago House of Blues at the end of each year. It’s a dream gig for a software engineer/musician/luthier/recovering-actor (in no particular order).
This year’s party was to be our 10th season and hopefully the best yet. One bittersweet note, however, was that one of our own would be retiring in the early part of 2018. He’s been with the company for the past 10 years and has played acoustic and sang in the band for the previous 3.
We would need to give him a proper LCA Soundsystem (for ‘low cost alternative’) sendoff!
Conversant President Ric Elert had a great idea he’d borrowed from a School of Rock in his area: we’d paint a guitar gold, have the band members sign it, and present it to him on stage at the big show. Brilliant!
I volunteered to put this together. Naturally I wouldn’t want to use a nice/expensive guitar — this wasn’t to be played afterall. When a craigslist search turned up nothing appropriate, I figured I’d need to buy something new if I was to have it done on time. Fortunately Guitar Center had the perfect fit – a Rogue RA-090 Dreadnought on sale for about $55.
I figured I could use the CNC to cut out vinyl graphics to apply. However, rather than applying the vinyl to the top of the painted guitar, it would be significantly more durable to use it as a paint mask or stencil. One of the challenges I’ve discovered in working with adhesive vinyl for stenciling is that some finishes — especially newly-painted areas — will pull up with the vinyl when removed. The best approach then would be to mask off the original presumably well-cured laquer or poly factory finish with the graphics, and then paint over that with gold. Once the vinyl was removed the factory finish would appear and define the lettering.
I decided to purchase one in gloss black.
Designing the graphics
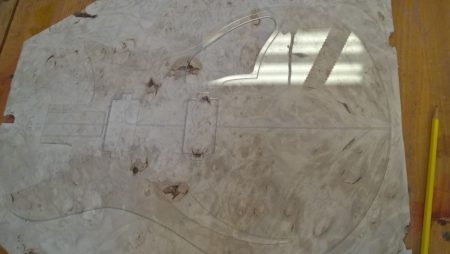
I knew two things when I started on the design – it would feature a large band logo in the lower bout, along with his name and the words “Member Emeritus.” Turning to CorelDraw, I began by importing a photo of a typical dreadnought guitar and tracing it to create a vector drawing. Comparing the drawing to the real guitar, there were some slight measurement differences between the soundhole and bridge, but they were close enough for design purposes and I’d be applying the vinyl by hand for placement, so the design just had to be close enough to allow for the look I wanted.
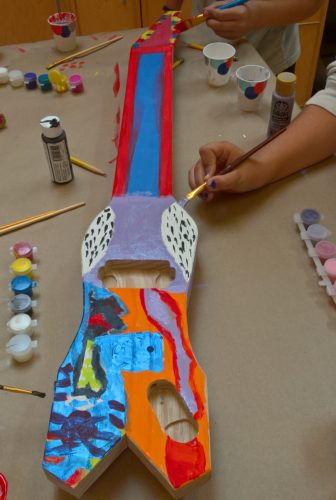
As the company had changed names twice since Dennis joined, I thought it would be fun to also include the original logo/name and year on one side of the upper bout, and the final logo and retirement year on the other. As he’s also known for his awesome Neil Young impersonation on the song “Keep on Rockin’ in the Free World,” the guitar would also feature the words “Keep on Rockin'” on the back.
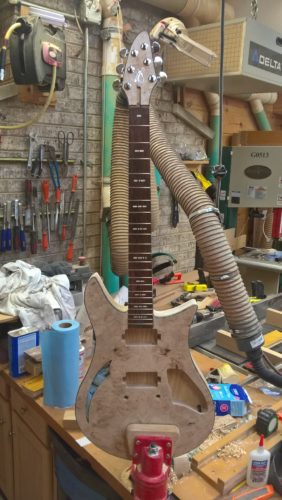
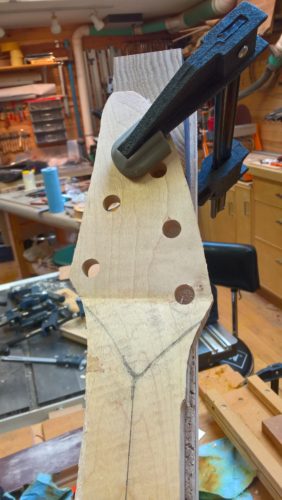
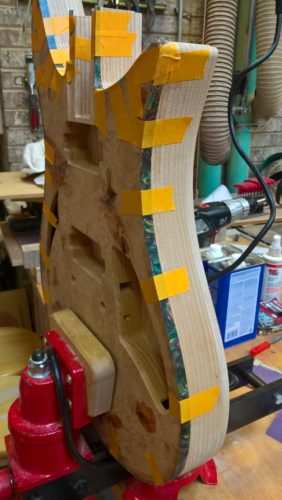
Removing the bridge
Another thing I realized early was that I would need to remove the bridge. The diamond-shaped logo would be far too small if confined to the are behind the bridge. Plus, having the graphic cross the bridge just looked cooler. It would be more difficult to cut the logo in 2 parts to try and maintain the illusion of going under the bridge rather than just removing the bridge and letting the graphic span the gap. Though I’d never removed a bridge, I’ve read about it, seen videos and presentations about it, and spoken with many professional luthiers. I knew it could be done — and what better chance would I have to try this out for the first time than a guitar that was going to be painted anyway. There was no chance I’d ruin the finish on the top. However, I also decided I would make this a learning experience and do the job as if this were a real client’s guitar that required the finish to remain pristine.
I masked off the areas around the bridge to protect from the heat and used a heat gun to heat the bridge and carefully “goo-ify” the glue. First thing I noticed was this bridge appeared to be made out of “white wood” or similar soft wood stained a rosewood brown. What can you expected for $50, right? Once the bridge felt hot enough, a feeler gauge was worked in from the end and slowly used as a wedge to separate the bridge from the body. It took some time and patience, but the bridge finally gave. I did mar the finish at one end, but not so bad as to be noticable if this were to be left unpainted. So not a bad first attempt.
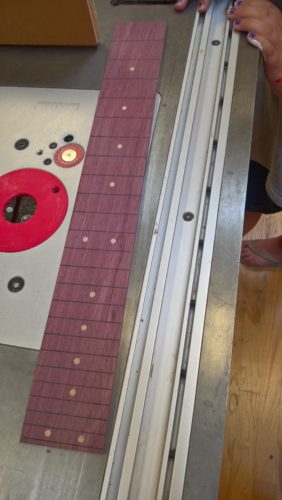
Cutting the vinyl
The vinyl sheets I have are just under 12″ square. After I was satisfied with the size and placement of the graphics on the virtual guitar, I efficiently arranged the individual components on a 12″ x 12″ square. The completed design was exported as a DXF from CorelDraw and imported into Vectric Cut2D. Vectric has an engrave option used to create a tool path for UCCNC. I installed the drag knife into the CNC, stuck a vinyl square to an adhesive Cricut pad, and cut it out. See the video at the bottom if you’re curious what this looks and sounds like.
Gilding the Rogue
The cut graphics are then transferred to the work piece using blue painter’s tape. Strips of tape — enough to cover the entire design — are carefully applied to the top of the vinyl sheet just over the part to be transferred. By slowly peeling the tape back, I’m able to lift up the cut bits, and with a little bit of help from an eXacto blade and tweezers, leave behind the stuff I don’t need. There’s generally a bit of touch up required afterward to remove unwanted small bits of vinyl like the inside of the letter’s ‘a’ or ‘o’ or other small hollow areas.
The tape holding the adhesive vinyl is then applied directly to the surface and smoothed, burnished so the vinyl adheres securely. You can then slowly peel back the painter’s tape, leaving the vinyl behind. This bit is somewhat tedious at times to ensure the right placement and good adhesion. Once the vinyl touches the surface, that’s generally that so to speak. You won’t be able to reposition without risking damaging the vinyl graphic. If you take your time, however, the process works just great.
To ensure good paint adhesion, a layer of Bullseye white spray primer was applied. Here I lucked out. Even though this was early December, we got a gift of a bright and sunny weekend with temperatures in the upper 50’s to low 60’s. It would be possible to paint this outside. Once the primer dried, I applied a couple coats of metallic gold, and then topped that with a couple layers of glitter gold to give it a nice sparkly appearance. At this point I’m very excited as the guitar is looking just beautiful in the sunlight.
The one remaining question — would the vinyl come off cleanly or would it take the paint with it along the edges?
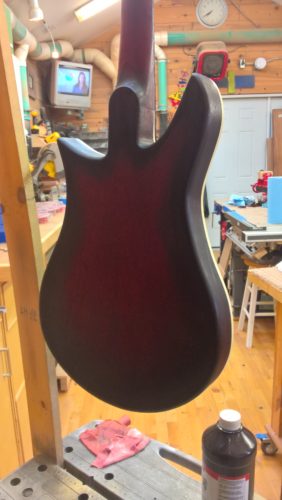
The next day the vinyl was slowly and carefully peeled back to reveal the black finish underneath. This is another tedious job requiring eXacto blades and tweezers. The main concerns were either scratching the paint surfaces and peeling up the gold along with the vinyl. Thankfully neither of these things happened. I had already tested an area of the original finish to ensure the vinyl adhesive wouldn’t pull it up, so I felt good about that. However I hadn’t been able to test pulling up vinyl under multiple layers of Rustoleum. It worked, whew!
After cleaning up any adhesive residue the vinyl left behind with denatured alcohol and a cotton swap, it was time for a couple coats of clear shellac. Again, the beautiful weather worked in my favor here and I was able to apply several layers outside in the sun. The guitar was then hung up inside the shop and allowed to cure.
Finishing it up
Once everything was sufficiently dry, the bridge was reglued, the tuners re-installed. The next day it was ready to be restrung with a fresh set of Martins (it may not be played, but I wanted it to be ‘playable’) and packed up. I’d already tested Sharpie paint markers on the finish. These worked great and dried quickly, so would be perfect for signing.
It was at this time I realized a mistake I had made. Although this was 2017, and we’d be presenting it to him in 2017, his actual retirement would be in 2018. I would need to turn the ‘7’ under the Conversant logo into an ‘8’ using a black marker. Happily this turned out just fine and isn’t immediately obvious without close inspection.
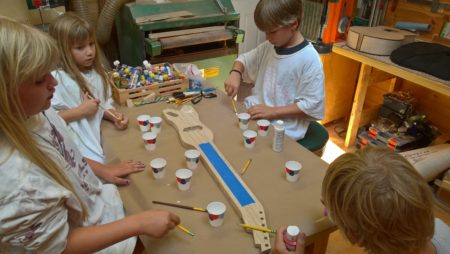
The guitar was brought into the Chicago offices and band members — past and present — were invited to sign.
Presentation
Company President Ric Elert presented the guitar to him during the intermission witnessed by a packed house of Conversant employees. Dennis says he plans to hang the guitar in his music room. And with his now “emeritus” status formally granted by the company prez, we expect him to continue to perform with the band for years to come!
We didn’t perform “Rockin’ in the Free World” again this season. But who knows, perhaps next year the LCA’s own Neil Young will once again grace the

Ric Elert (right; holding guitar) presents Dennis (left) with the completed guitar
House of Blues stage.