

An annual running joke at my company is that due to overspending on the space, food, and booze, the social committee ran out of budget for entertainment. The solution, they say, is to form an all-volunteer, all-employee band! This year was no exception.
The band, affectionately known as “LCA” or “lowest-cost alternative” has been a staple at the company winter holiday extravaganza for something like 7 years now. While discussing the band, a coworker and I got on the topic of electric guitar construction. He apparently greatly enjoys, and in fact has specific experience finishing and wiring electric guitars. Up until this point he was unaware that I was an amateur woodworker – who also had interest in guitar-making, or more formally luthiery.
So we decided to make a guitar.
One idea that stuck was an “LCA” guitar. We’d build a custom Gibson SG Junior-style guitar, paint it up in the LCA colors and logo, and play it in the company band. We could maybe have the band members sign it and raffle it off at the party, proceeds to go to charity.
Now I just needed to learn how to build an electric guitar.
Though I’d started building an acoustic already, and had read the excellent “guitarmaking” book, I knew an electric would present a different set of challenges. Especially considering we only had a month or so to complete it. First decision: purchase a neck. I knew I didn’t want to try and build my first fretboard under such tight time constraints. And since I didn’t have one to trace, I also purchased a downloadable plan for a Gibson SG.
With the plans in hand I set out to construct my first electric guitar.
Since I had some 9″ wide 8/4 poplar lying around the shop, it seemed like a good idea to start with that as the body. I’d heard that poplar had been used for some commercial electrics, so why not?

Poplar body blank cut and marked for shaping
I’d used the commercial plans to cut a template from tempered Masonite for both the body shape and the contour lines. I cut the body to rough shape and then routed it with a pattern cutting bit to final form. I really should’ve sanded it a bit closer to the line before routing, though. There was a bit of tear out at the end grain. Thankfully this is a painted guitar, so no one will notice a small bit of filler. I’ll keep this in mind for my next build that I intend to make from something a bit nicer with a natural finish.
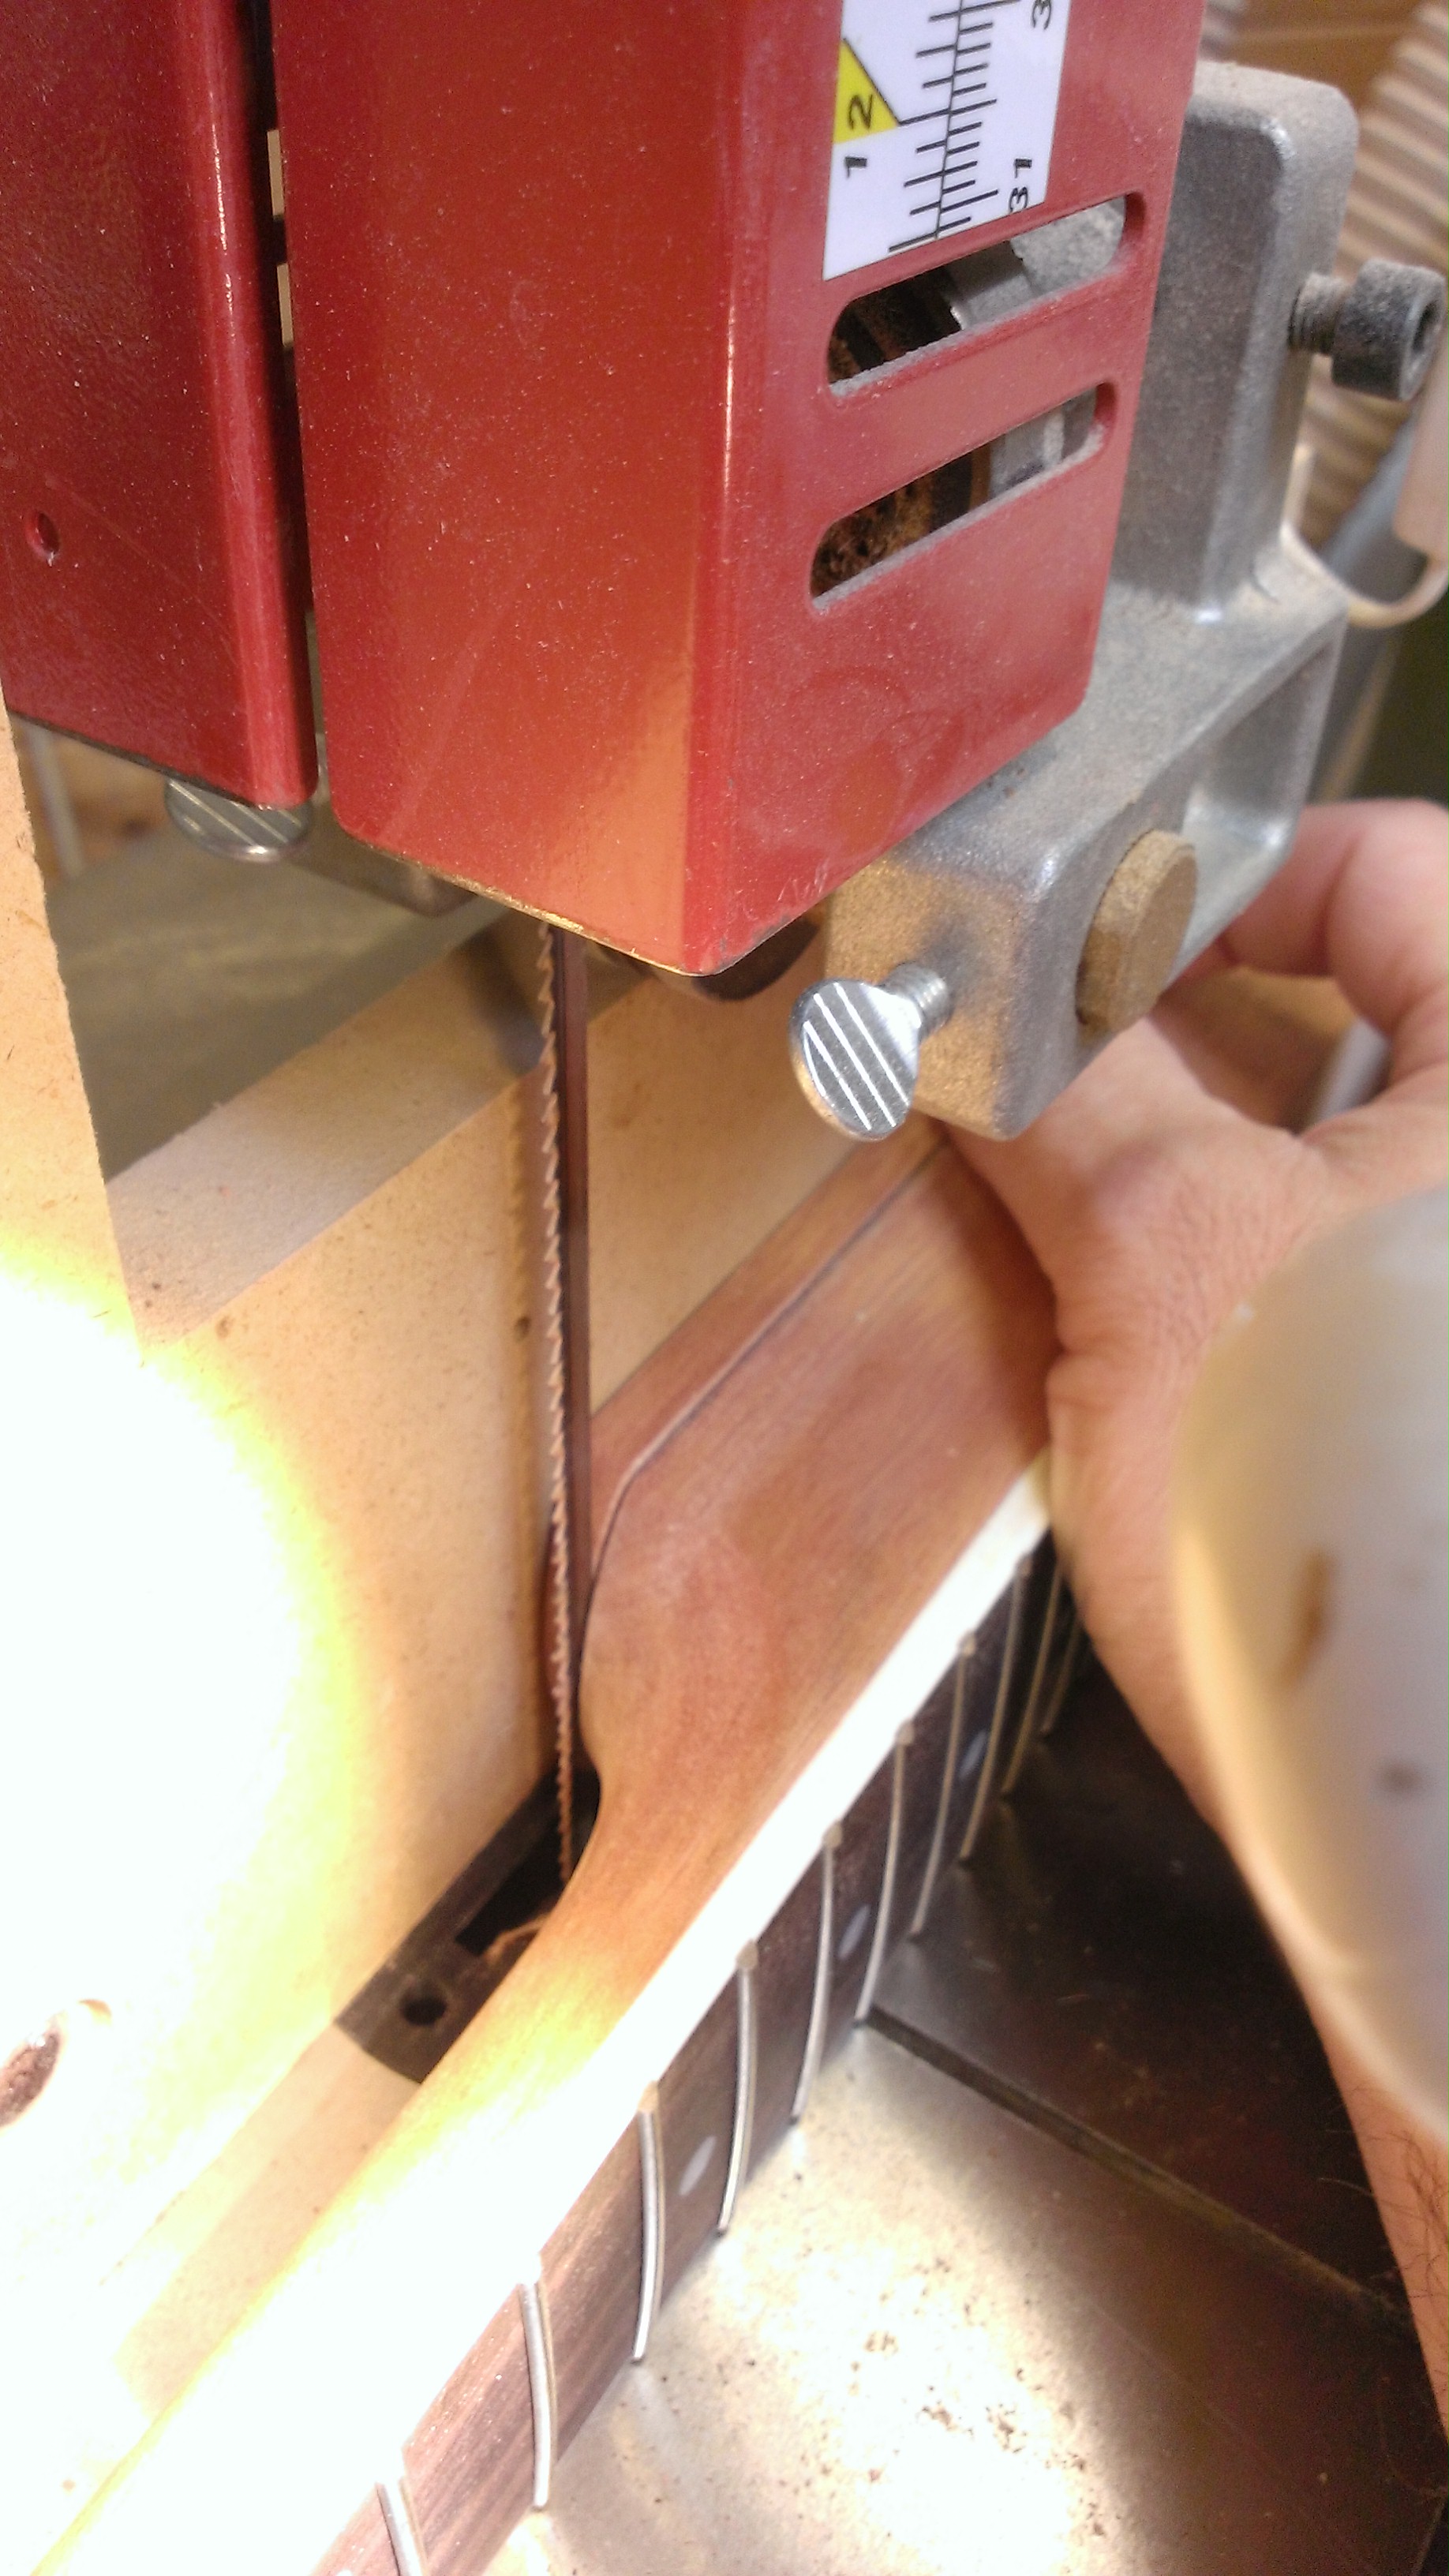
Sizing the factory-made neck to fit.
The factory-made, and I assume Chinese neck (it was only $100!) doesn’t seem half bad. The frets appear clean and level – at least as far as I have checked thus far. The real test will be when I try to intonate and then actually play the finished product, but so far I’m pleased. The heel and tenon were a bit too big for the thin SG, so I needed to do some work to finish it off. I also cut a
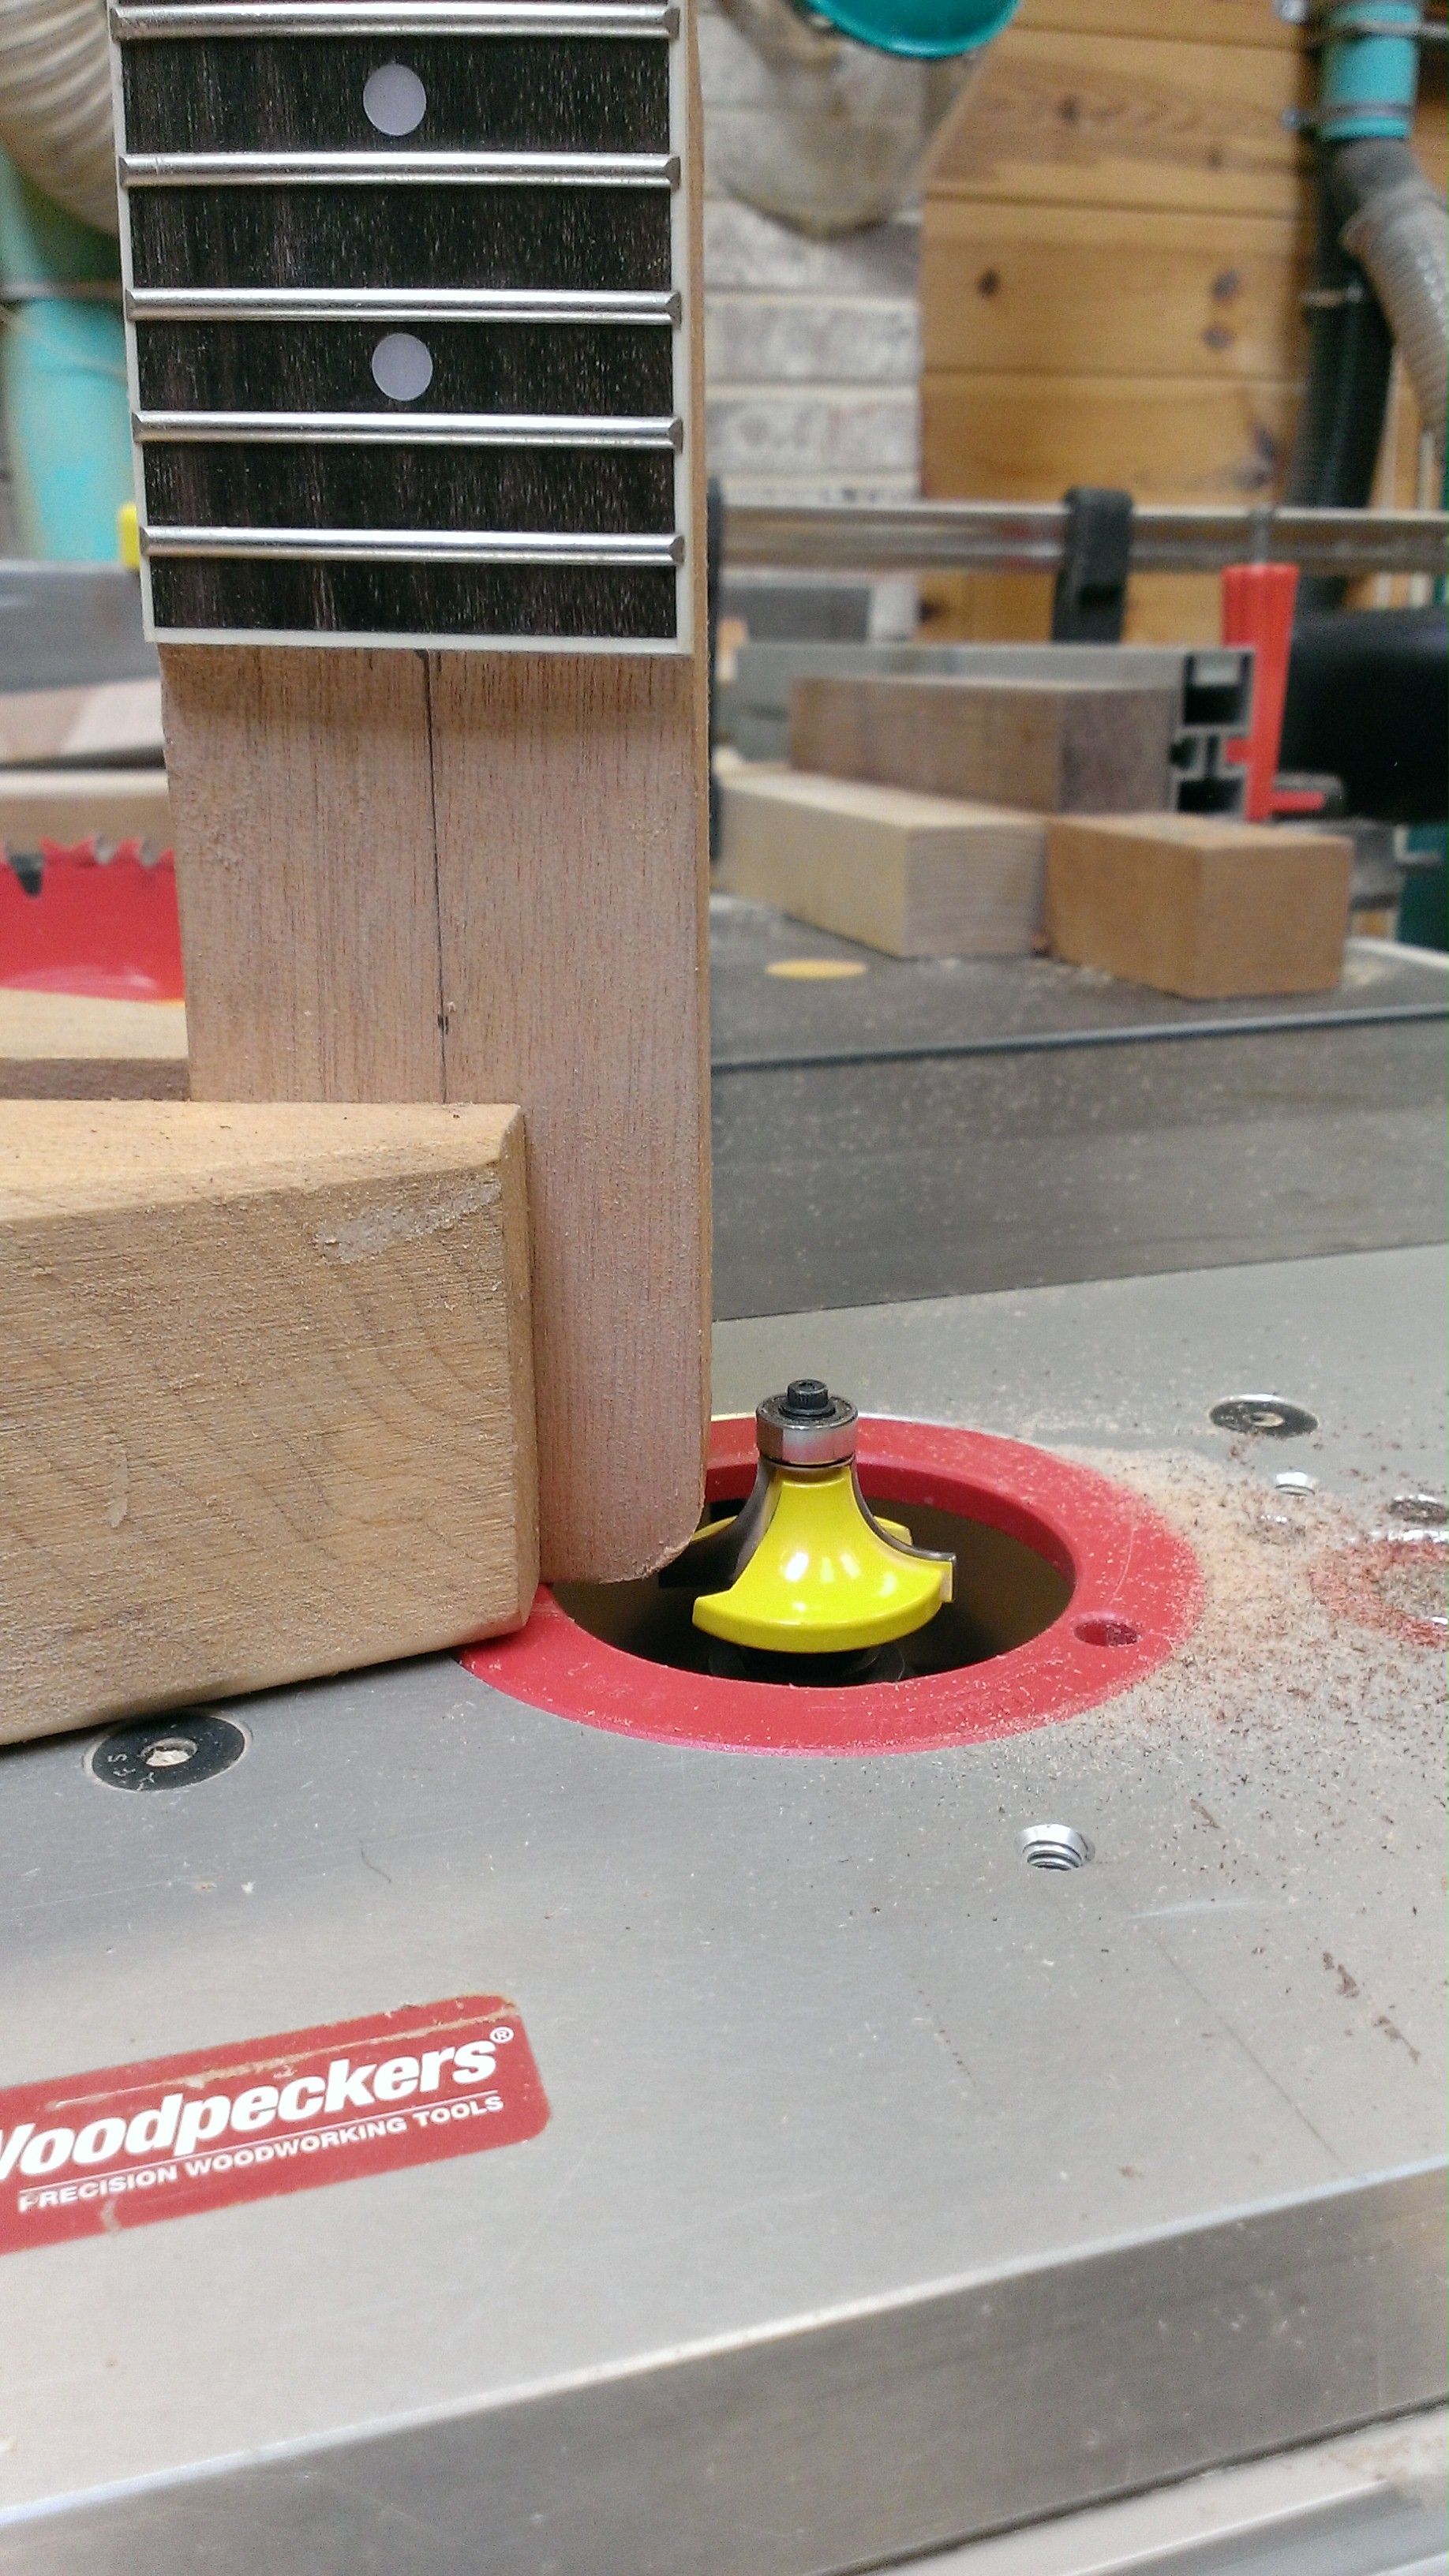
Rounding over the neck tenon to match the routed pocket
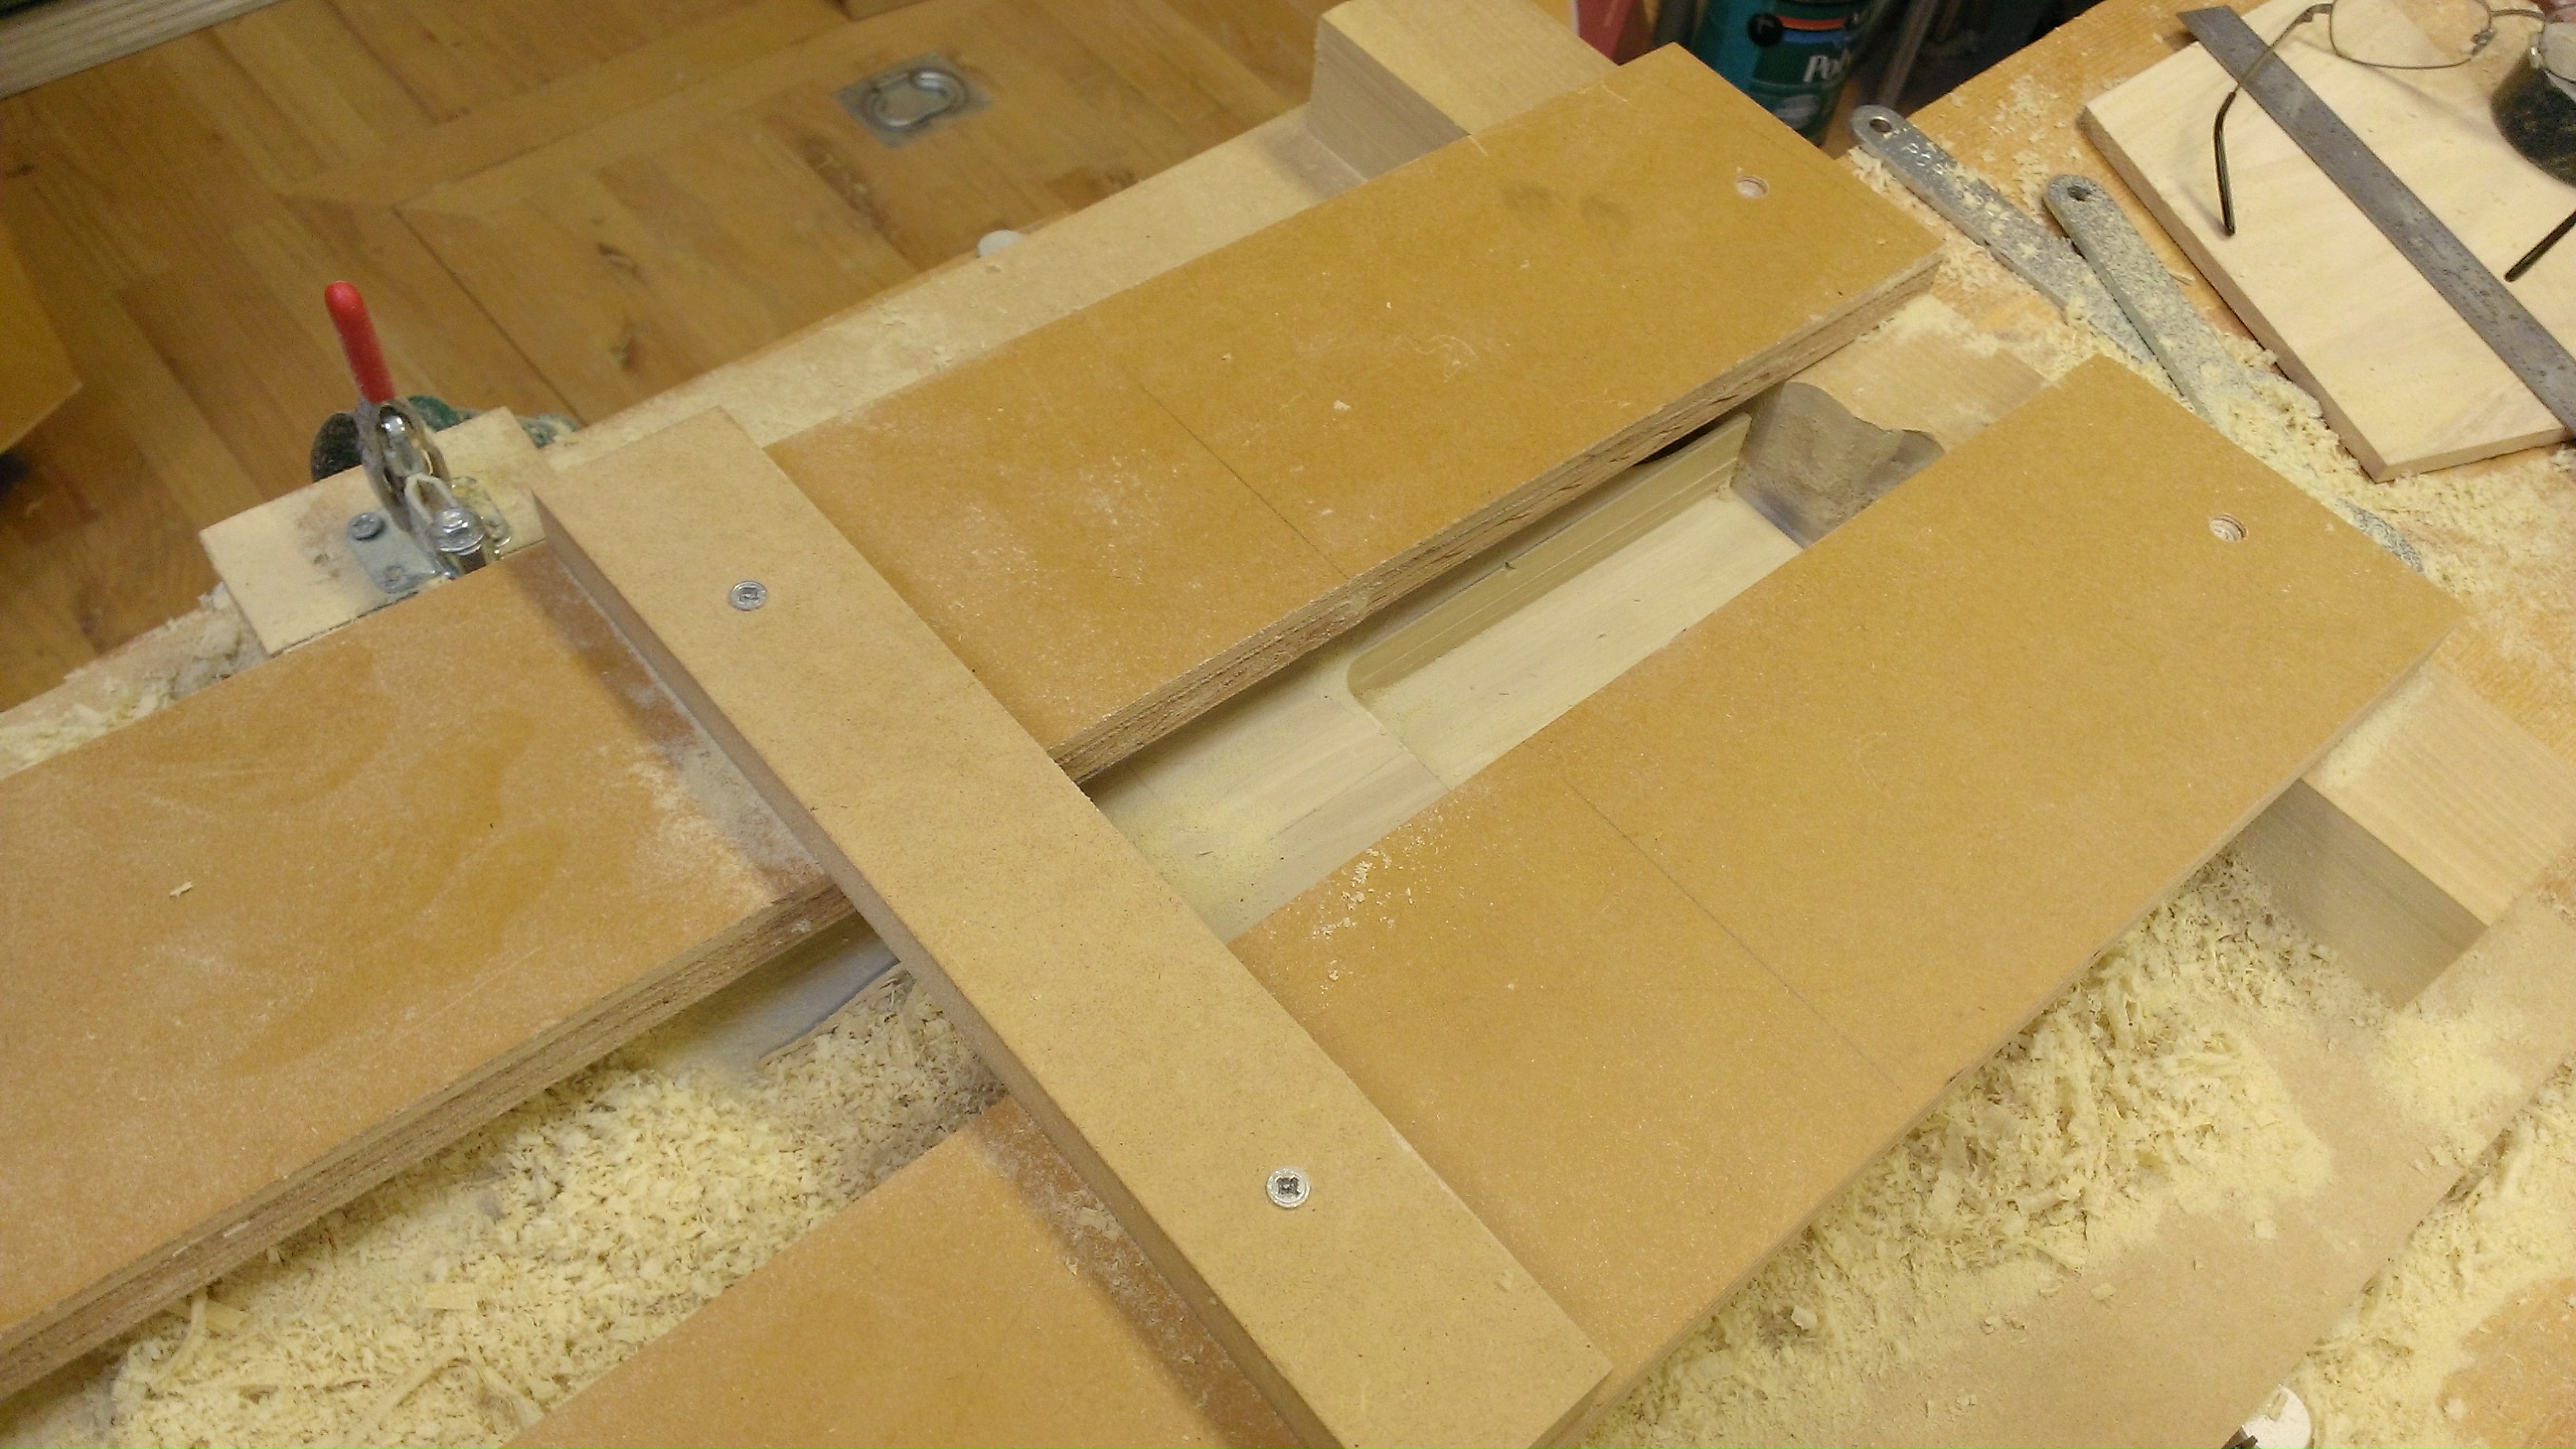
Jig for routing the 2 degree neck angle
Though I had hoped to avoid building an involved jig, I needed to go at least part of the way in order to route the 2 degree angle spec’d for a Gibson. At some point I’ll probably update this with adjustable guides, but for now this worked.
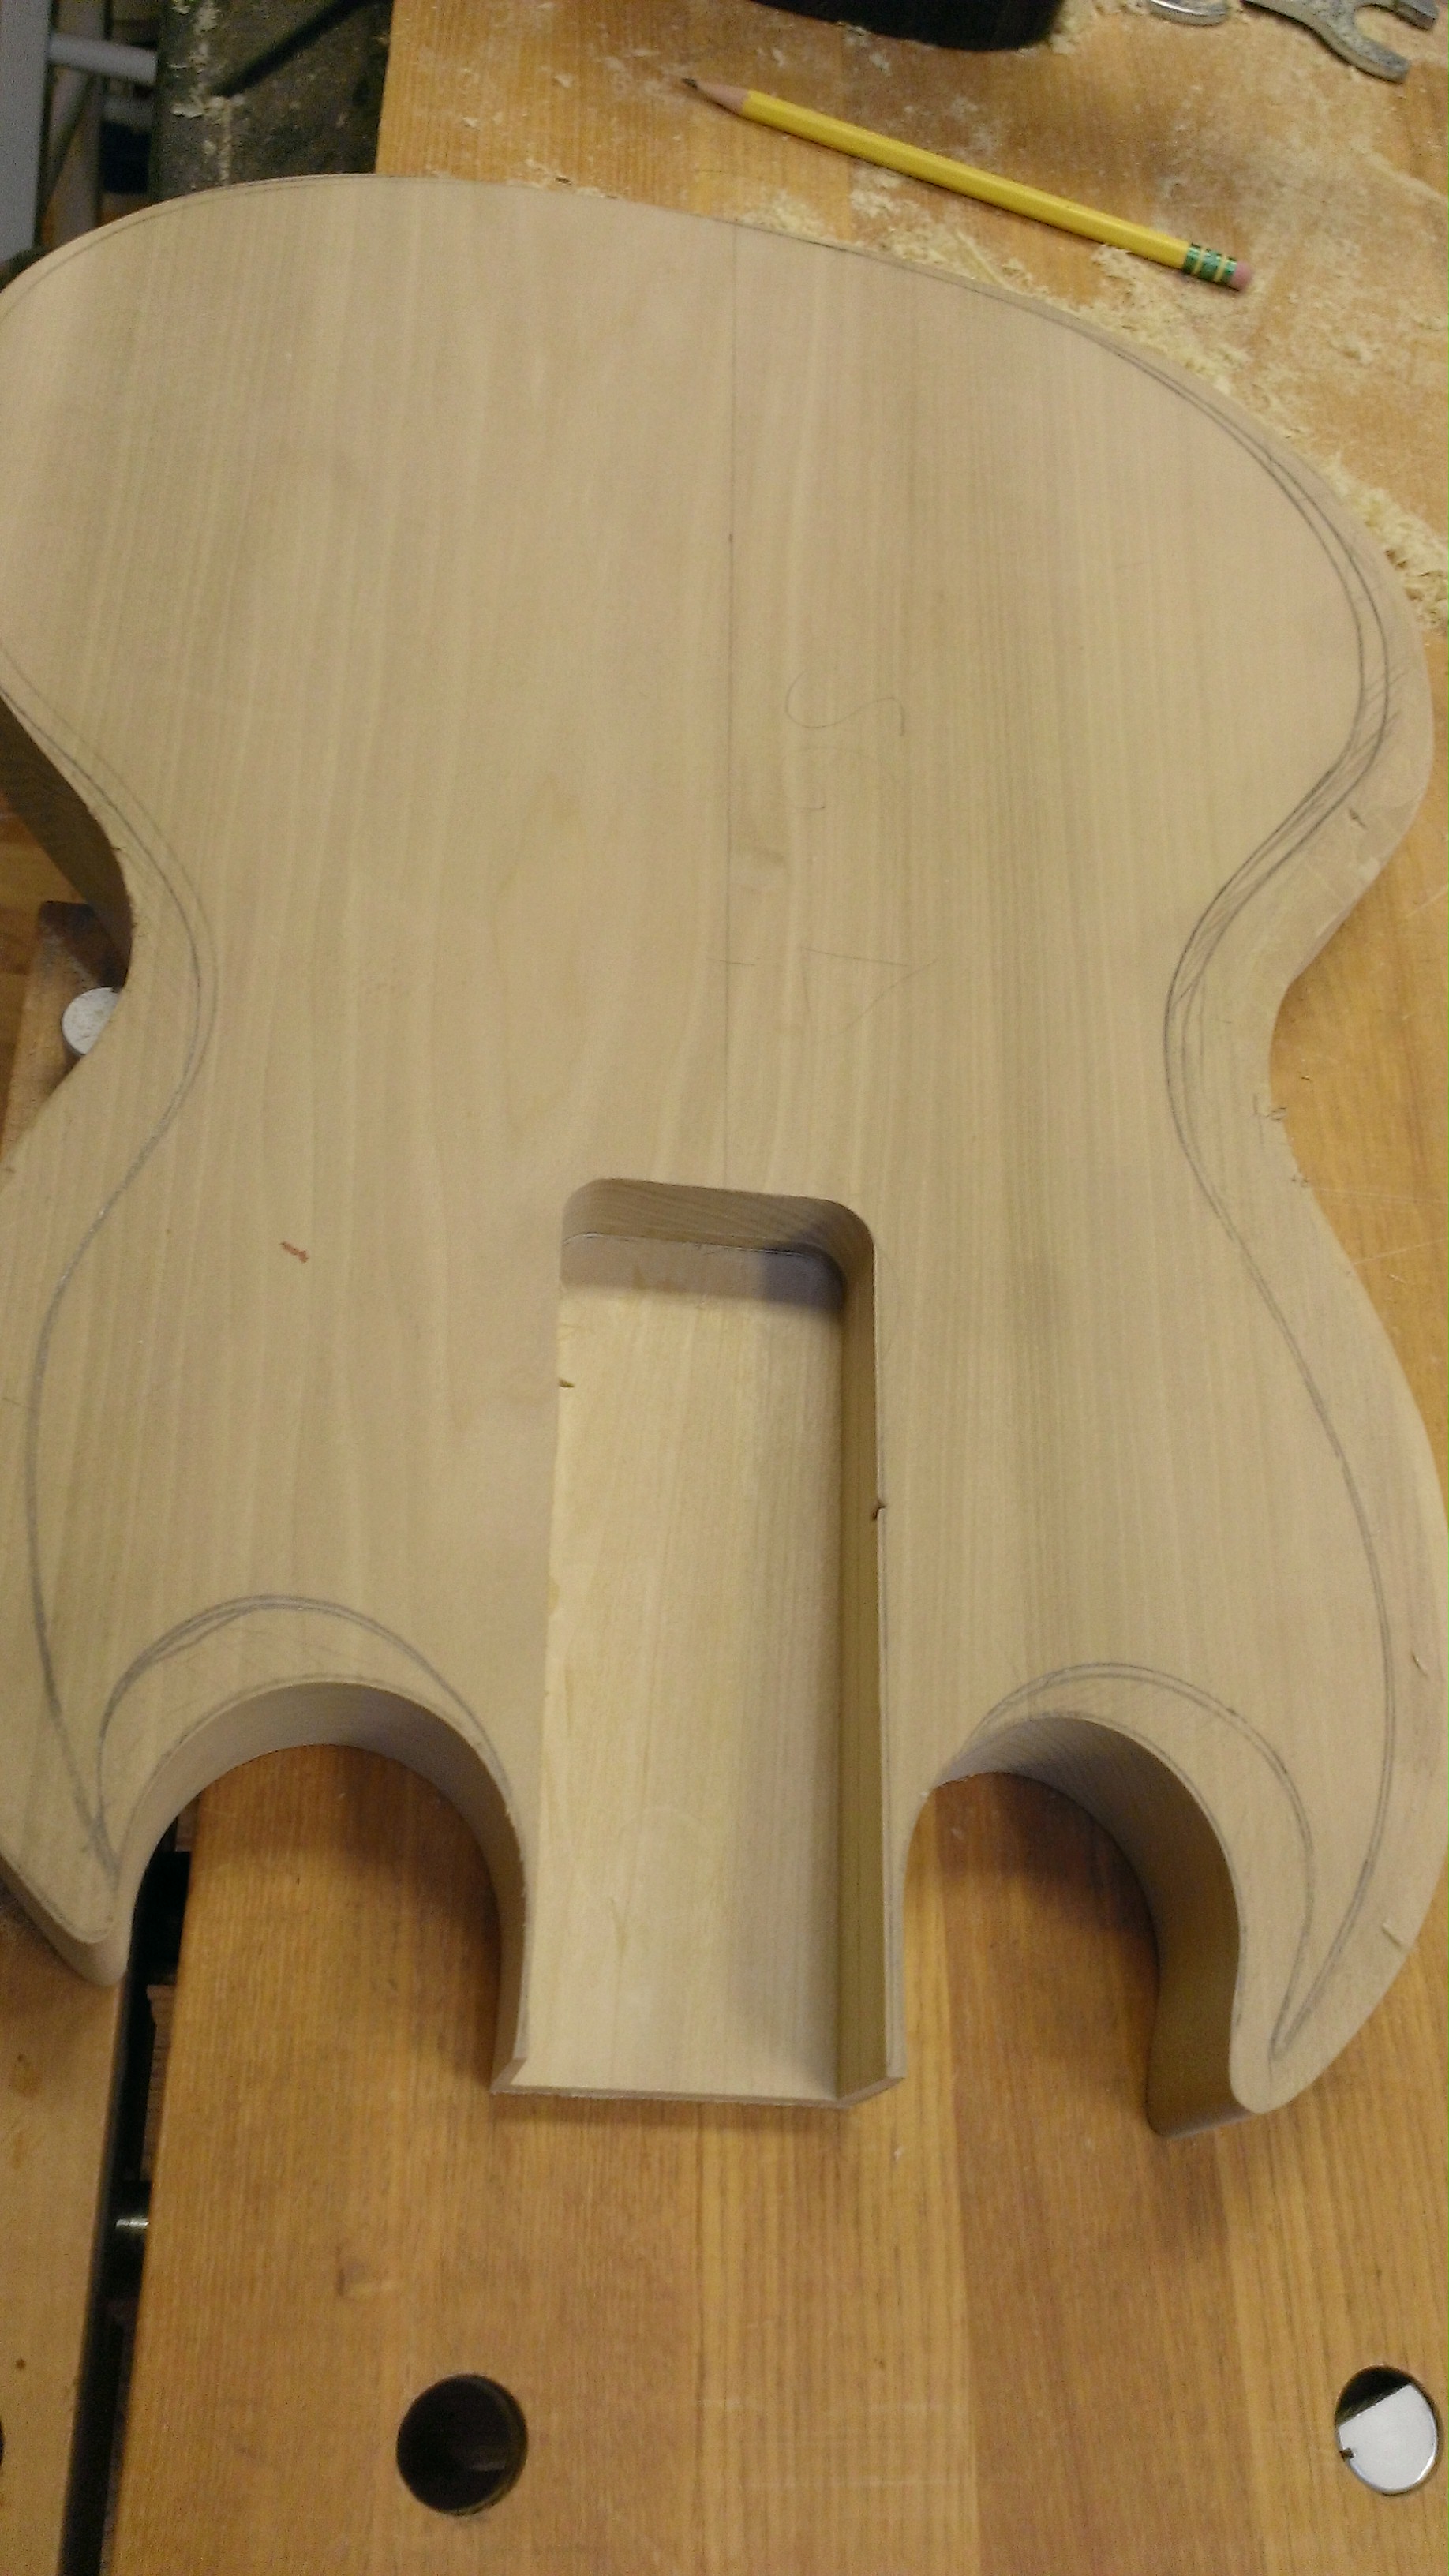
Routed neck pocket
The part I was really looking forward to – carving the body. This is the chance to work with hand tools and see the design take shape. I wasn’t disappointed. It was a blast and looks pretty good I think.
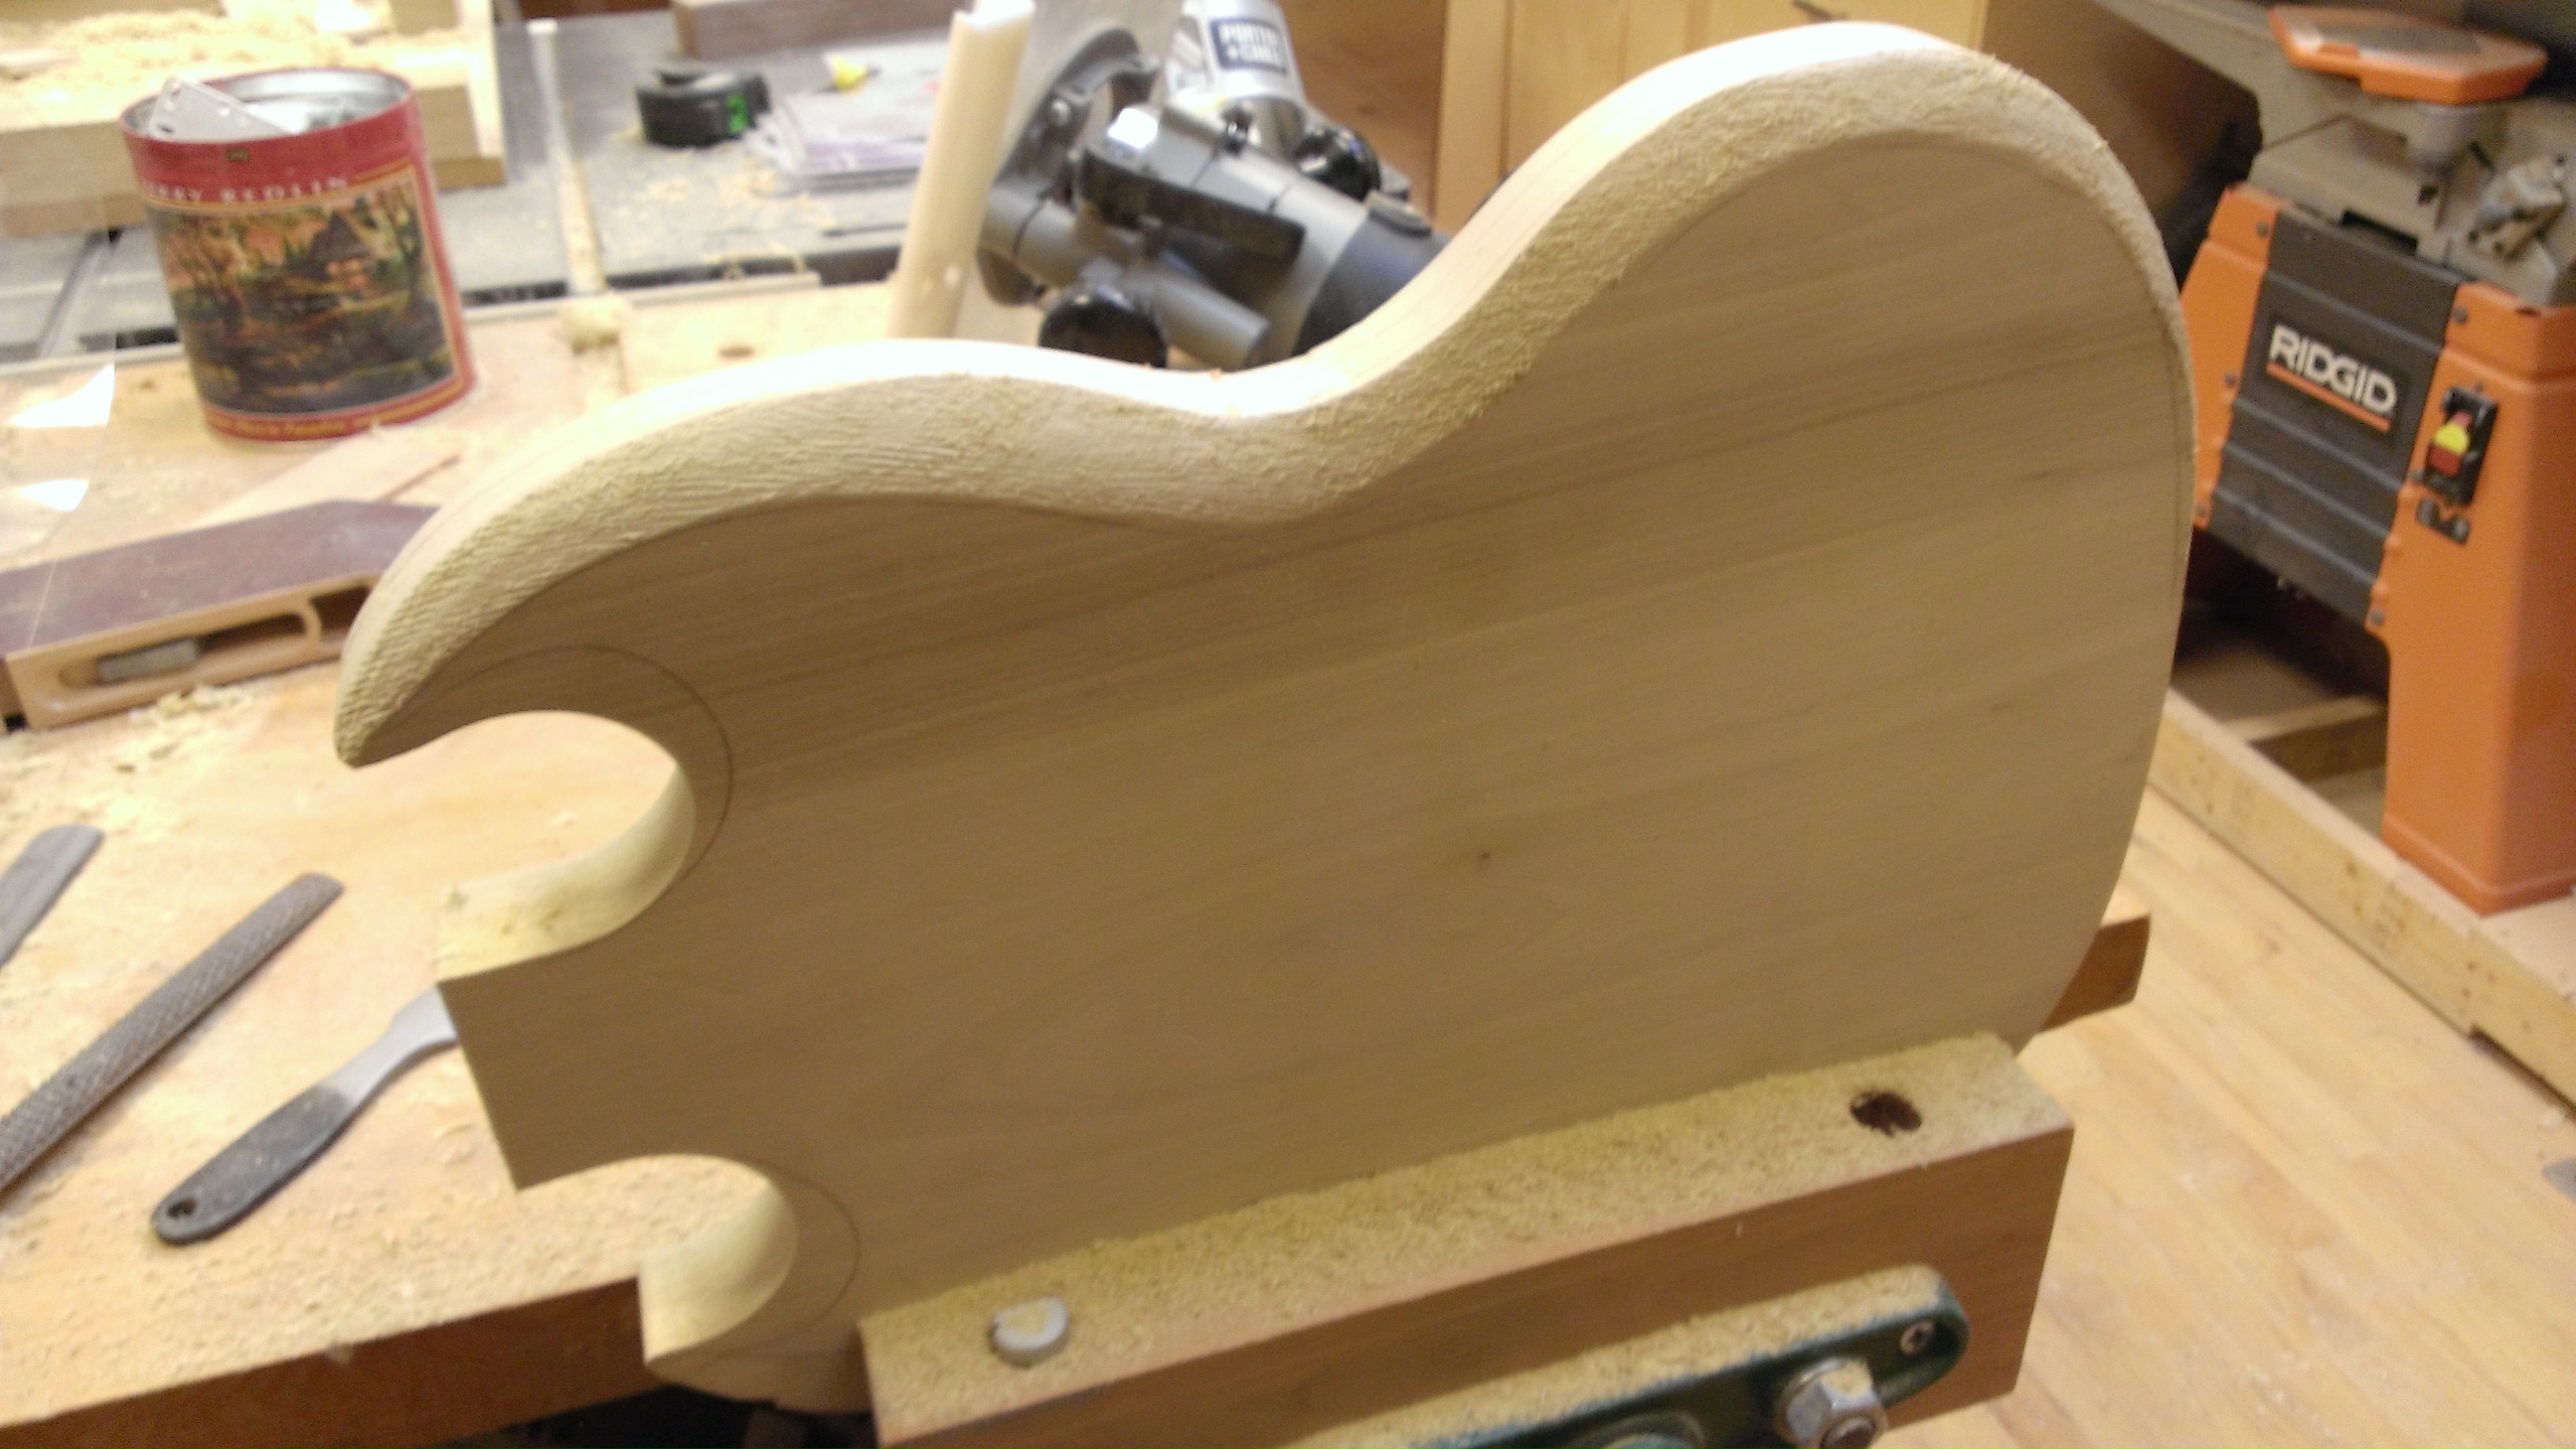
Carving the body contours
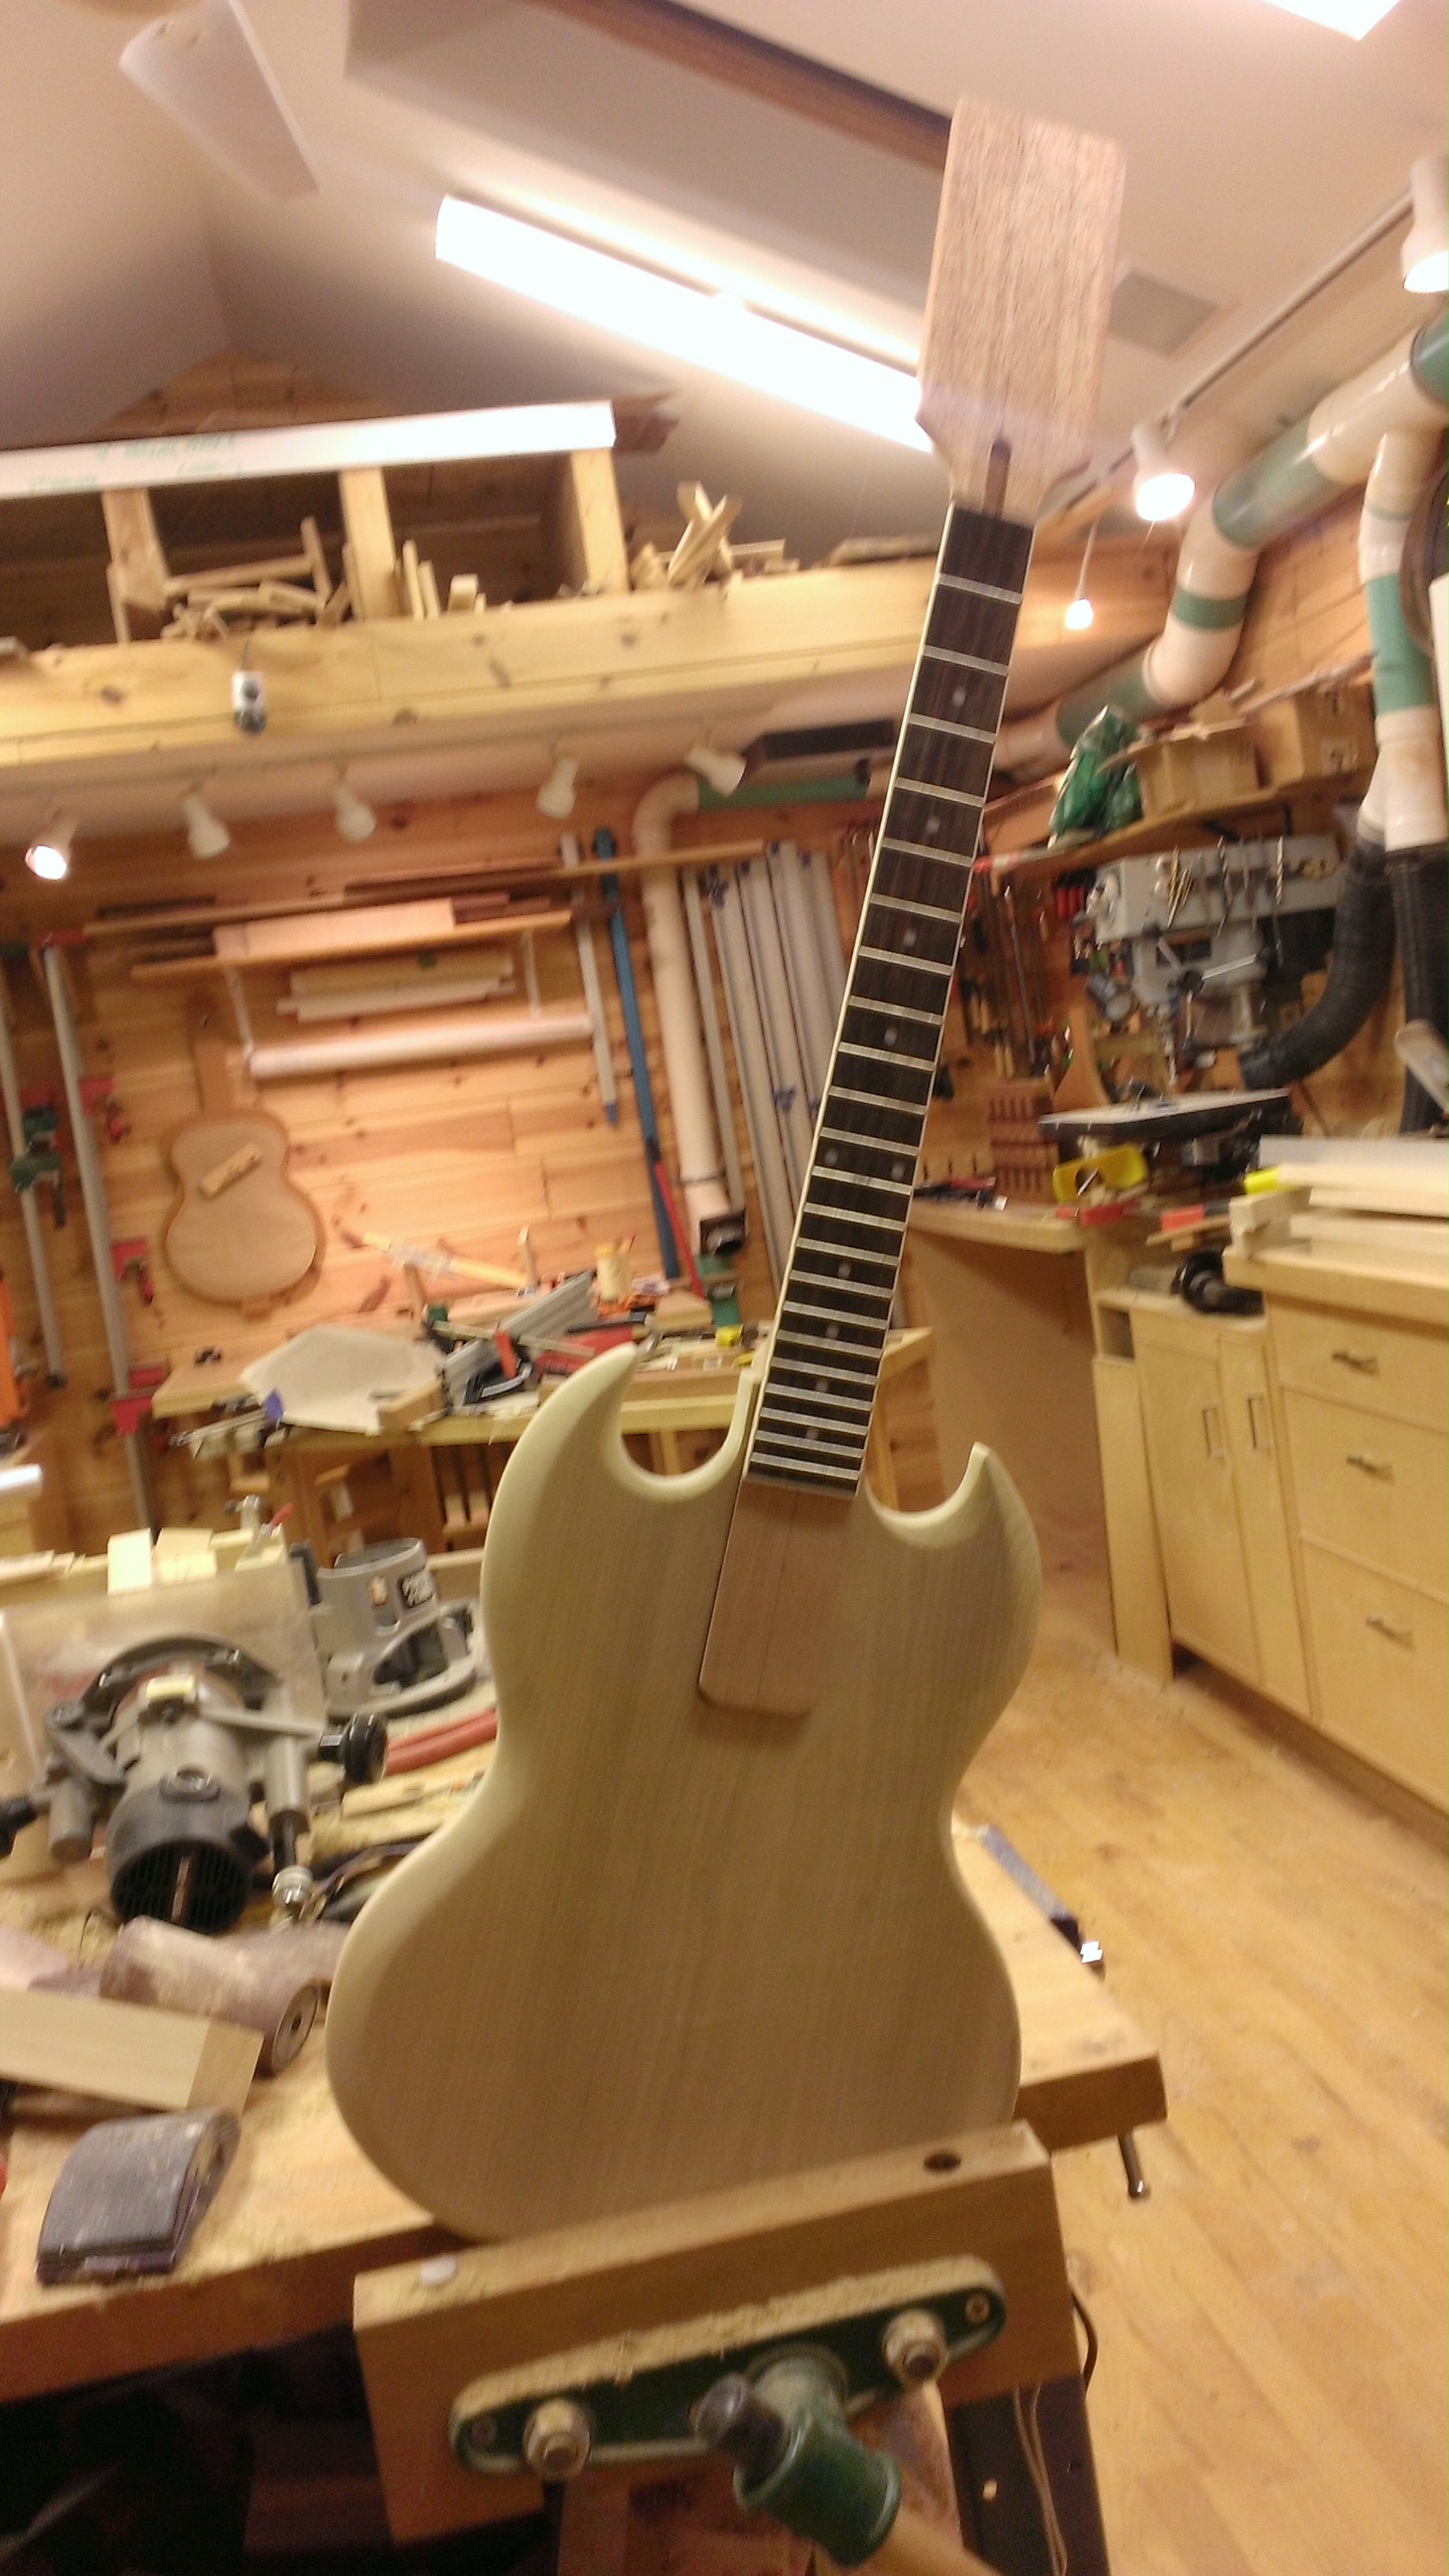
Carved body with neck dry fitted in pocket
I’m anxious to join the neck and body, but first I need to cut the headstock and drill the tuner holes. It will also be safer to route out the electronics pocket without the neck installed. I’m hoping to have those bits completed by the end of the weekend.