


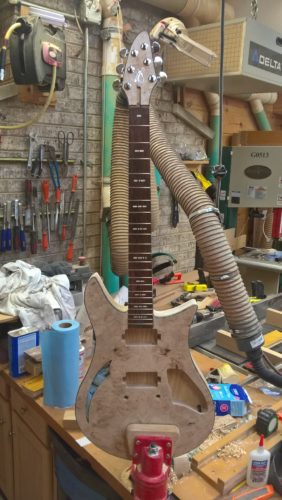
quick preview before dying

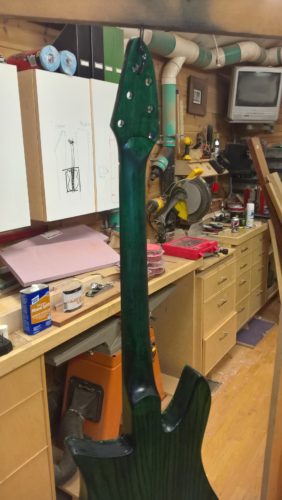
preparing to dye the back

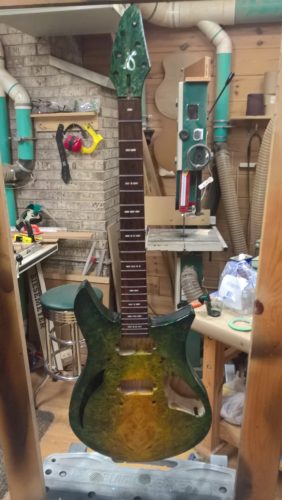
Dragon’s breath dye job
Preparing to apply finish
finish curing
Once the guitar was out of the clamps with the neck permanently secured, it was time for finishing it up. The neck joint was flushed with scrapers and sandpaper, and the entire guitar was given a good sanding down to 220. I’d already applied some finish to the inside of the sound hole and so this area was stuffed with paper to prevent any dye from dripping inside.
I spent a long while contemplating the finish on this guitar. Duesenberg offers the Double Cat in a Fire-burst (yellow-red) and black gloss paint finish. I considered red for this guitar, but was thinking I wanted something a bit different. Originally I tried a blue-green burst, but I couldn’t get it quite right.
Ultimately I settled on a yellow-green “dragon’s breath” finish ala PRS. I wound up applying, sanding off, and reapplying a few times until I was reasonably satisfied with the result. As anticipated, the Maple neck proved the most troublesome as Maple tends to blotch. I considered keeping the neck natural, but I didn’t think that would look right either. I’m not sure I’d repeat this finish without some additional experimentation and tweaks. In the end, however, after much fussing, I was happy with the back and satisfied with the cap.
Tru-Oil vs. Formby’s
For my last 3 or 4 guitars, I’ve hand-rubbed around 20 coats of Homer Formby’s “Tung Oil Finish”. I’ve been reasonably pleased with the results. However I haven’t seen or met any others using this finish. Almost to a person they’re using Tru-Oil. I decided for this guitar I would give it a try. It’s slightly cheaper than Homer Formby’s and readily available.
Once the dye had sufficiently dried, I began hand-rubbing on layers of Tru-Oil. As usual, I applied roughly 15 coats of finish to the guitar. Here’s where I should’ve read the directions. I rubbed it on similar to how I’ve used Homer Formby’s in the past. What I failed to do with this one is to apply a very heavy first coat and wipe it completely off the surface. Instead I wiped thin coats on, allowed them to dry, and scuff sanded between.
In the end this required significant wet sanding to level everything off. The Tru-Oil didn’t seem to sand as well for me as the Homer’s. I was able to buff out the back fairly well, but spent considerable time again fussing with the top. The end result is more of a semi-gloss finish than the high-gloss I was aiming for. However I was concerned that I’d wind up buffing through if I continued, and this guitar is on a tight deadline. If I’ve some time before the big give-away, I’ll work on rubbing in another coat or two of finish.
For now, its time to let this one sit for a bit and then install the hardware and hear how she sounds!