My original design for the shop included multiple compressed air outlets scattered about the shop. At the heart of this system would be a 60gal Ingersol-Rand 2-stage compressor providing at least 15 SCFM@tenonandspline.com90psi. Now months later, I’ve significantly revised and downgraded my plans. Part of it was financial, but most of it was a realization that all that I really needed was to be able to use my nail guns without the hassle of dragging out the compressor every time and tripping over hose.
Retractable Air Hose
To that end, I revised my plans and settled on a much simpler setup. I would put my existing 17gal Husky in the crawlspace below the shop, and run a hose through the floor next to my main assembly table. To this I would attach a combination regulator/filter/oiler and a retractable hose. This is precisely what I did.
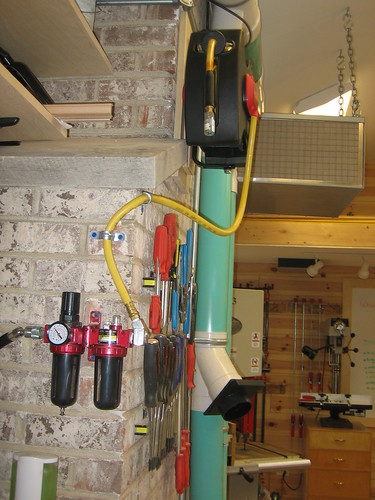
The air filter/oiler unit is a $20 special from Harbor Freight…well, I got it for $20. It was down to $15 last time I checked…sigh. Unfortunately it only occurred to me after I had purchased the filter unit that I don’t really want an oiler. While most of the time I’ll be using a nail gun, I do occasionally wish to use the air hose to blow off the shavings from a piece in progress and I doubt that misting it with tool oil would be very good for the finish. I’ve mounted the unit anyway and plan to keep the oiler empty. Perhaps someday I’ll move this device to another location on a separate hose and reserve it specifically for tool use. Or maybe not.
The hose reel was $30 for 20ft. It was the cheapest I’ve seen and while not as “industrial” as some of the more expensive units, I kinda preferred the compact size and appearance of this one. It also included a swivel mount. It works great right now…hopefully the mechanism will prove more reliable than the price would imply. We’ll see.
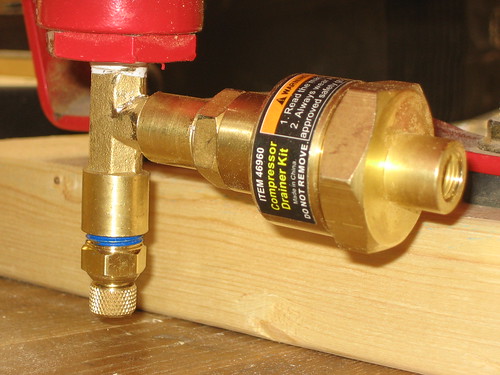
Automatic Drain Valve
Another Harbor Freight special. The plan was to locate the compressor in the crawl space, accessed via a trap door in the floor. Draining it regularly via the drain cock would be somewhat of a hassle. What I needed was an automatic drain. Thankfully I found this site in about 5 minutes of research pointing to a product from Harbor Freight. It was fairly straightforward to install — except that the inner diameter of the hose running from the unloader valve to the pressure switch on my compressor was too small for the included fittings. I ultimately wound up buying a different fitting which suffered from the same issue — but was setup in a such a way that I was able to coax the hose over the inner brass piece by applying a bit of heat. A bit of sanding of the outer tube was also required to get the connector attached to the tee. It was a bit of a chore, but ultimately I managed to get it all to work. And just like the author of the site above, my new drain cock valve was no good…so I also replaced it with a part from HD. The thing about the drain is that it only opens when the compressor starts and shuts off. So I can either leave the compressor on so that it “tops off” periodically (thereby activating the drain) or program the switch it’s on (see my other posts re: Insteon) to run it for a few minutes each day and give it a chance to drain any condensation.
Vertical Sheet-goods Pen
Finally, after filling the compressor, I used my new hose and old air nailers to build a 9′ tall x 30″ wide x 36″ deep vertical sheet goods pen just outside the shop door and install some cheap pre-primed moulding around the pen face and shop doors.
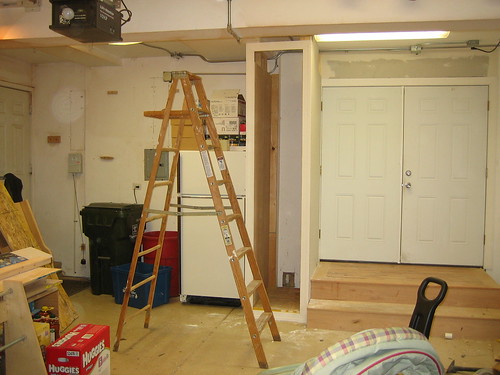
This is the start of my next big project: the Garage Remodel.