
This past weekend, Mother’s Day weekend, I gave my wife what every mother wants: a silver “mother and family” necklace and a freshly-painted garage!
Mixology
Originally I was planning on heading out to HD and buying a gallon or so of “oops” paint (ya know, the stuff that they mix by mistake and sell dirt cheap) for the walls. But then, a woodworker/remodeller friend of mine suggested a better approach. He keeps a 5 gallon bucket that he uses for all of his left over paint. When he has paint that he no longer needs, he just dumps it in the bucket and uses the mixture to paint non-critical areas — like his garage walls. What a great idea! It also just so happens that I had a dozen or so paint cans of mainly light, neutral-color paint left over from the previous homeowner. Since all of the rooms that used this paint have since been repainted, there was certainly no problem with disposing of the stuff in this manner. I also had just emptied my 5 gallon bucket of “ceiling white” repainting the garage ceiling. So, off goes the bucket cover and in goes the hodge-podge of leftover latex — numerous brands, sheens and colors. The end result — the perfect shade of beige/tan. It was honestly about as close to the color I had in mine as I could have gotten. What luck.
Floored, Redux!
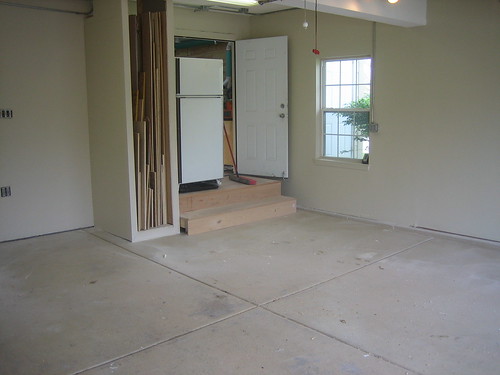
The floors were next. We purchased the house nearly 5 years ago. The original homeowners had taken very good care of the place, including painting the garage floor a lovely shade of battleship grey. Unfortunately, by the time we got it, it had seen better days. About 4 years ago I rented a floor sander, stripped it down and applied a coat of Rust-Oleum’s Garage Epoxy. This looked nice, but I chose a bad time for doing the job. The epoxy pot times vary based on air temp…and the outdoor temperature that day soared to over 80 degrees. This resulted in a rather short pot time — which I exceeded. I found myself running low on usable paint by the end of the second bay. This resulted in pretty poor adhesion in spots.
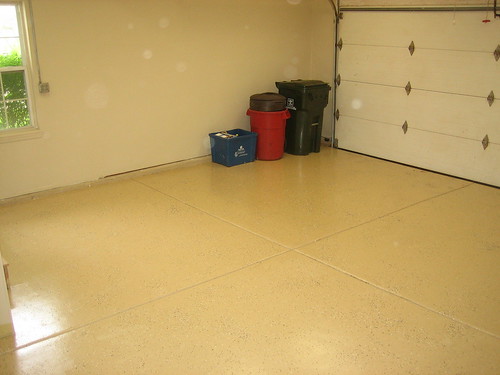
To prepare for the fresh coat, rather than take the time and money to rent another sander, I decided to use my belt sander on my hands and knees and some 60 grit belts. This worked pretty well (and didn’t hurt nearly as much as I had feared!) And this time, I paid a bit more attention to the kit directions. The weather on Saturday was perfect – it stayed in the 60’s all afternoon. This meant a total 2-hour pot time…plenty of time to finish the job. Some of the spots where the previous coat was removed more completely soaked up the new layer a bit more, resulting in some lower-sheen areas. However, overall I think it looks terrific.
Dressin’ Up the Joint
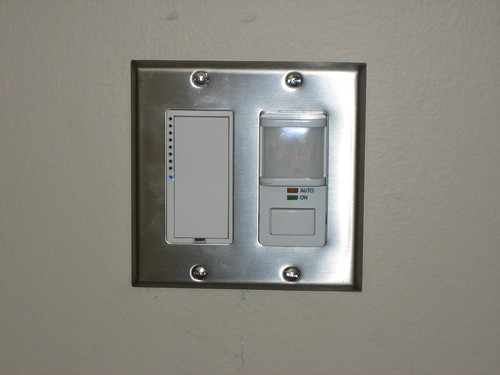
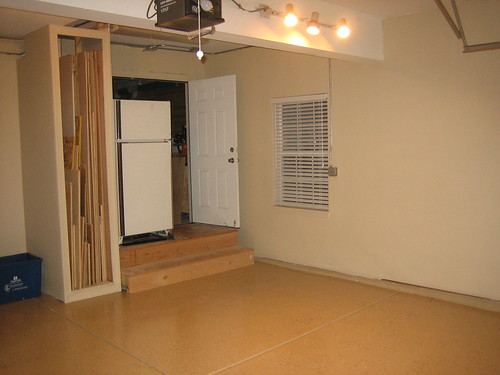
Finally, I installed a motion-sensitive light switch for convenience, an Insteon-enabled switch for the outdoor lights added to my dusk/dawn timer routine, and replaced the wall plates and the old, dusty GFCI outlet with a new model. I dressed up the window by installing some inexpensive faux-wood blinds.
Hiatus…
Next up, I’ll be moving the refrigerator down off the shop steps and back onto the floor…and then putting this project on hold for a bit so I can move on to the basement remodel. We’ll be turning our basement into a kid’s playroom with a Broadway/”Peter Pan” theme, which I’ll naturally blog about here.
After that’s done I expect to turn back to the garage and put up some cabinets and work surfaces.