cleaning up neck mortise angle
cutting the neck tenon
ready for carving
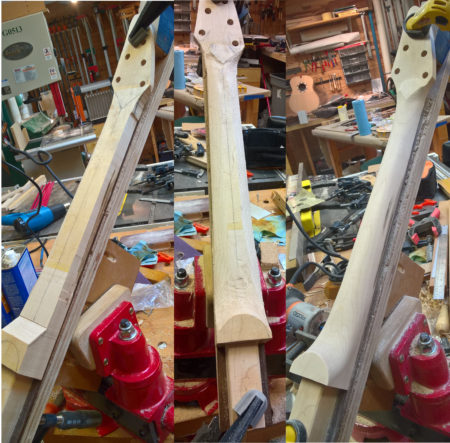
before, during, after
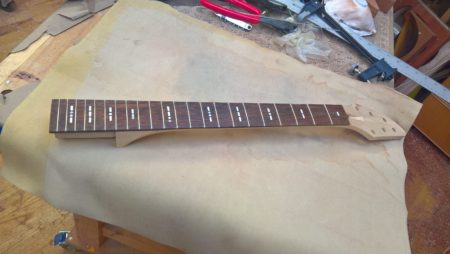
completed neck ready for glue-in
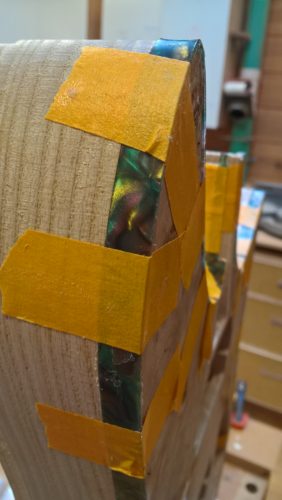
faux abalone binding
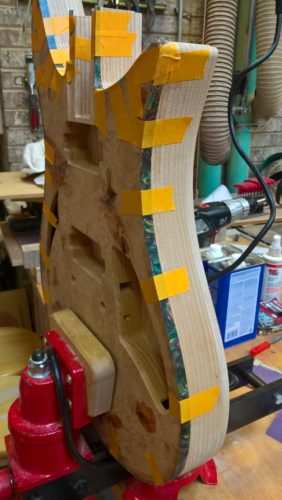
body bound
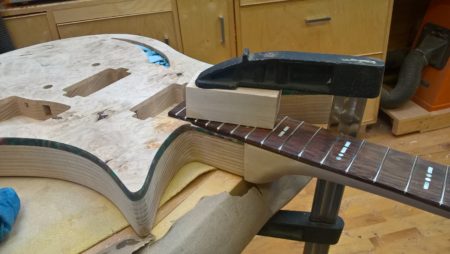
neck and body united
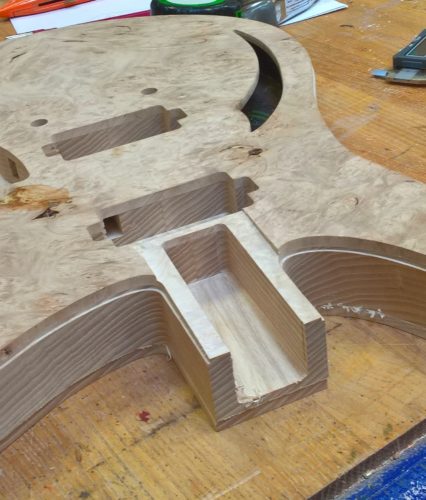
The CNC cut a 3-degree angled neck pocket on its final pass. The bottom of the pocket came out great. Unfortunately I screwed up the top edge, which came out rough. Thankfully this wasn’t a huge issue – I pulled out my neck pocket routing jig and manually cleaned up the top. CNCs are great tools, but they’re not “drop the wood in and press the button” easy…there are still plenty of ways to wind up with firewood.
Neck and fretboard
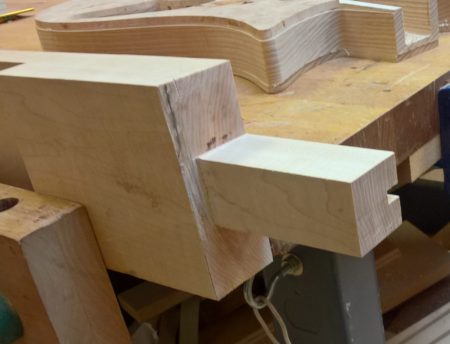
The neck blank was glued-up while the body was being cut out, and so it was time to cut the matching tenon. I’ve never had great luck with getting perfect alignment here, definitely requires patience, planning, and the right touch. For this guitar, the tenon fit snug – requiring a bit of scraping to fine tune. I was left with a small gap on the bottom angled toward one side. I fussed a bit with the tenon, but in the end resorted to gluing a shim in place to close the gap. Hopefully I’ll get this perfect on the next one. Thankfully it’s merely cosmetic and won’t effect the durability, playability, or tone. Once dyed it should be barely noticable by a careful observer.
I let the CNC cut the fretboard and route out the inlay pockets and matching mother-of-pearl. I’ve done this by hand before, and while the pockets aren’t that bad, hand-cutting tiny MOP pieces is a major headache. Cutting the stuff with a jeweler’s saw is pretty easy; holding onto the tiny pieces during and after is the hard part. I’ve successfully cut numerous tiny bits of abalone and pearl only to lose them in the sawdust on the floor afterward. All it takes is a poorly-timed exhale and the piece is lost forever. Frustrating!
Next it was the usual – route out a channel for the truss rod, press in the fret wire, and glue the fretboard in place.
Carving the neck profile
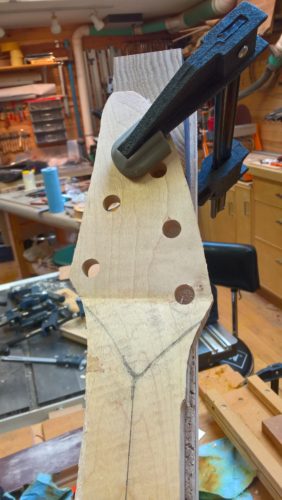
Now for the fun bit, and the part that I feel has the greatest impact on playabilty — carving the neck profile. This neck is significantly different from the previous 3 bolt ons. This neck features a curved heel and a quasi volute. First step was roughing out the blank on the bandsaw.
From there it was all hand tools — gouges, chisels, rasps, files, and cabinet scrapers. I own a spokeshave, but have never really had much luck with it. I typically will mark the center line and then use a course rasp to make a shallow “V” profile from the center to the edge. Once I manage to work all the way down the neck, from the center line to the fretboard, I’ll switch to a finer rasp, file, or scraper. I’ve used a small hand plane as well with mixed results.
In this case, I also needed to carve out the heel. Carefully following the pencil line, I used a “V” gouge to define the heel curve. Then a combination of gouges and rasps to get the basic shape right.
This past summer at GAL 2017, I attended an interesting talk by Stephen Marchione on shaping necks by hand. One key takeaway was the measurement he uses for neck thickness at the first fret. It was mainly geared towards acoustic guitars, but according to Stephen, the ideal measurement at the 1st fret is 22mm. He claims that this is a key to a neck that pretty much all players will like. I’ve used 19mm before on my favorite Telecaster build and that feels great to me, so I figured I’d essentially split the difference on this one.
Once I get past rasps and into scrapers, and finally sandpaper, I begin a process of frequently unclamping the neck and “trying it out.” There’s no better way than to guage the feel of a neck than actually running your hands up and down it. You can feel the smallest bumps and irregularities that may be difficult or impossible to see. I think this is where being a player can make a big difference.
Binding the body
Before mating the neck and body, the body binding needs to be installed. For this guitar I selected a faux abalone celluloid binding 5/16″ wide by about 1/16″ thick. I’ve been using Stewmac’s Bind-ALL for this purpose fairly successfully, though I’ve been considering trying plain acetone as I’ve seen other luthiers use.
The acetone is a solvent for the celluloid and effectively melts the surface which welds it into the wood. However, it takes longer to adhere and requires more tape and a closer eye on the process as I can imagine the binding shifting behind you as your progress. However, excess Bind-ALL can soak into the wood and make it very difficult to get a good finish. If you don’t wipe, scrape, sand off ALL of the cement, you wind up with nasty splotches near the binding that won’t accept any stain or finish. Ask me how I know.
The stuff’s also very messy to work with. Ultimately though, I chose the Bind-ALL once again for better or worse and will be diligent in removing any and all squeeze-out.
Body, meet neck
The glue-in process was pretty straightforward — apply glue, slide the neck into position ensuring a tight, close fit, then clamp. Time for some sanding, finish work, and the electronics.

