Now We’re Getting Somewhere
The front came out so nice, I’ve updated the design to include frame-and-panel side wings instead of plain edge-banded cherry ply as I had originally envisioned. It’s been a busy couple of weeks and there hasn’t been much shop time available, but I’ve scraped together enough hours — usually after bedtime — to finally cut, shape, and assemble the side panels (the theater’s “wings”) and prop the whole thing up. Now we’re getting somewhere!
Framed again
One of the coolest things about this particular project has been the wood. I purchased a pile of cherry on sale some time ago and it’s been sitting mostly idle since. So far, I’ve had no trouble finding the perfect board for each step of the way. And when I say perfect, I mean more than just color and grain. The frames for the sides were out of one board and the panels for both came entirely out of another — with almost zero off cut beyond basic squaring and trimming. Dude. I don’t think I’ve ever used a rough board so completely. I usually don’t make patterns, but as the sides called for mirror image curves, I figured it was a good idea in this case.
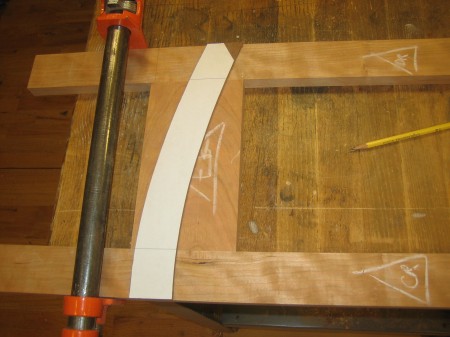
Tracing the curve pattern
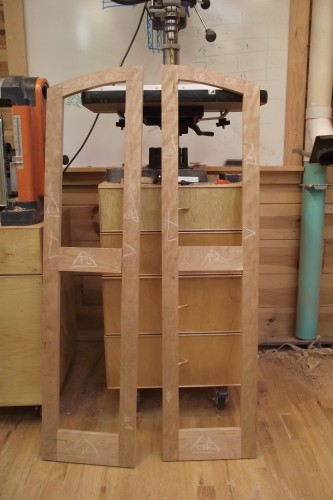
Test Assembly of the Domino Joints
Knot a Problem
Knots can add a lot of interest to a piece. Ever since I built a dresser for my son Nathan, and was stuck using a board with a large knot in it for the top, I’ve come to actually seek them out for projects like this. This knot in a side panel is about the size of a silver half dollar on the back and results in a 3/4″ long slit in the front that goes straight through. Somewhere along the line I came across an article, or online post, or something that suggested filling large knots with epoxy. It worked so well for Nate’s dresser, I’ve been using the technique ever since. After it hardens, the light may still bleed through, but there’s no way this knot hole will ever chip out or expand. Thanks to whomever I stole this idea from!
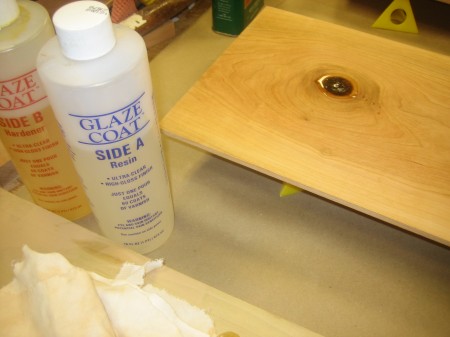
Filling a large knot with epoxy

Glue up
Don’t Take a Bow…
My biggest fear with this piece is that during a more animated production, it’ll tip forward onto the audience. The wings are 12″ wide, but they don’t extend very far beyond the front of the stage. I figured it would be a good idea to build some chunky feet for them to stand on — and extend them a couple inches beyond the front. As with everything else for this project, I just happened to have the perfect piece of cherry leftover from an end grain cutting board. Once again, the Festool Domino made quick work of the mortise and loose tenon joints that would have taken far longer to do any other way.
Truth be told, I’m still a bit concerned. The feet will certainly prevent accidental tipping under normal use, but my 2 and 3-year-old boys can get rather…um…dramatic at times. I’m wondering if maybe I need to anchor this piece to the floor?!?
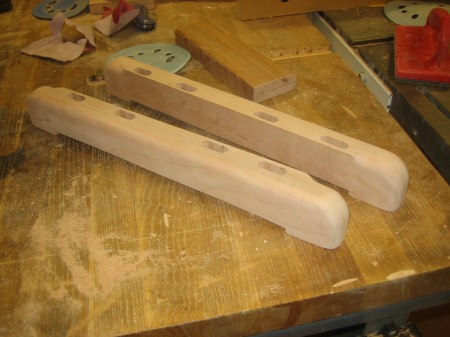
Feet for the wings shaped and mortised
Test Assembly
After attaching the feet, I was anxious to finally see the whole thing assembled. The puppet theater is designed to knock down for transport and storage, so I drilled some holes in the sides of the front to accept threaded inserts. The plan is then to drill matching holes in the wings and use 4 hex head RTA-style screws on each side to hold it together. The last time I used this technique was for the cherry crib I built for my youngest son from purchased plans. I had an issue with the threaded inserts tearing out the top layer of the cherry as the very course threads bit. I’m going to experiment a bit this time to see if using a slightly larger hole and/or chamfering the rim of the hole will eliminate or at least significantly lessen the problem.
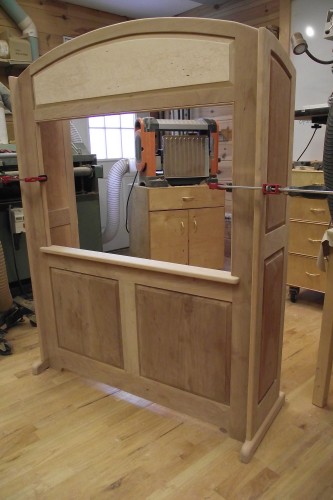
Testing the assembly with Wings clamped to the stage
Next Steps…
The design calls for comedy/tragedy masks in the center of the birdseye maple panel. I’ve done quite a few inlays, but this time I’m thinking intarsia would be more appealing. However, I’ve never tried intarsia before, so this should be interesting, and hopefully a great learning experience. I’ve pre-finished the panels (single coat) and have been sanding to 220 all along, so everything’s pretty much ready to begin applying the tung oil finish. There’s also the curtains my wife’s best friend is making, and the felt backdrop and scenery pieces my sister-in-law’s working on. Finally, I’m planning to build a “tree” to hold the over 30 puppets my wife has already purchased from Costco.
Two weeks to go before the big reveal on Christmas morning…it should all be ready!

