- Puppet Theater
- Constructing the Frame and Panels
- Building the “Wings”
- The Intarsia Comedy/Tragedy Masks
- Finishing Touches
- Opening Night!
- The “Veronica” Puppet Theater
Birdseye Maple on Cherry
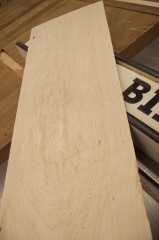
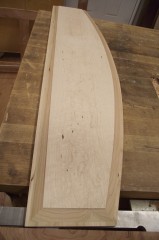
The design for the top panel calls for birdseye maple. It seemed a shame to use my only piece of birdseye maple up on just one project. I decided to resaw the board. A few passes through my old Grizzly G1066 sander later and I had a beautiful 3/32″ sheet of birdseye maple veneer. Because this is going to be used for a raised panel, I had to decide on the substrate. One technique I’d seen and had always wanted to try was using a different species substrate in a raised panel. The rest of the piece was cherry and I figured this would make for a really sweet contrast.
Assembly & Glue-up
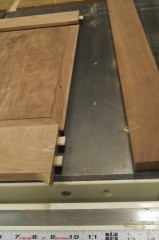
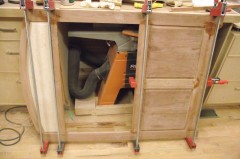
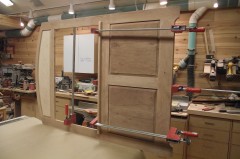
Last Spring I picked up a Festool Domino at my local Woodcraft. Shortly after, my wife gave birth to our 4th child and the shop was essentially shuttered for the next several months. Now I’m finally getting a chance to play with it — and it definitely lives up to it’s press. The frame went together like a dream, about as fast as using a biscuit cutter, while working on much narrower members and holding together well without clamps during test assembly. These were by far the fastest mortise and loose tenon joints I’d ever created. The front panel went together clean and tight.
Setting the Stage
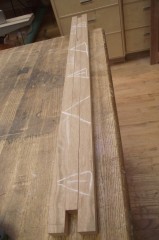
No theater can be complete without a stage. This one extends 1″ beyond the sides and 1″ front and back. Rather than nibble away a notch on each side of the stage, I figured it’d be easier to rip the board in three sections, cut the middle piece shorter, and glue it back together. The result looks great with no visible glue line and, after a bit of touch up with a chisel, fit perfectly. After sanding the piece to 220, I ran a bead of glue on the frame and stage and clamped ’em together. Since it’s long grain to long grain, and a pretty good fit, no joinery should be necessary.
Next Steps…
I’ve made a few tweaks to the design so that instead of using some left over cherry ply, I’ve decided to make matching frame-and-panel pieces for the sides. I may also build some beefy runners for the bottoms to ensure it doesn’t tip forward. I can’t wait to craft the comedy and tragedy masks and apply the first coats of tung oil to the birdseye!

