
- Building an Acoustic Guitar
- The Neck
- The Soundboard and Back
- The Rosette
- Picking Up Where I Left Off…
- Assembling the Box, Part I – Soundboard and Sides
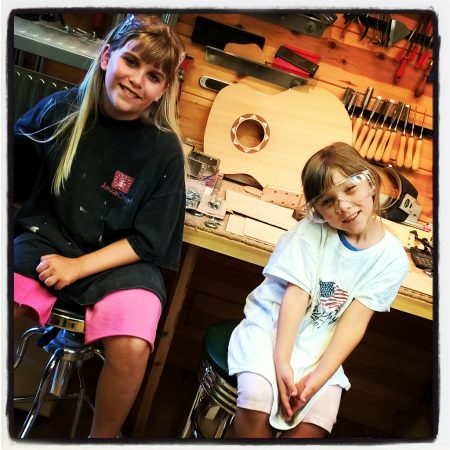
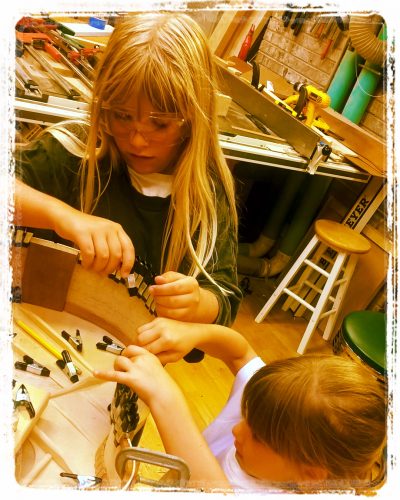
My lovely shop assistants

Gluing in the head block
Jig for beveling the kerfed lining

Mahogany kerfed lining
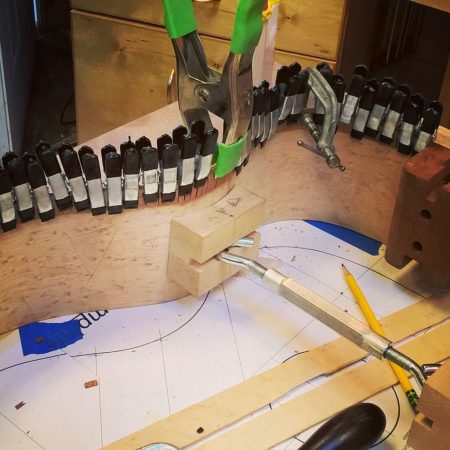
Gluing the kerfed lining

Annalise uses a specialty spreader to apply glue to the sides
Gluing in kerfed lining for the back
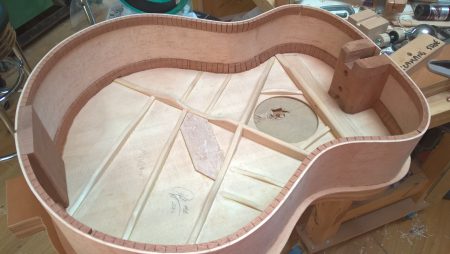
Ready for the back
The head and tail blocks
The head block was assembled as a 5-piece glue-up with three ‘core’ pieces stacked vertically and a top and bottom glued horizontally cross-grain. This is done to promote stability and strength in both dimensions while providing a side-grain surface for both the sides and the top and bottom.
The top of the head block was angled, about 1/8″ taller in the back per Cumpiano’s drawings, and a notch cut in the top to allow access to the truss rod. Or at least I thought I was cutting the top. Unfortunately, I managed to confuse the top and bottom (even though I’d marked them clearly) and cut an unnecessary channel in the bottom instead. I glued it in place anyway figuring I’d fill the gap before attaching the bottom.
The one bit I struggled with most here was alignment. You need to ensure the head and tail blocks are aligned on center and square to the shoulder or else you can wind up with an odd and potentially problematic neck joint.
The best I could come up with was to mark the centers of each block and overlay the whole assembly on the full-size drawing. This should result in proper alignment, though because of the truss rod notch, the center line of the head block couldn’t be extended all the way to the bottom of the block. The final alignment was done by sighting down the center line from above. This isn’t perfectly precise, but I believe (…er ‘hope?’) that I managed to get this right.
I’ll be sure to research this further prior to the next build and see what I can cook up. Perhaps if I only cut an access hole for the truss rod and not notch away all of the wood up to the top it’ll be easier to get a perfect alignment.
Making the kerfed lining
It seemed oddly difficult to find online examples of people making kerfed lining. The books suggested ramping the side with a hand plane. This seemed imprecise and time-consuming. Though there are numerous references for installing the lining, many of them either neglect to mention how they made it or explicitly state they bought it pre-made. I intend to make all of the wood components for this guitar, including the lining.
A technique that seemed fast, safe, and practical, involved building a jig with a narrow slot cut down the center of a board wide enough to accept the lining blank. This then acts as a carrier for the lining piece which is run through the table saw with the blade angled appropriately to form the bevel in the lining. This did the trick. The bevel came out consistent and my fingers were never in any danger.
Considering options for cutting the kerfs, I found methods for the table saw and band saw. The band saw method seemed less precise and more tedious as it produced a single piece at a time. With the table saw, people tend to tape several blanks together and run them through the saw on a sled at the same time. Far more efficient.
My fret slotting blade instructions made mention of other uses, including for cutting kerfs for linings. So I thought I’d give that a try. The measure from the Cumpiano book was 3/8″ between kerfs. I taped several together and ran them on the table saw sled over the blade making the cuts. A slight bit of sanding on the back thinned it a bit further and the linings were ready.
The soundboard
After sanding a bit off the sides to true them up to the head and tail blocks, my assistants and I began gluing in the lining to attach the soundboard.
For some of the tighter curves, the 3/8″ spacing and narrow kerfs weren’t sufficient. For the outside bends, the spacing was too far apart. For the inside curves, the narrow kerfs along with the spacing didn’t allow sufficient “compression”. I wound up cutting additional kerfs in some sections of the lining on the soundboard side.
This worked, but I did find the inconsistent appearance off-putting. Thankfully it won’t be seen unless repairs are needed – and as this is my acoustic build #1, I’ll consider it a lesson learned. Next time I’ll try 1/4″ or 5/16″ spacing and probably just use the standard table saw blade for the larger width.
Once the linings dried, they were sanded flush with the sides using a large sanding board and the finished side positioned over the soundboard. I marked the intersections of the braces and sides on the kerfing and removed these sections of lining with a sharp chisel.
Finally, it was time to join the soundboard to the sides. Once again, alignment is crucial and somewhat tricky. Fortunately, the side and block assembly fit neatly with almost no coercion over the outline on the back of the soundboard. The curves matched up far better than I feared they would.
The back lining
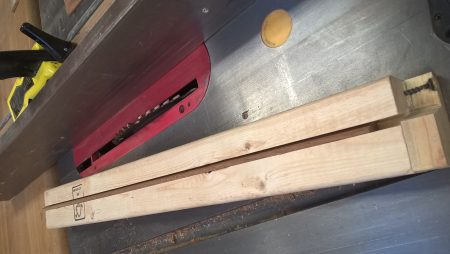
The back of the guitar slopes gently. The tail end is roughly 1-inch taller than the head. The original side blanks were a consistent width, a bit taller than the tail end. They would need to be trimmed to final size before gluing in the lining.
The process began with a long strip of poster board – actually, two shorter strips taped together – used as a flexible straight edge. I taped one end to the tail at the appropriate height and then wrapped it around the outside of the body, following the curve and angling downward toward the head.
After tracing a line along the edge and repeating the process on the other side, the sides needed to be trimmed down. I initially attempted using a thin razor saw for this. I hadn’t cut more than a couple inches when the blade bound on the side and split it almost horizontally, with the separation ending just below my line!
Many articles I’ve read discuss using CA glue (“superglue”) to fix issues like this. So I pulled out my super thin CA, applied it to the crack and clamped it back into position. With a couple spritzes of accelerator the glue held and the side was whole again. Obviously, the violent motions of the saw blade can damage the sides.
I turned to my chisels. These provided a more controlled cut and the ability to feel when to switch directions as the grain demanded. It didn’t take long to get within hand plane range, at which point a low-angle block plane was used to take the sides down to just above the line, leaving it for a sanding reference. Once again the sanding block was used to ensure a level, even finish. Now was time to glue in the lining in prep for attaching the back.
The linings for the back seemed to fit a bit better than the top. There was no need to cut extra kerfs to coax them into place. As these were essentially the same linings installed around the same curves I guess it’s a case of getting a bit better the second time around. In any case, my helpers and I repeated the glue and clamping process on both halves of the back.
The family then headed out for a week-long camping trip, so the body will need to sit in the shop for a bit. Once we get back, my helpers and I will glue on the back and begin fitting the neck.