Back to work I took some time off guitar building to spruce up the shop and make some much needed improvements. Also, with the parents visiting for the week, the shop was occupied for a time with more pressing matters…
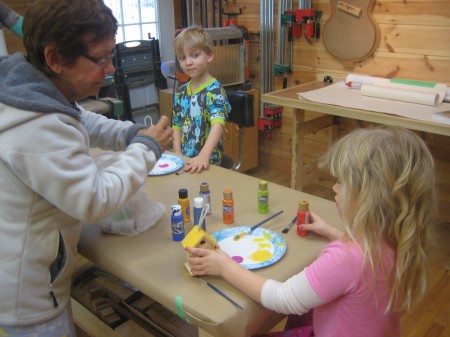
Gramma helping the older kids paint their bird houses on my new workbench
Alterations This weekend I was finally ready to get back to the build. Since carving the heel on the first neck (maple), I’ve learned that William Cumpiano has posted some significant updates to his landmark book. He’s changed the recommended method of joining the neck to the body. Instead of pinning with a peg driven through slightly offset holes, he now recommends using common barrel bolts used in RTA furniture. Unfortunately the holes for this style of assembly are best drilled prior to cutting the tenon and carving the heel. So a bit of retrofitting was necessary to make this work. I also discovered that the most appropriate size for the barrel bolt hole is 10mm, which meant ordering a drill bit and waiting a few days for it to arrive.
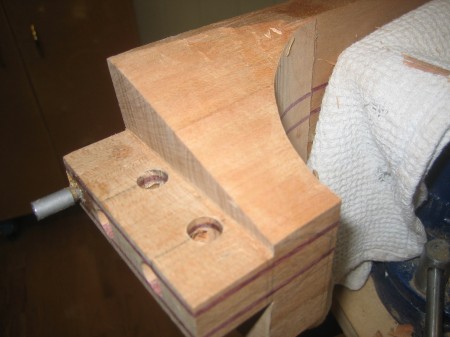
Retrofitting the neck tenon
Carving the second heelFor the first neck, I basically just went at it with a rasp until it looked about right. For the cherry neck I figured I’d follow the book’s specific step-by-step directions. I learned two things from this experience. First, my chisels weren’t as sharp as I thought they were. Second, mastering this technique is going to require a good deal of practice. Although far from perfect, I think it should work.
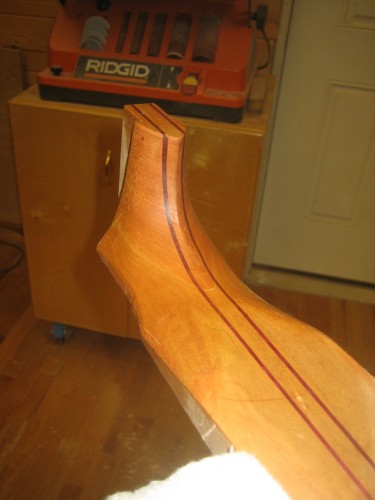
Second heel block carved (wiped with mineral spirits to preview finish)
the SoundboardI purchased three of the most inexpensive sitka spruce soundboard sets from Stewmac.com for $20 each. I figured it would be best not to learn on expensive wood. After looking at the pieces I received, I’m not sure why I’d order anything else. They all look great to me and one of them features some rather interesting and beautiful rays. I chose the least interesting one to start with. Although Cumpiano goes to some length in his book about the superiority of a hand-planed joint edge, I couldn’t see taking the time to craft even a basic shooting board when I have a sharpened and recently setup jointer at the ready. So I tried machine jointing the boards. After setting it up to take thin shavings, and taking a few light passes, I wound up with a light-tight, near invisible joint. Although I can appreciate the affinity some have for hand tools, sometimes it just seems to make more sense to take advantage of modern technology. I feel the same about thicknessing the plates. The book goes to some detail about how to use a toothing plane followed up with a standard plane to properly thickness the soundboard and back. For me, however, nothing beats running them through my 24″ dual drum sander a few times until the desired dimension is achieved. Much, much faster.
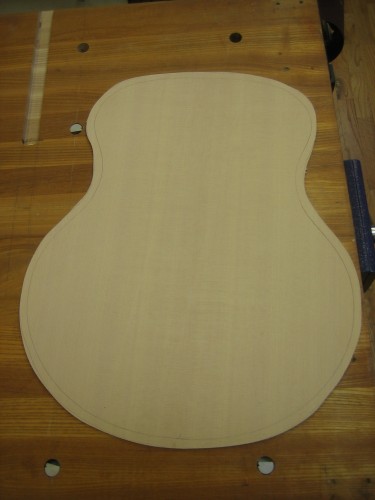
A sitka spruce soundboard joined, thickness sanded, and rough cut to shape
The BacksFor these first guitars I decided to use stock lumber I have lying around the shop. Fortunately I happen to have a rather nice piece of walnut that I resawed into bookmatched plates for one of the guitars. The cherry neck will be part of an all cherry guitar — so I sliced up a piece of cherry into four book matched plates that I’ll be able to build two guitars from. One of them had a sizable knot that unfortunately broke out during planing. I’ve put that set aside for now, but I think I’ll ultimately just patch it with a small patch and epoxy, perhaps hidden by an inlay design of some sort, and use it for a future guitar.
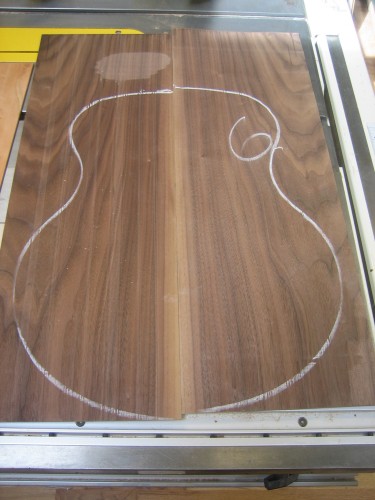
Resawn walnut for back
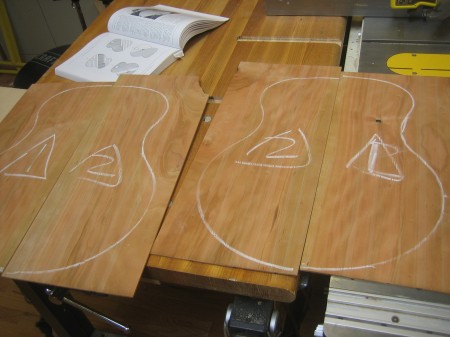
The cherry backs
Next steps… I ended the afternoon a bit earlier than planned — basically because I wasn’t prepared for the next step: the rosette. I’m still working out the basic design. I’m thinking of trying my own technique for building the rosette. I’ve assembled a bunch of components for the rosette, including some shell tiles. The typical method for shaping these involves building a simple though somewhat involved jig that will certainly require a couple evening’s work. I’m not exactly sure I’m ready to commit to that quite yet. Also, rather than constructing the rosette piece-by-piece on the actual soundboard, I am seriously considering inlaying it into a separate scrap board and then cutting it out to inlay it as a single piece. It seems safer that way, and a couple of the design ideas I have would be far easier to execute if it were done on scrap. It’s just a thought at this point however, so I may change my mind in the coming days.

