


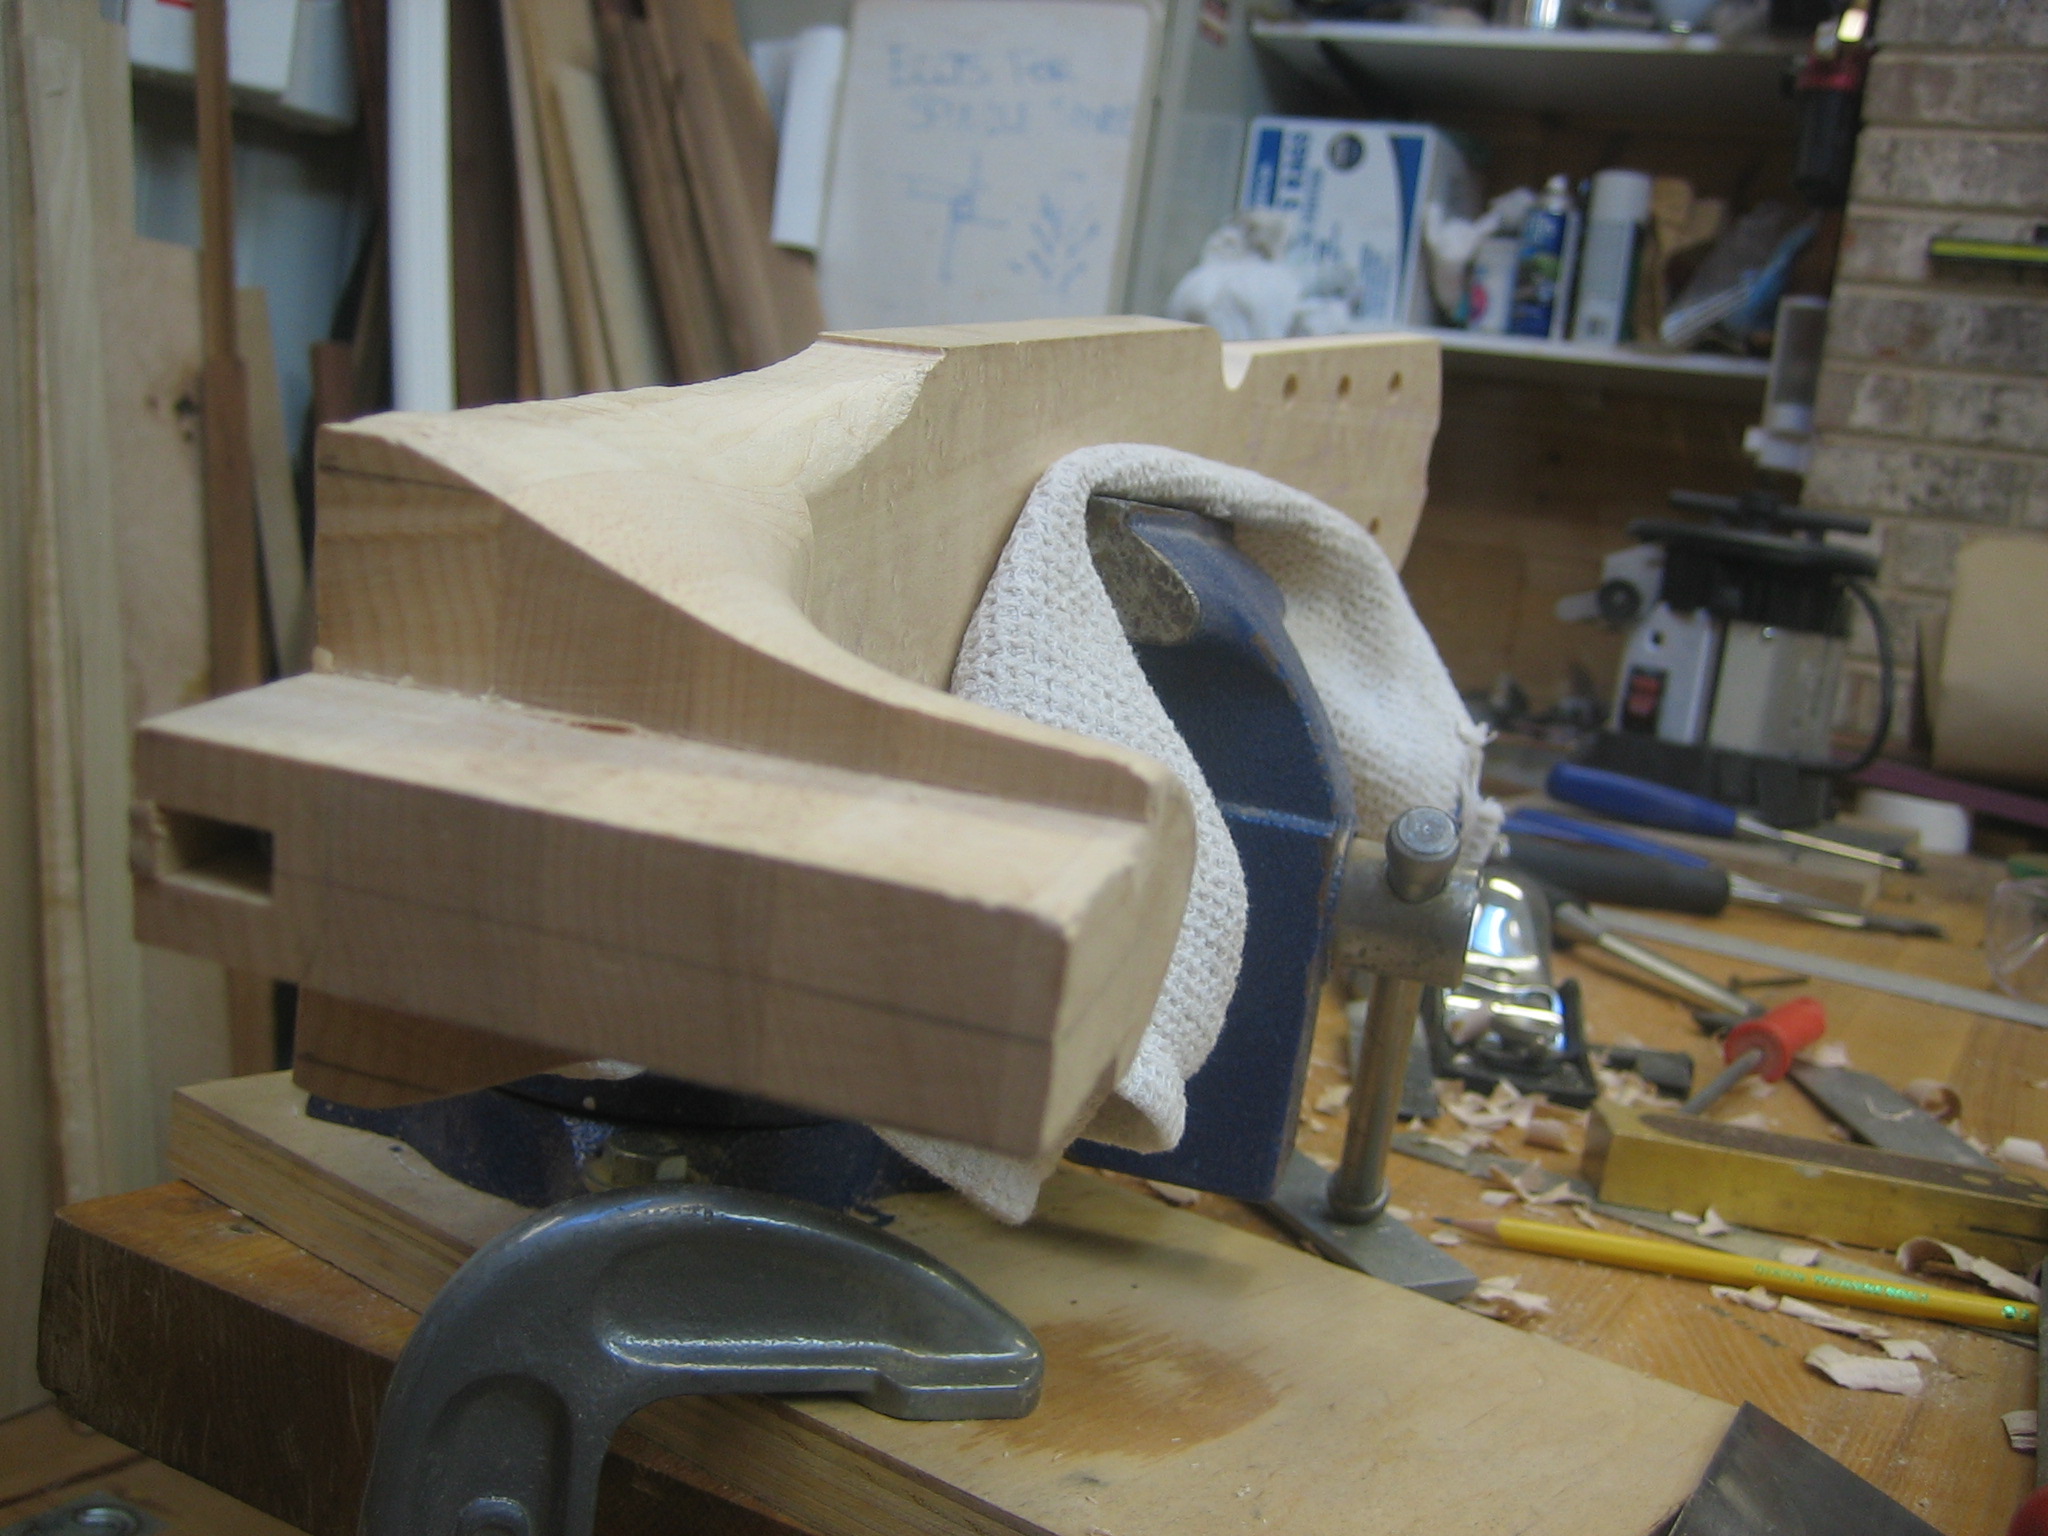
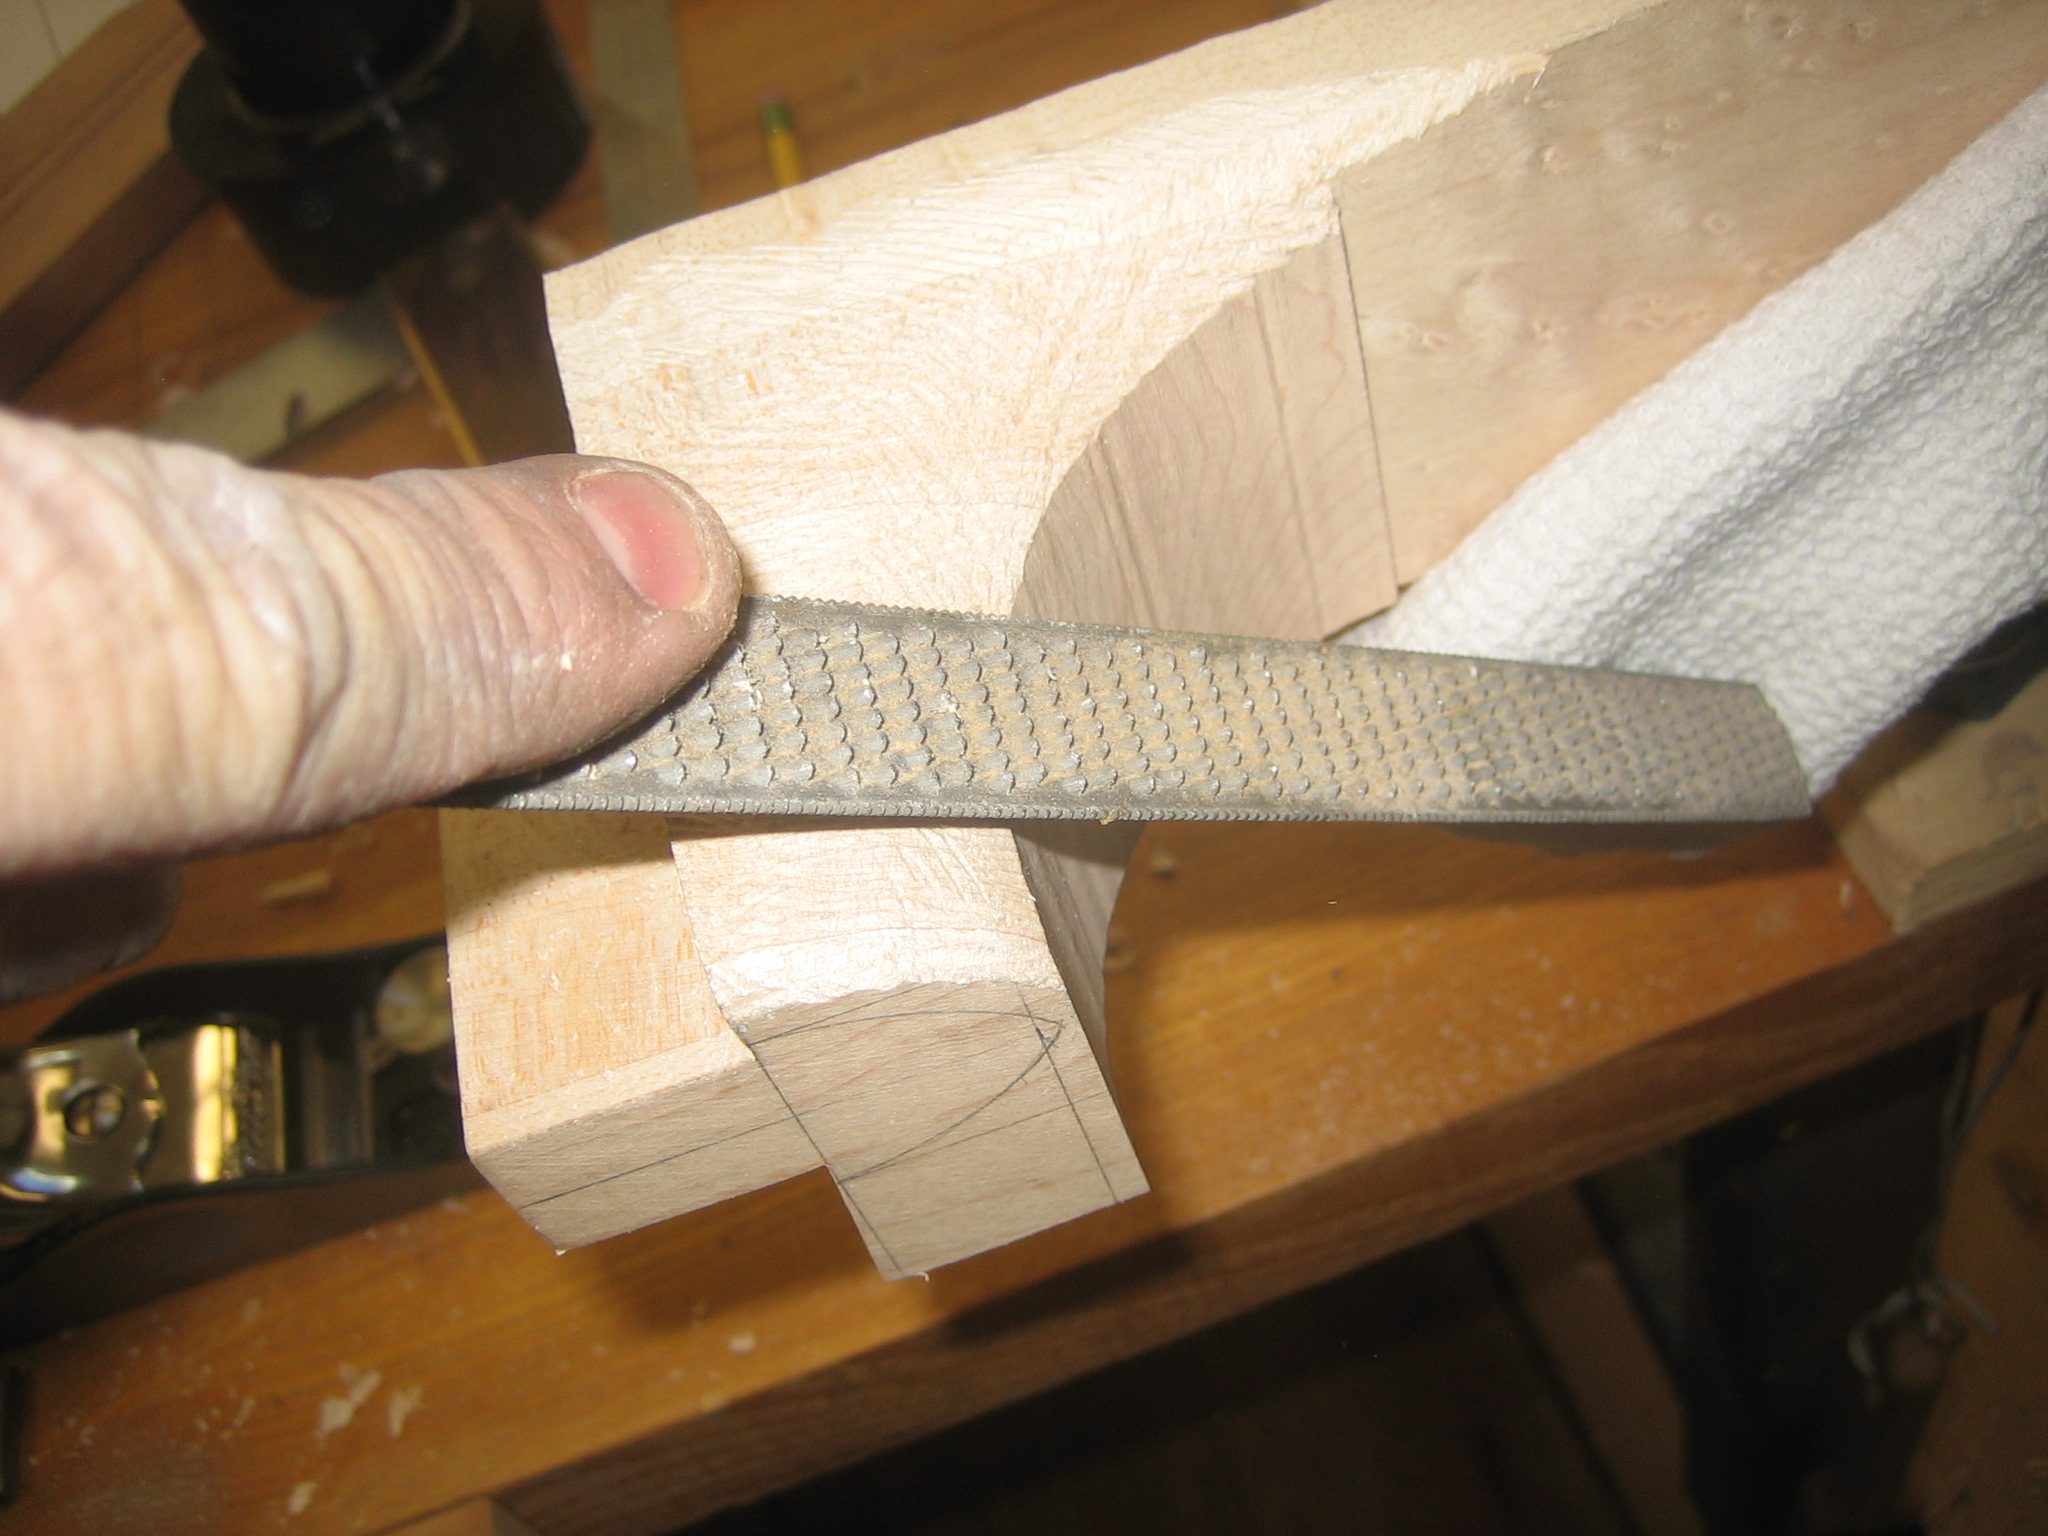
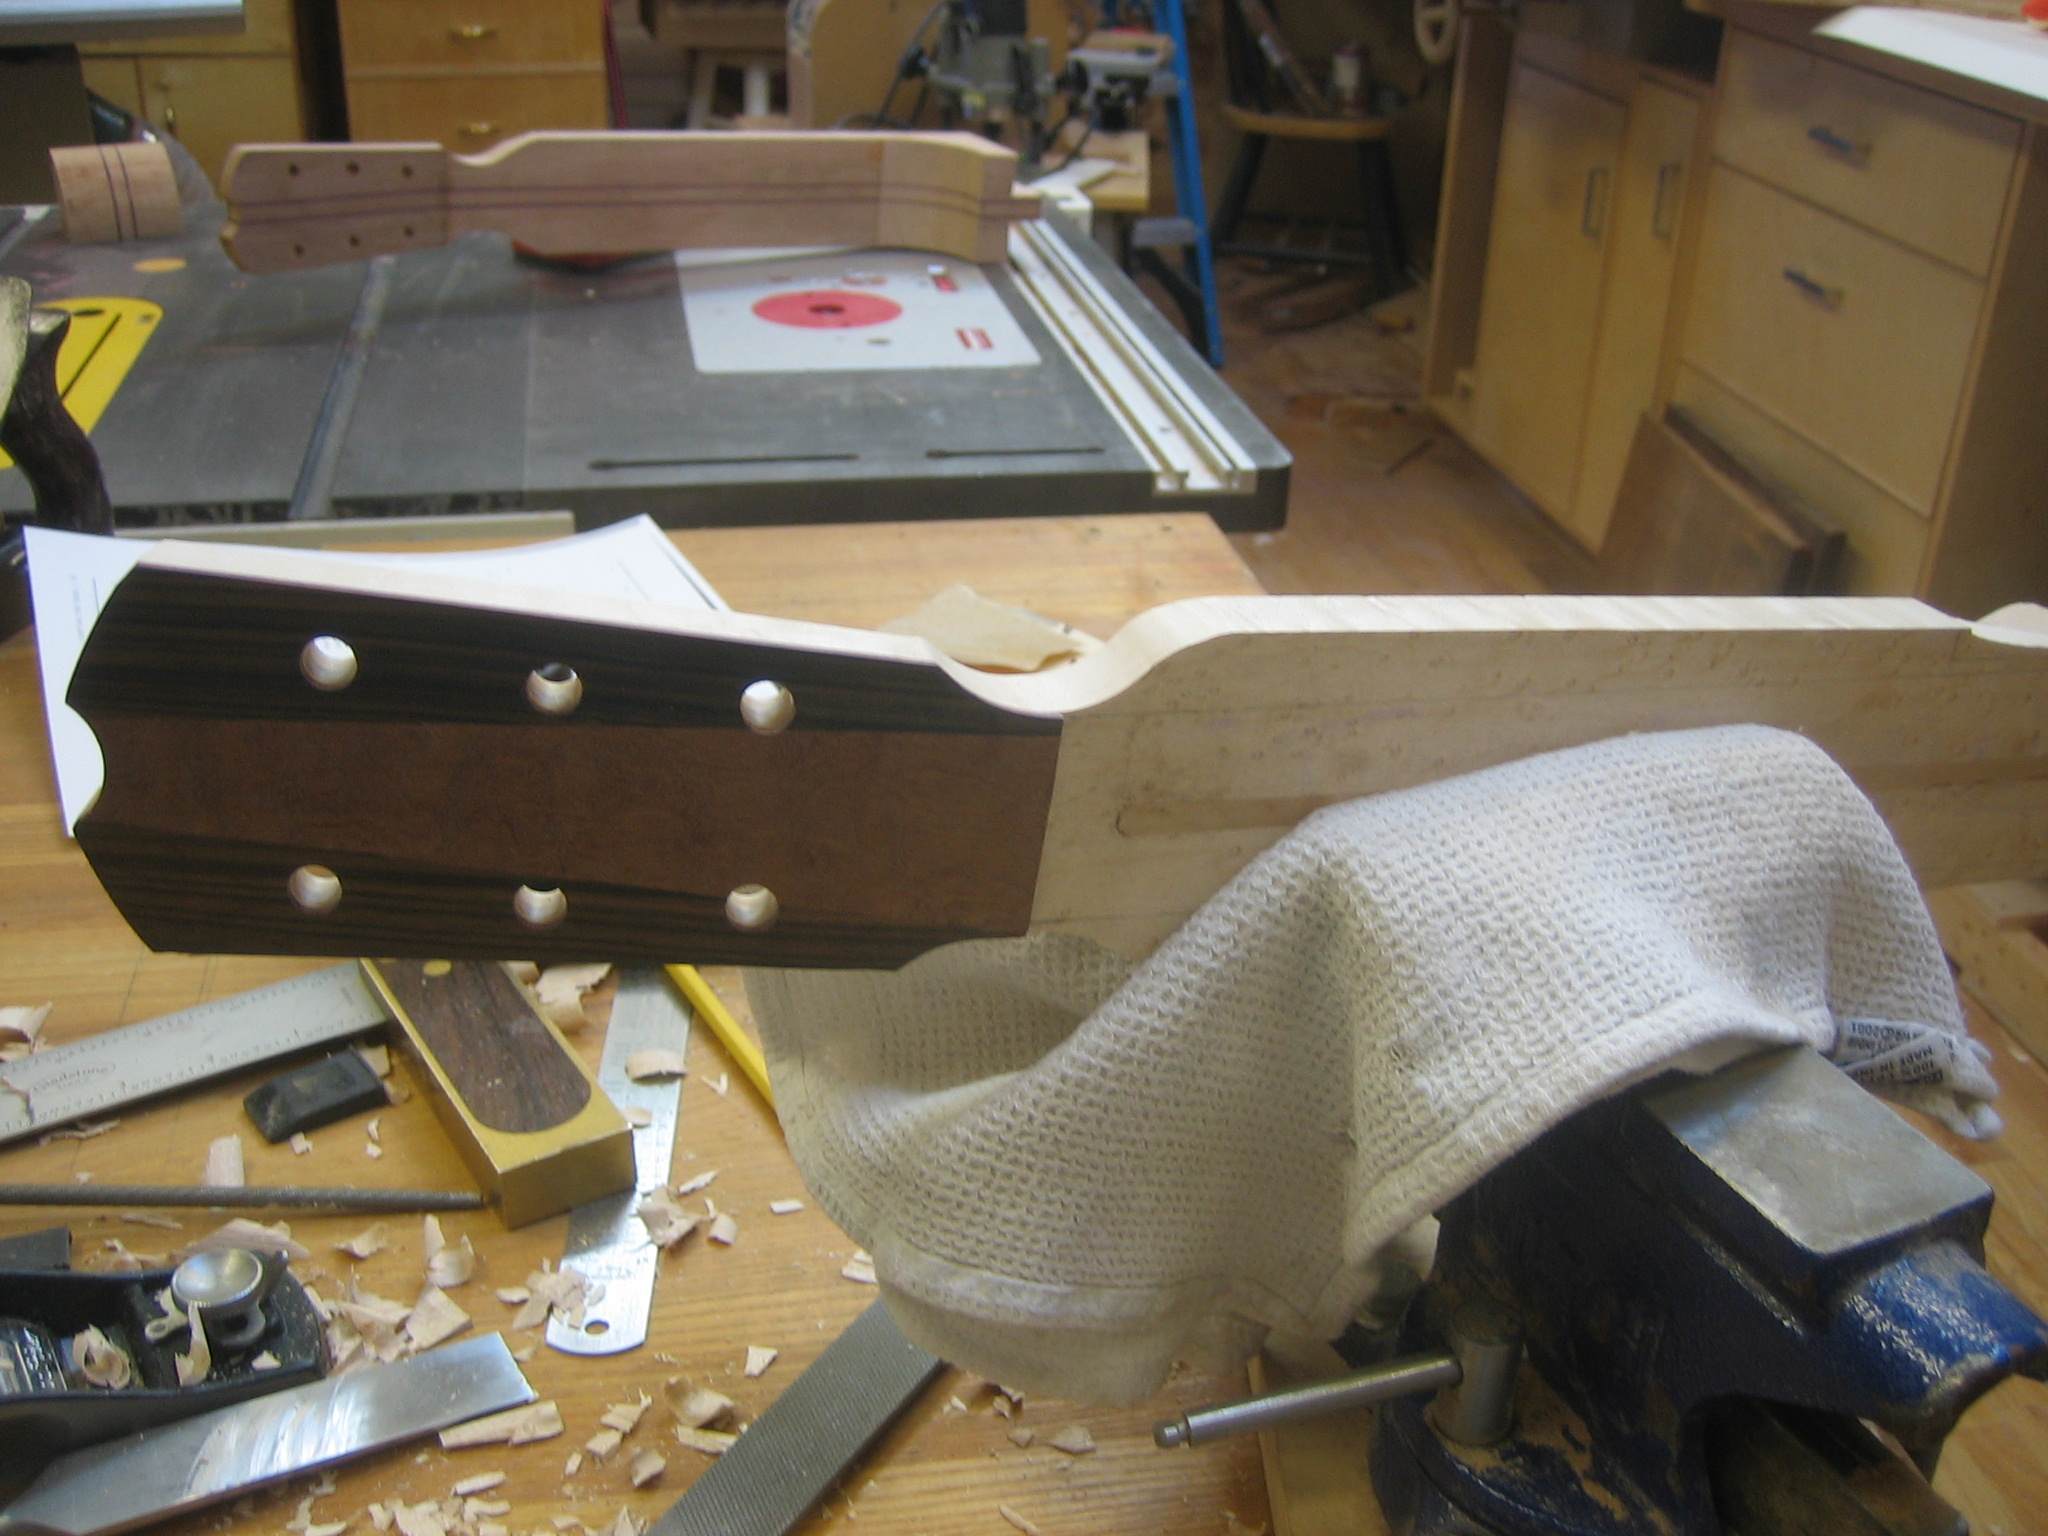
Shaping with a rat tail file
My lovely wife spent her weekend watching the kids and provided me with nearly two full days of shop time. In the intervening days I’d decided I wanted to build one of the guitars from cherry. I have a rather large stockpile and had read somewhere that Martin made/makes a “sustainable” series out of cherry, so it can’t be all that bad an idea, right? I’ll just set aside one of the two maple blanks for later and replace it with a new cherry one.
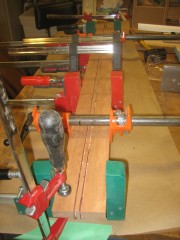
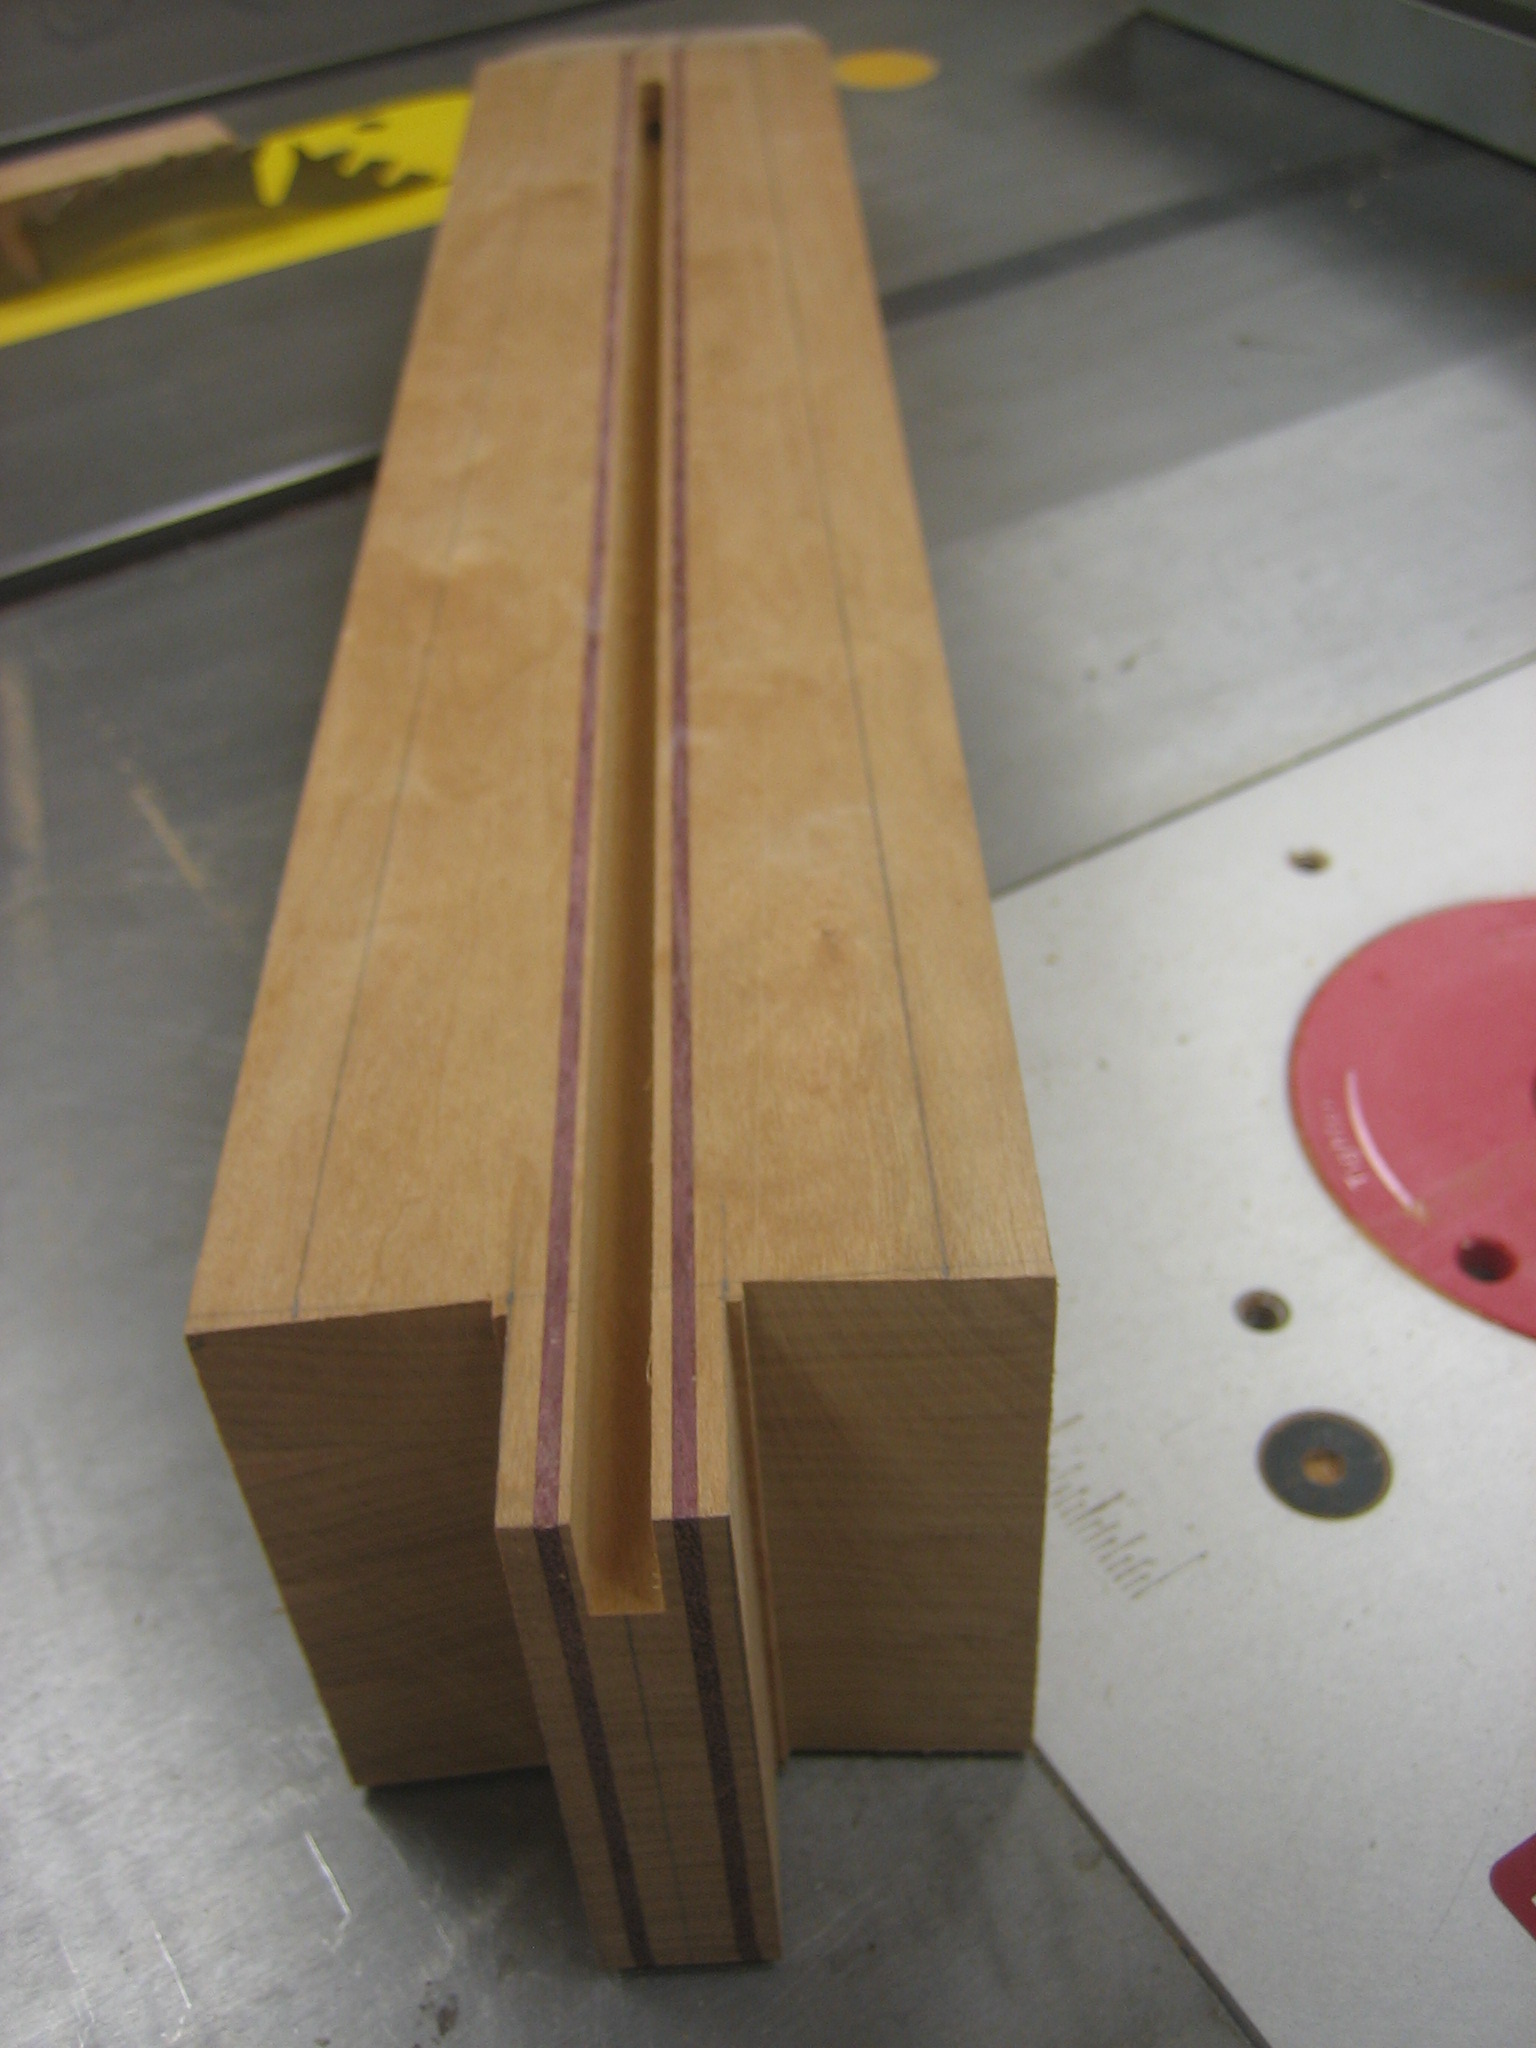
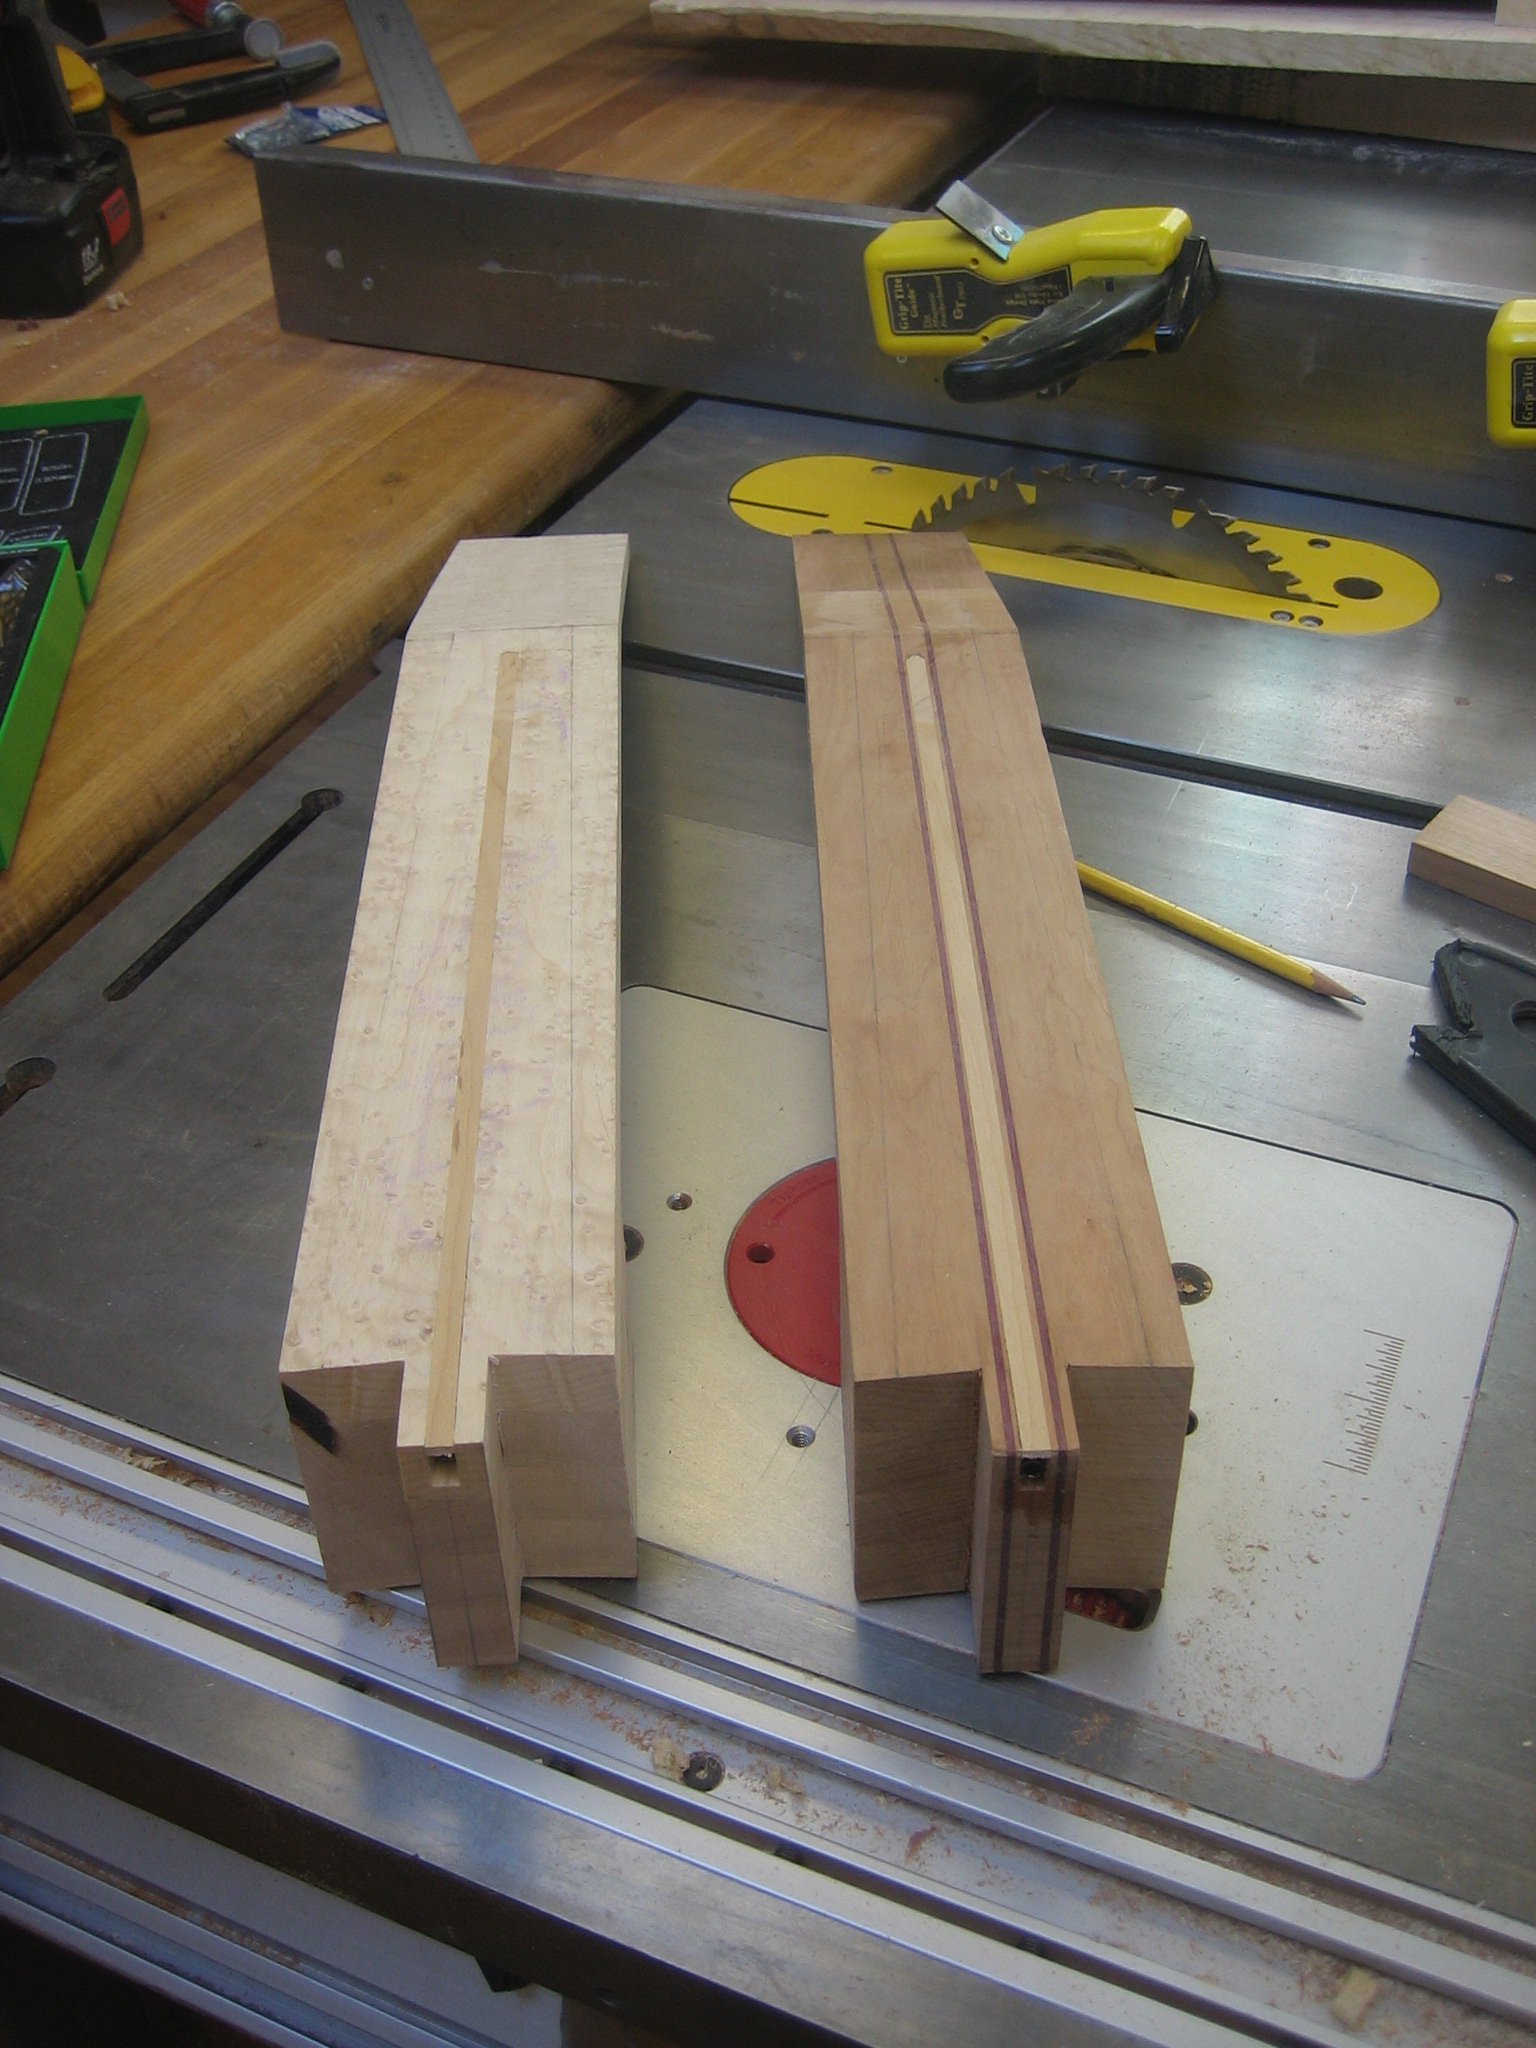
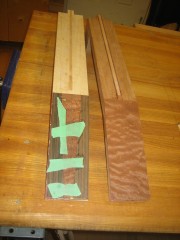
Another impressive touch are those laminated “racing stripes” in guitar necks, so I figured I’d try this as well. After pulling a nice looking cherry board from the stack I quickly cooked up another neck blank. For this one I would slice the blank up into three sections, insert some thin strips of purple heart, and glue it all back together.
This one went together fairly quickly and I was ready for the next stage. Per the book, I would glue a spline into the slots in the neck, covering the embedded truss rods. This spline is then planed/scraped flush.
Veneering the Headstock
Although steel string guitars traditionally feature a single 1/16″ veneer on the headstock, I wanted to use some of the nice figured veneer sheets I bought at the last woodworker’s show. Because I’d used purple heart for the racing stripes, I decided to sandwich a 1/16″ piece of purple heart in between the veneer sheet and head. Although it most likely will be hidden behind purfling, there’s a chance I’ll leave the purple heart edge exposed in at least one of them.

Cherry and purple heart sandwich
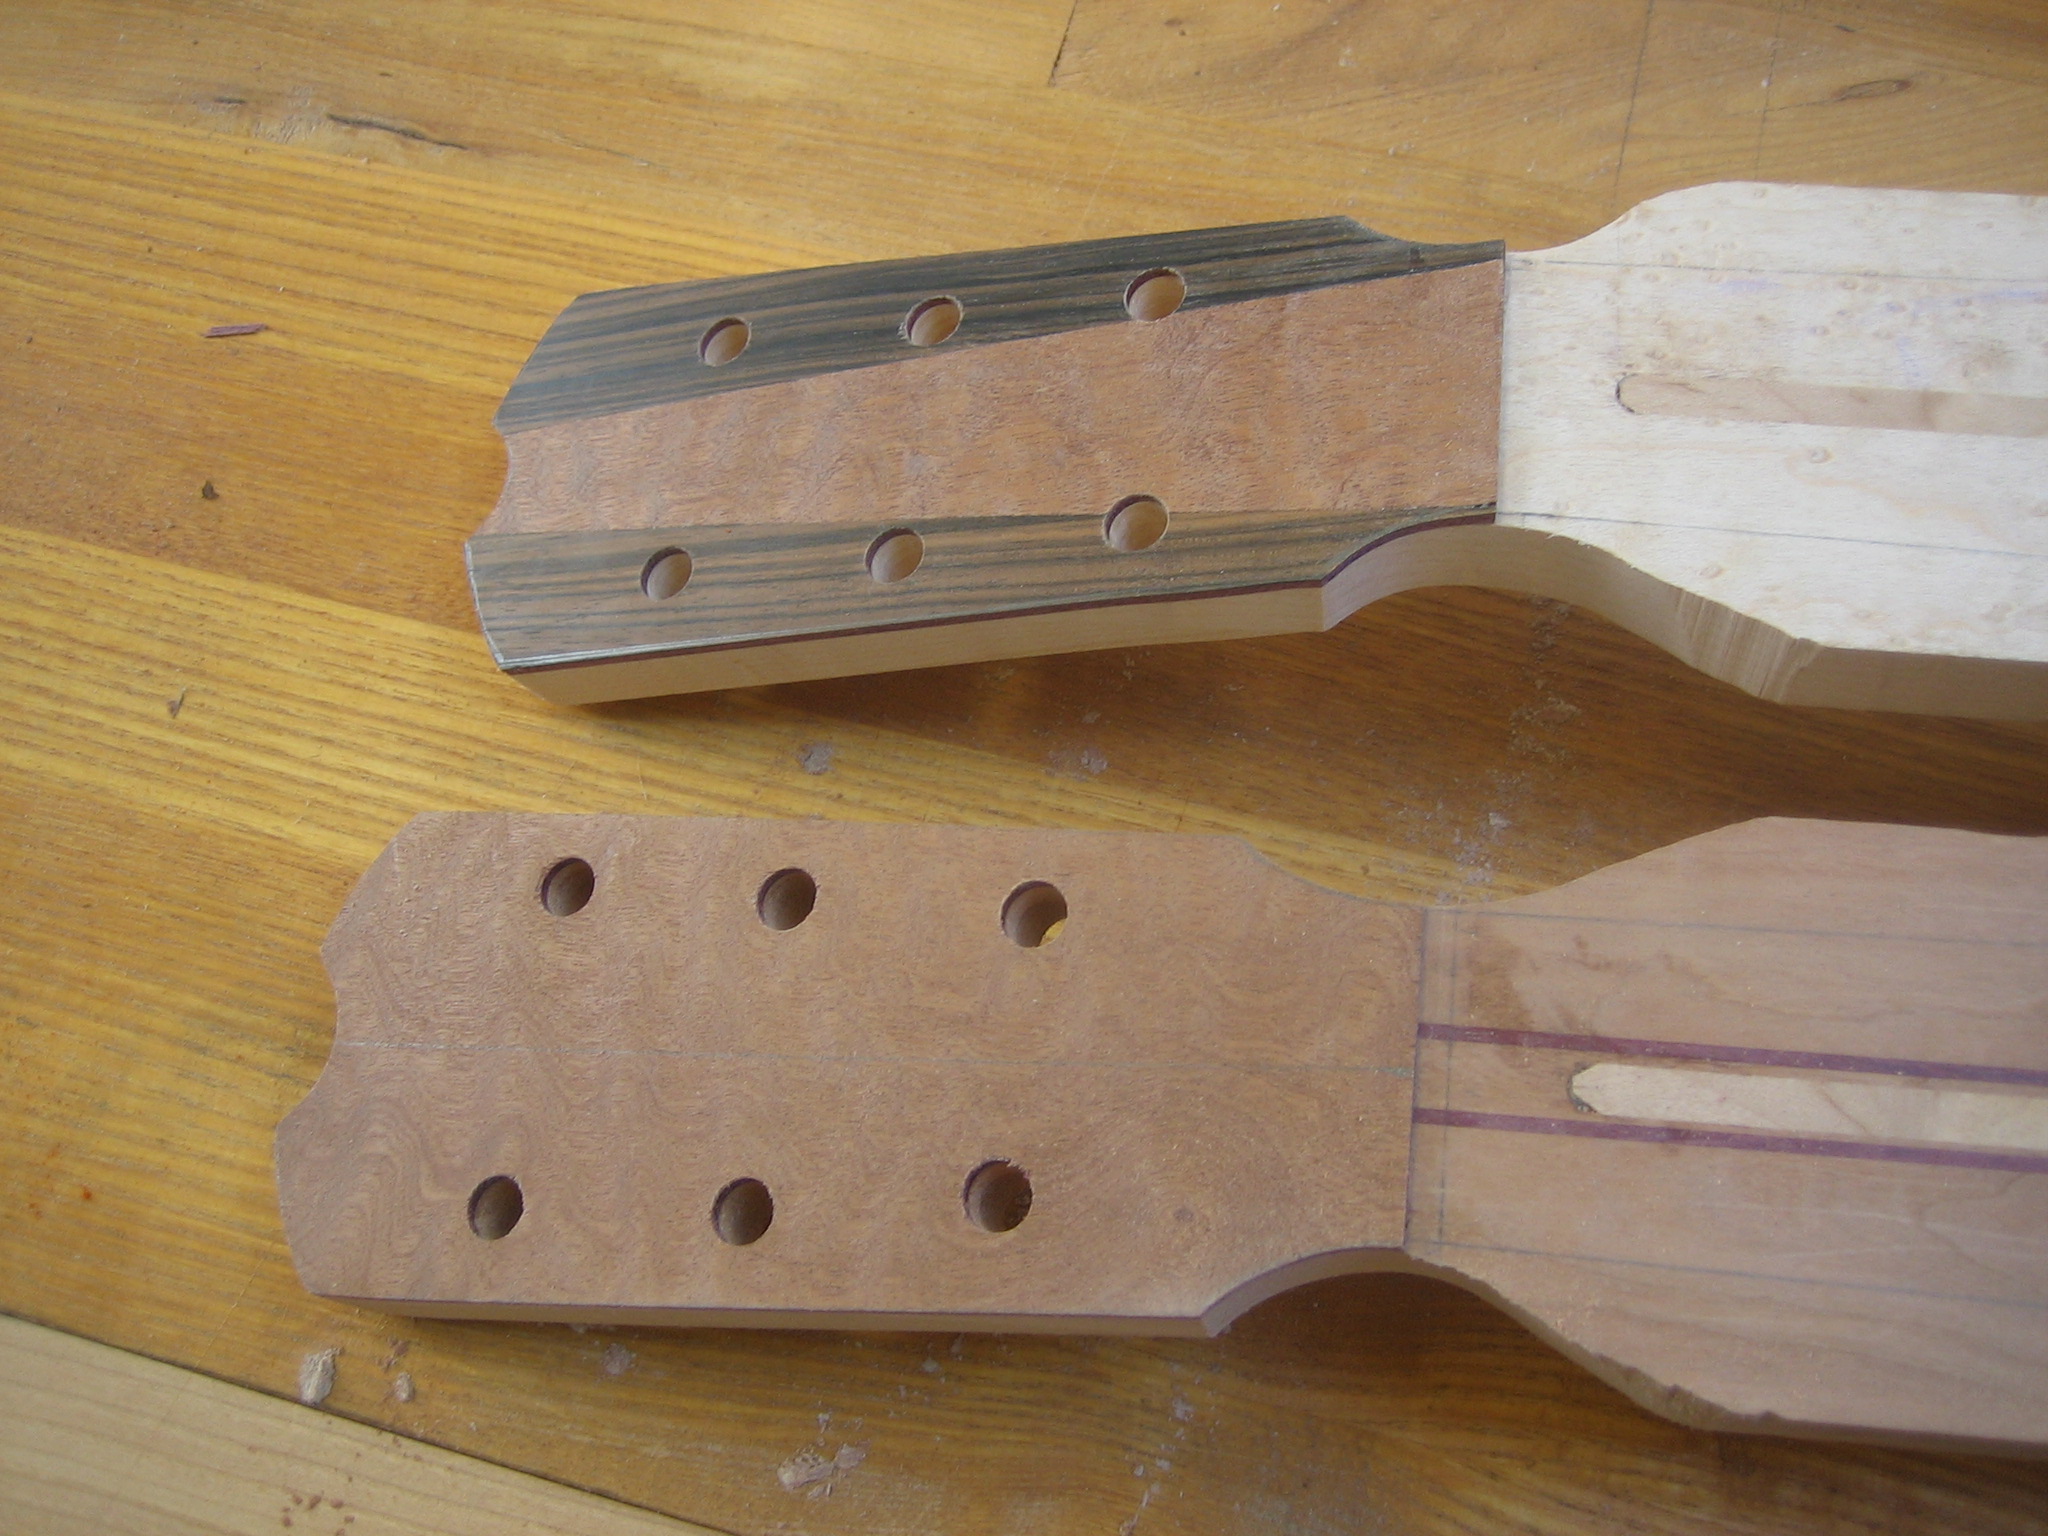
For one of the veneers, I “borrowed” an idea I got from another guitar builder’s blog post and created a two-toned effect by inlaying a wedge-shaped piece in the middle of the head. Although I’m pleased with the results, I focused almost exclusively on the vertical alignment and neglected to check how well-centered the piece went on. The result is that the lamination is noticeably off center. Ultimately I don’t think it will detract all that much from the final piece — and as this is meant to be a learning project anyway, consider this “lesson learned.”
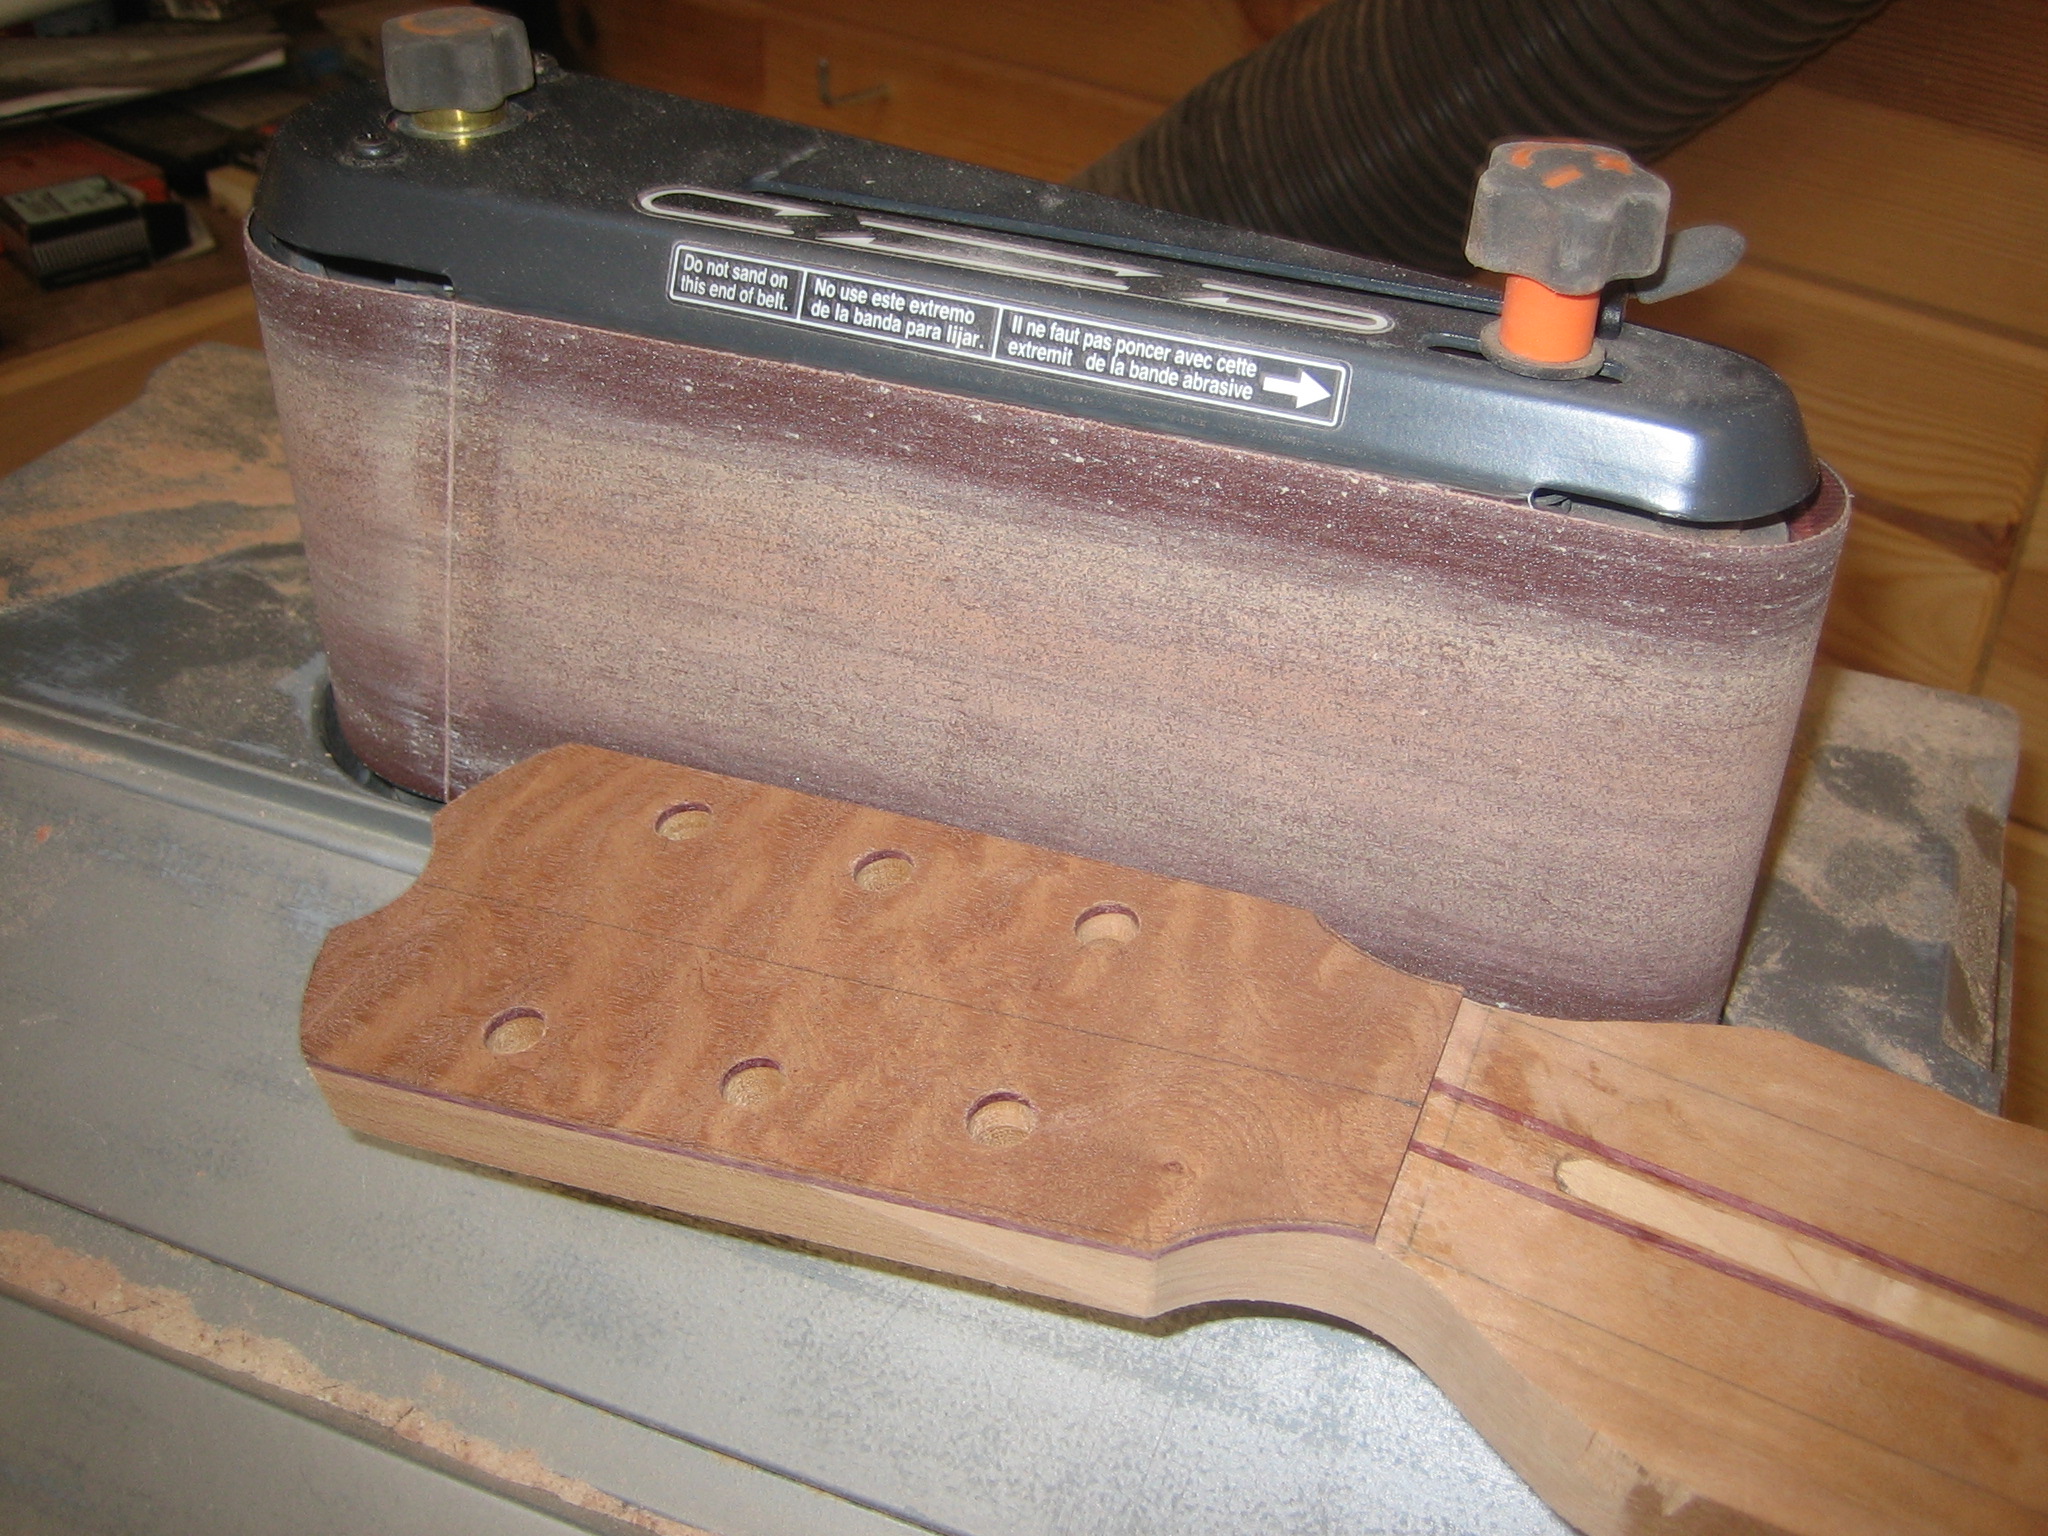
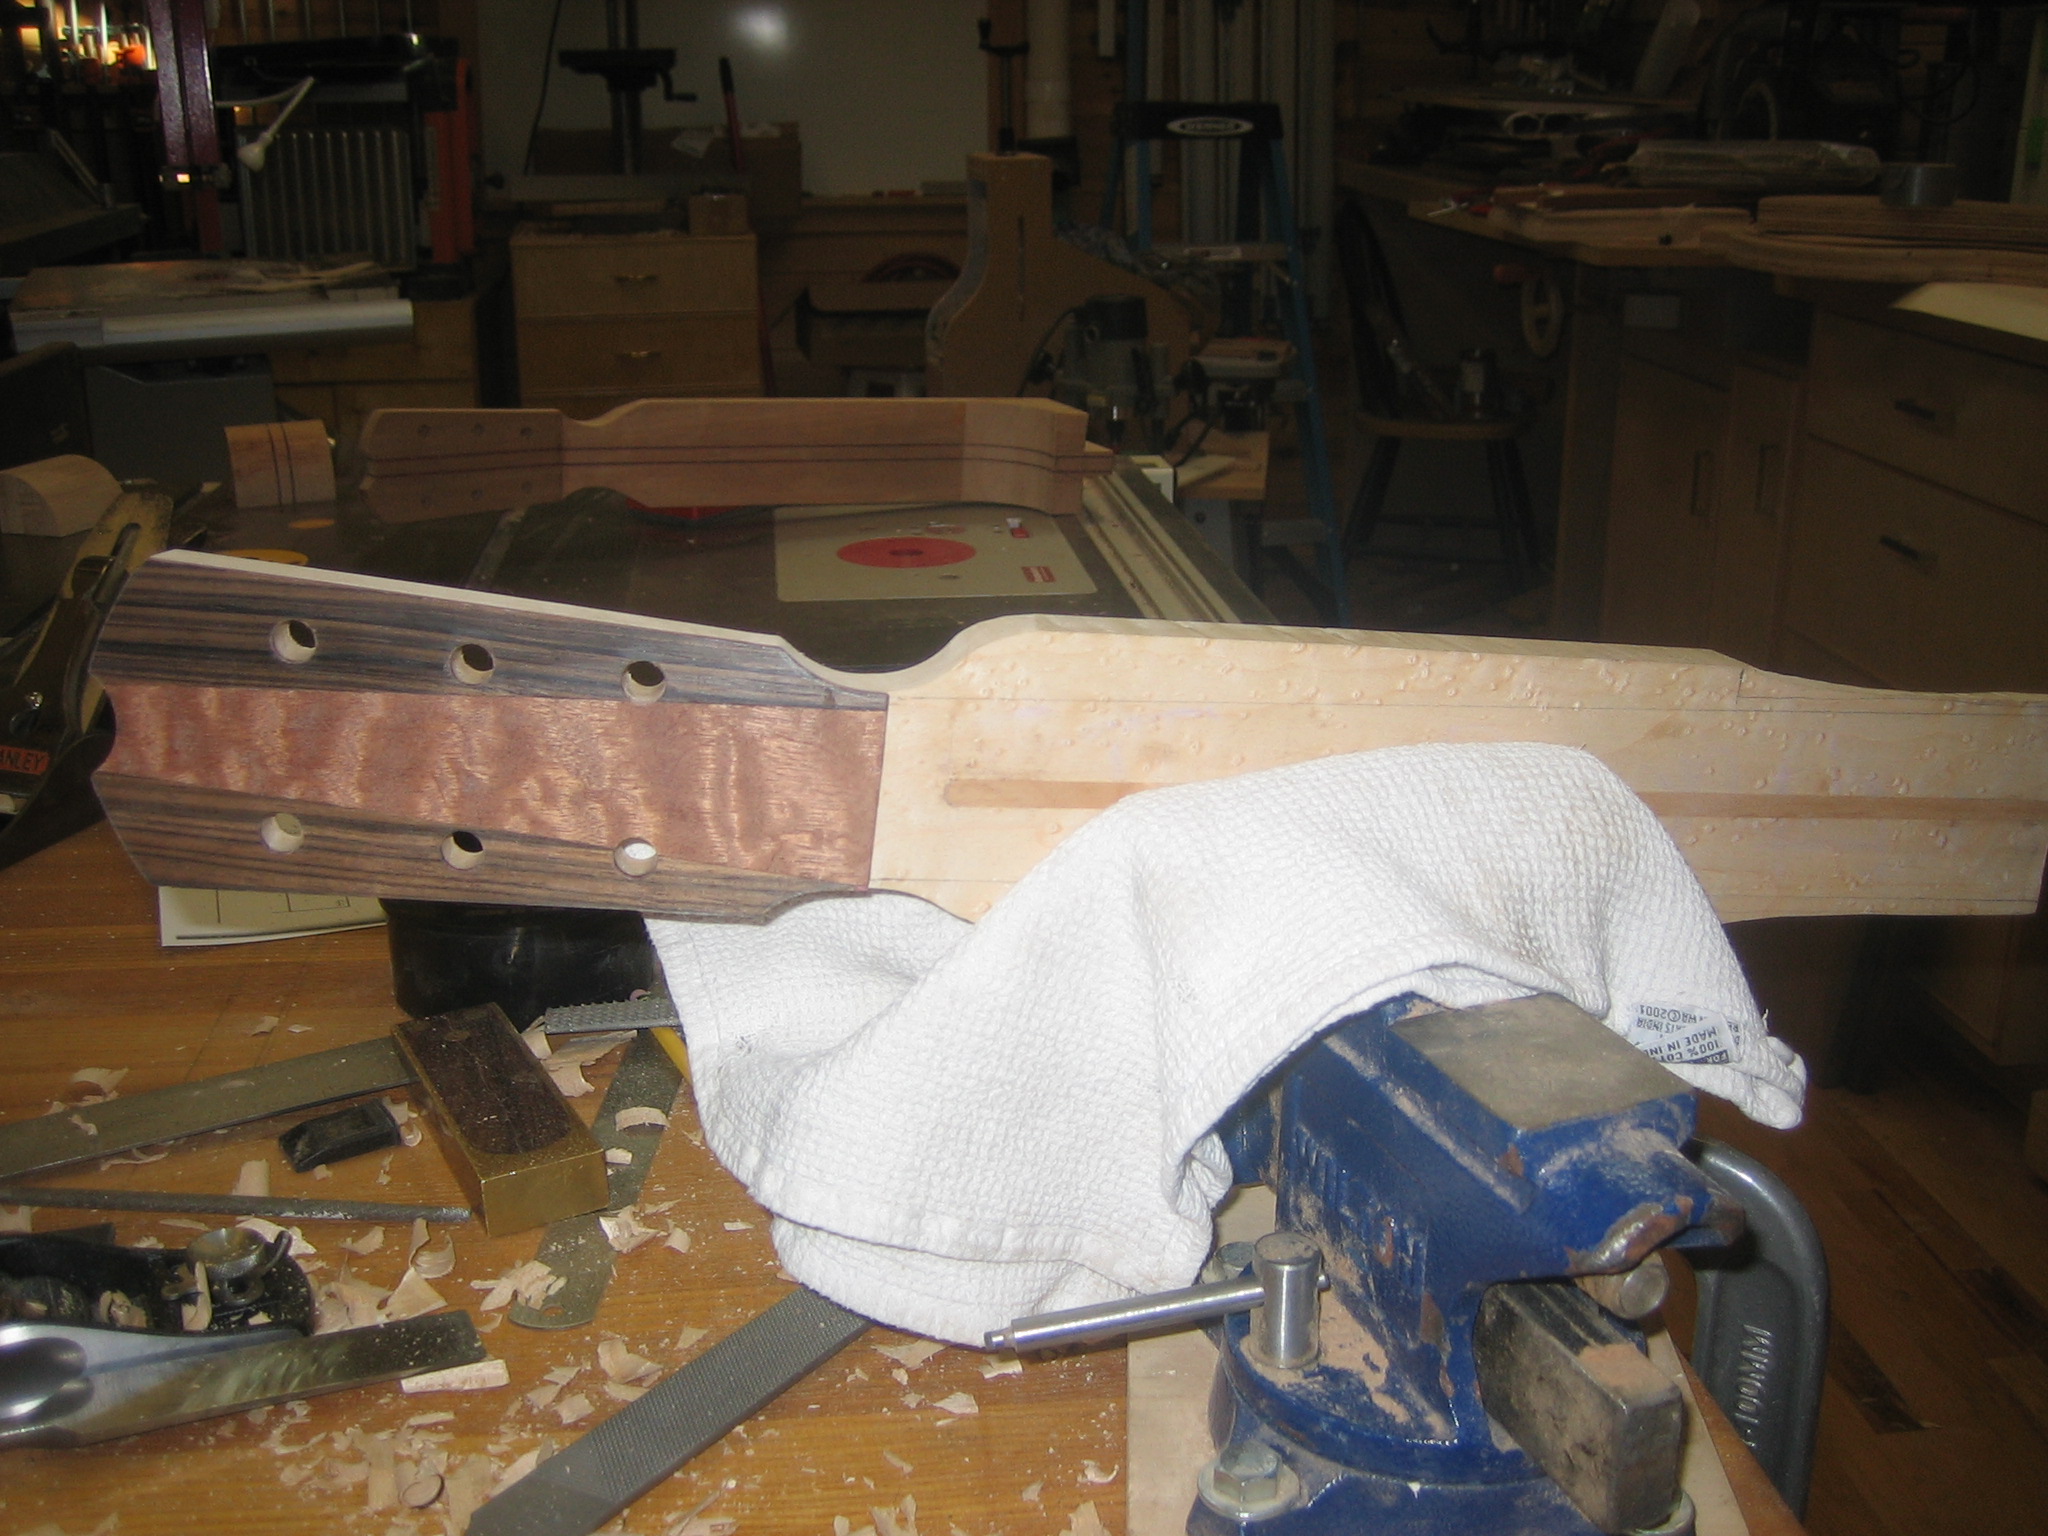
I wanted to keep the headstock shape relatively simple. The pattern from the Cumpiano book was a bit too simple for my taste, however, so I made some minor modifications. I’m not sure it’s my favorite design, but it should work pretty well. I drilled for the tuning machines, cut the basic shape on the bandsaw, and sanded the headstock to its final shape.

Not exactly veneer tape, but it worked

Head drilled and cut
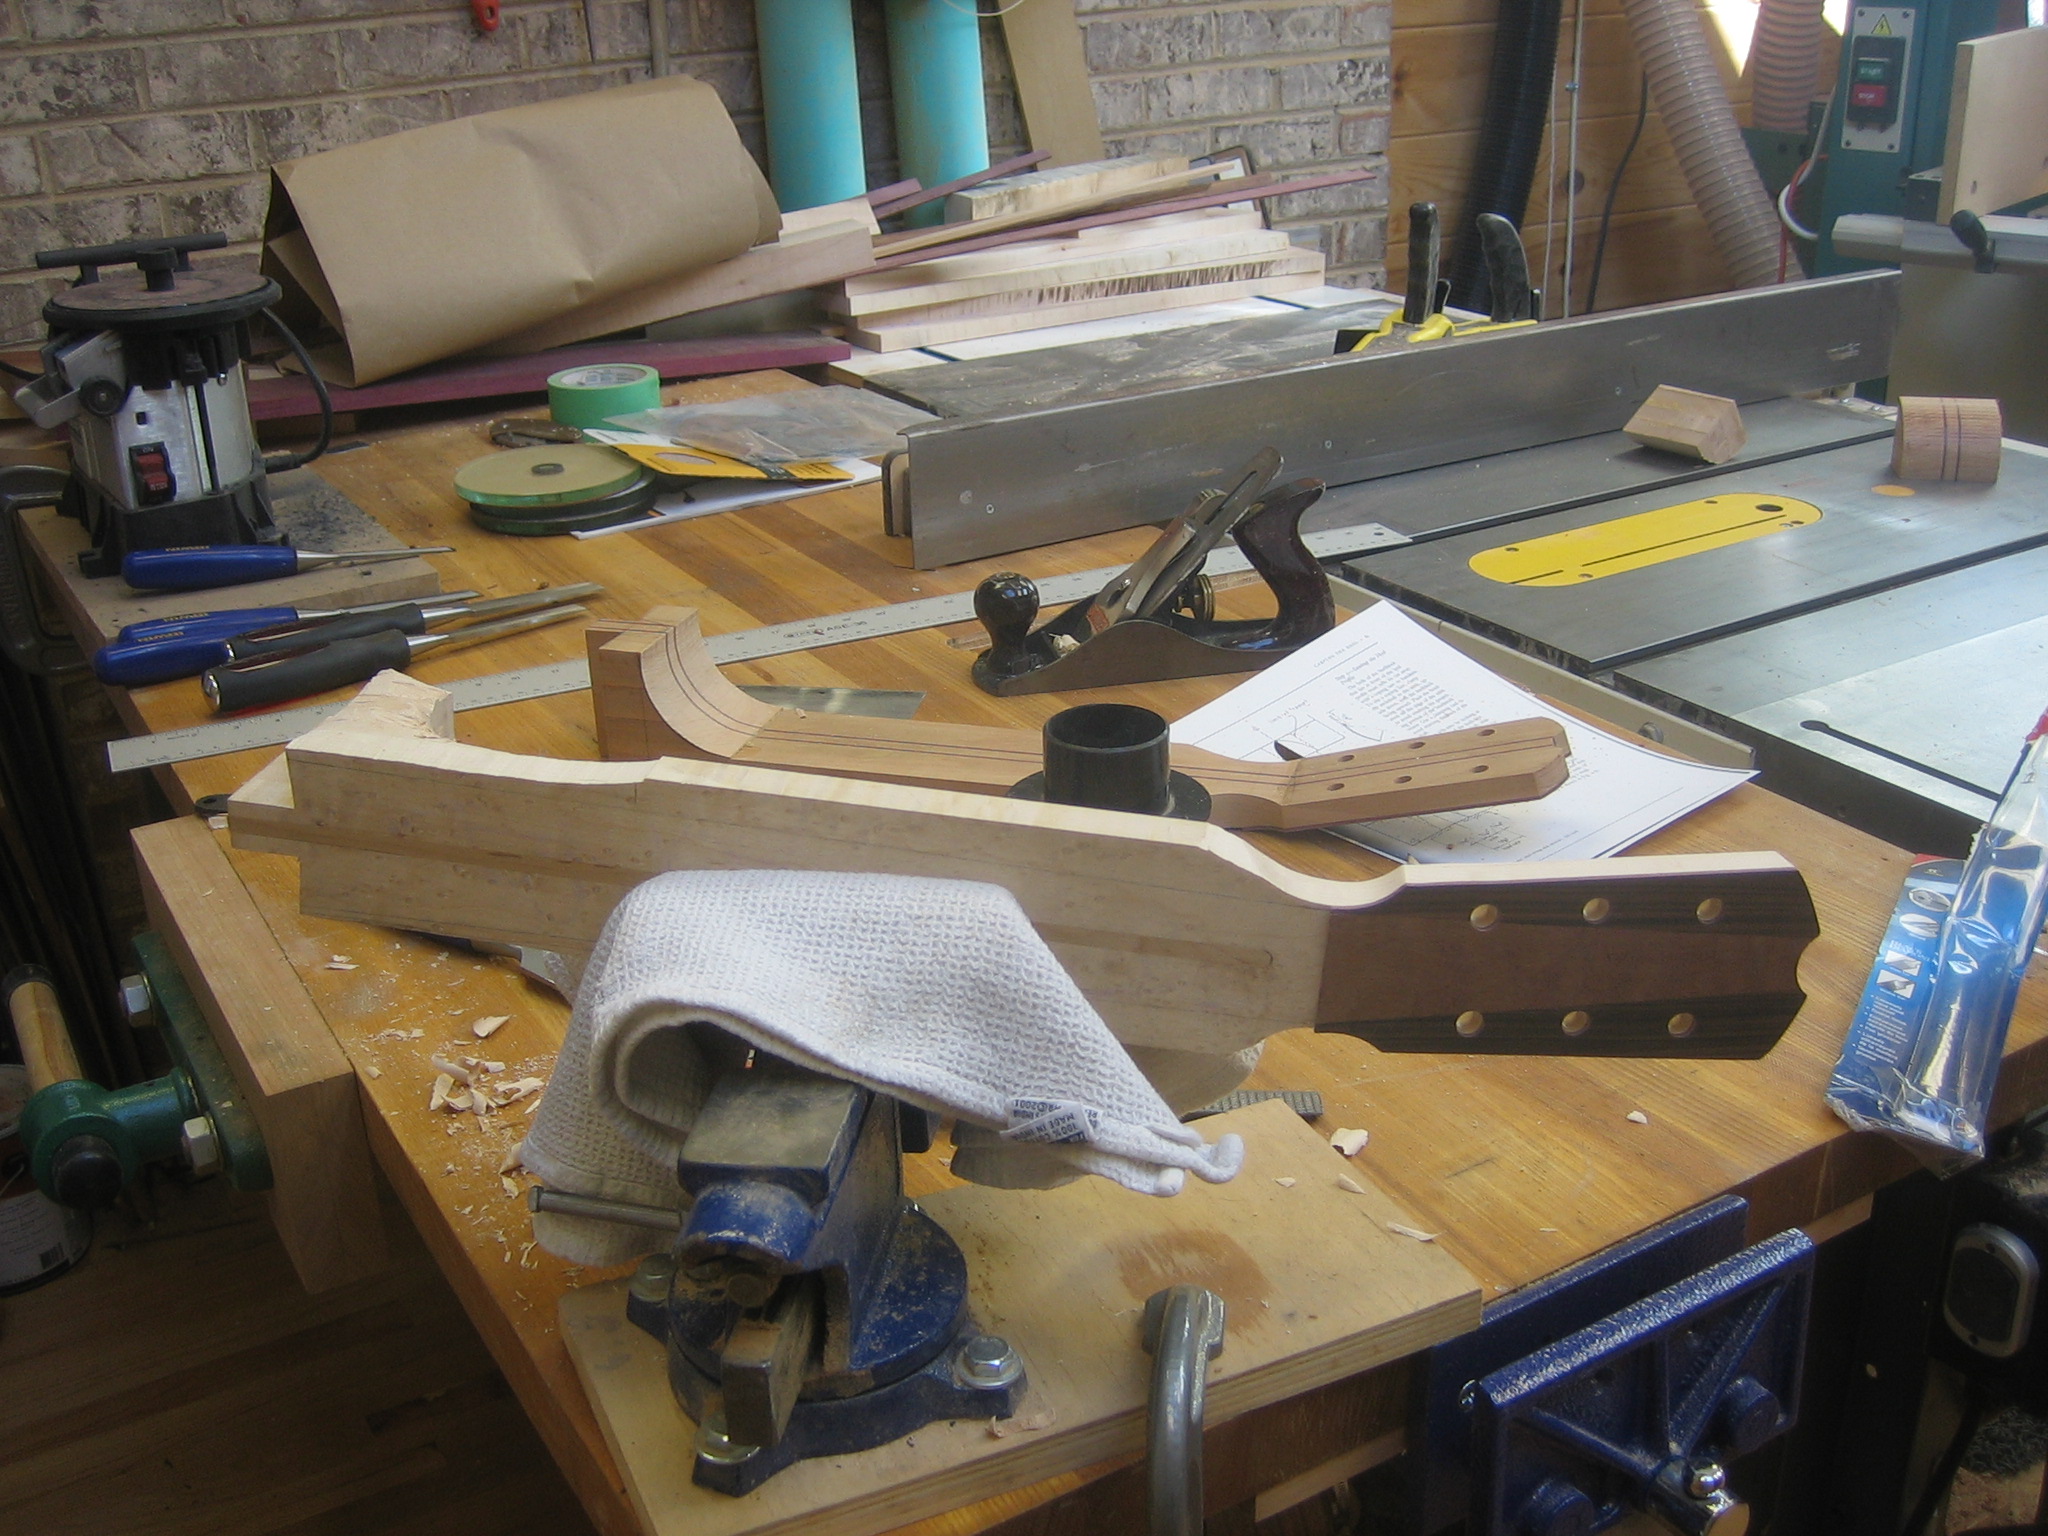
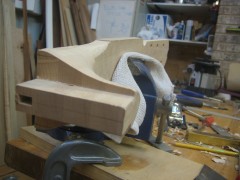
Shaping the Heel
I’ve been looking forward to this part of the process for some time. Most of the projects I’ve tackled to date featured nearly entirely machine-cut components. Even the hand-cut parts were essentially square, comprising straight lines and angles.
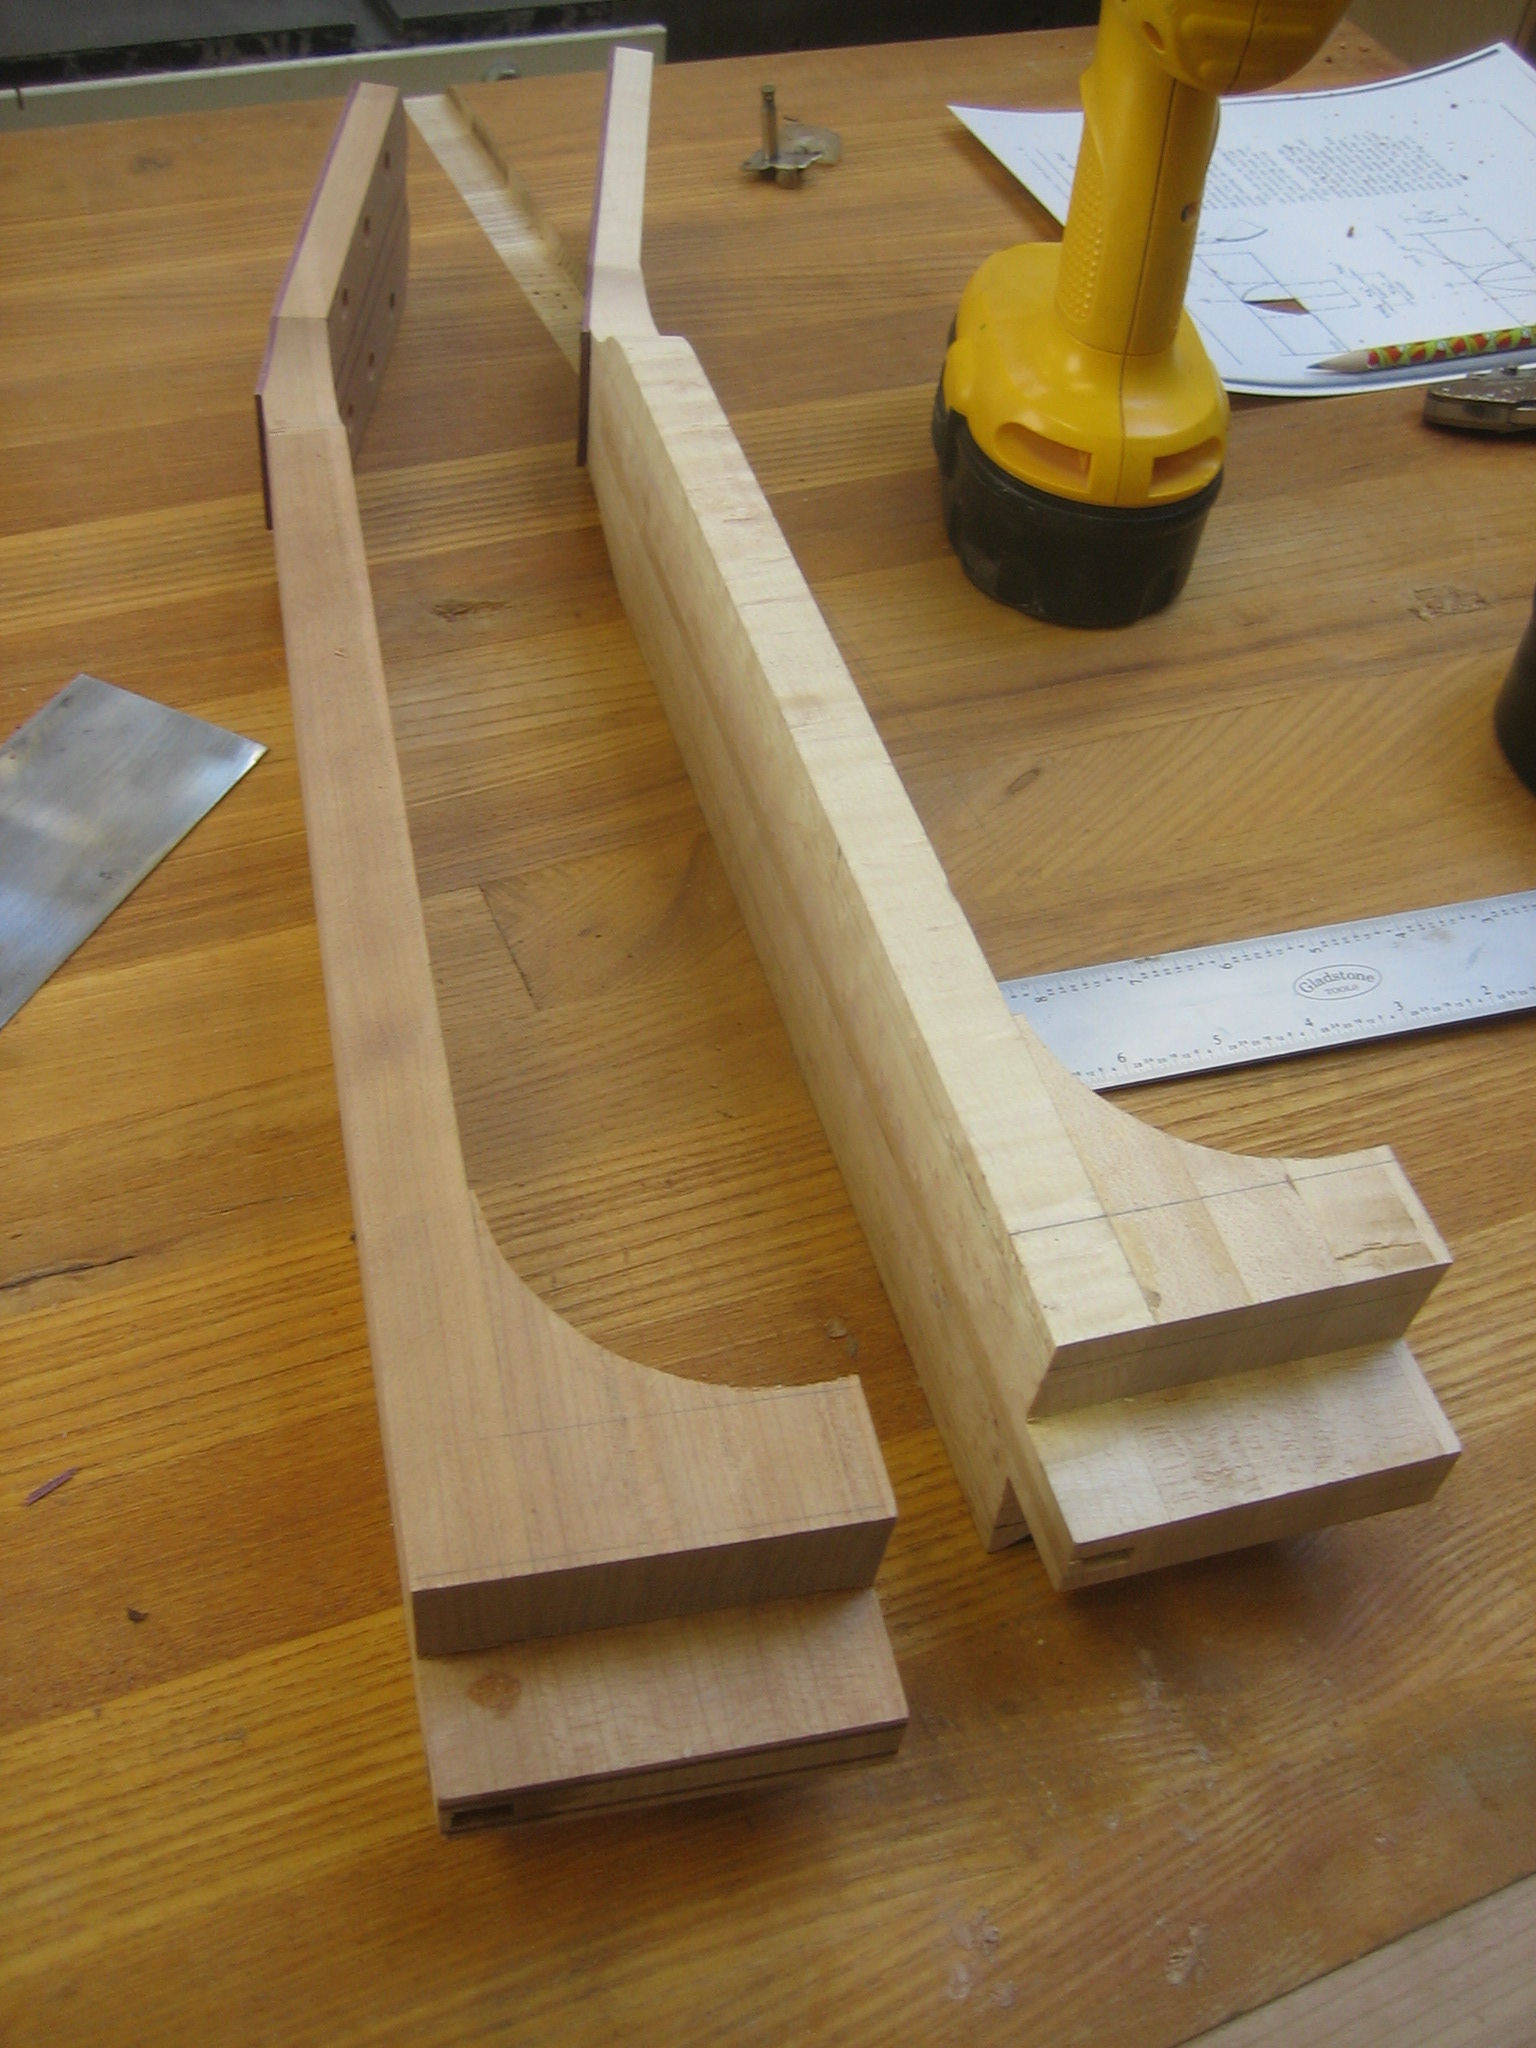
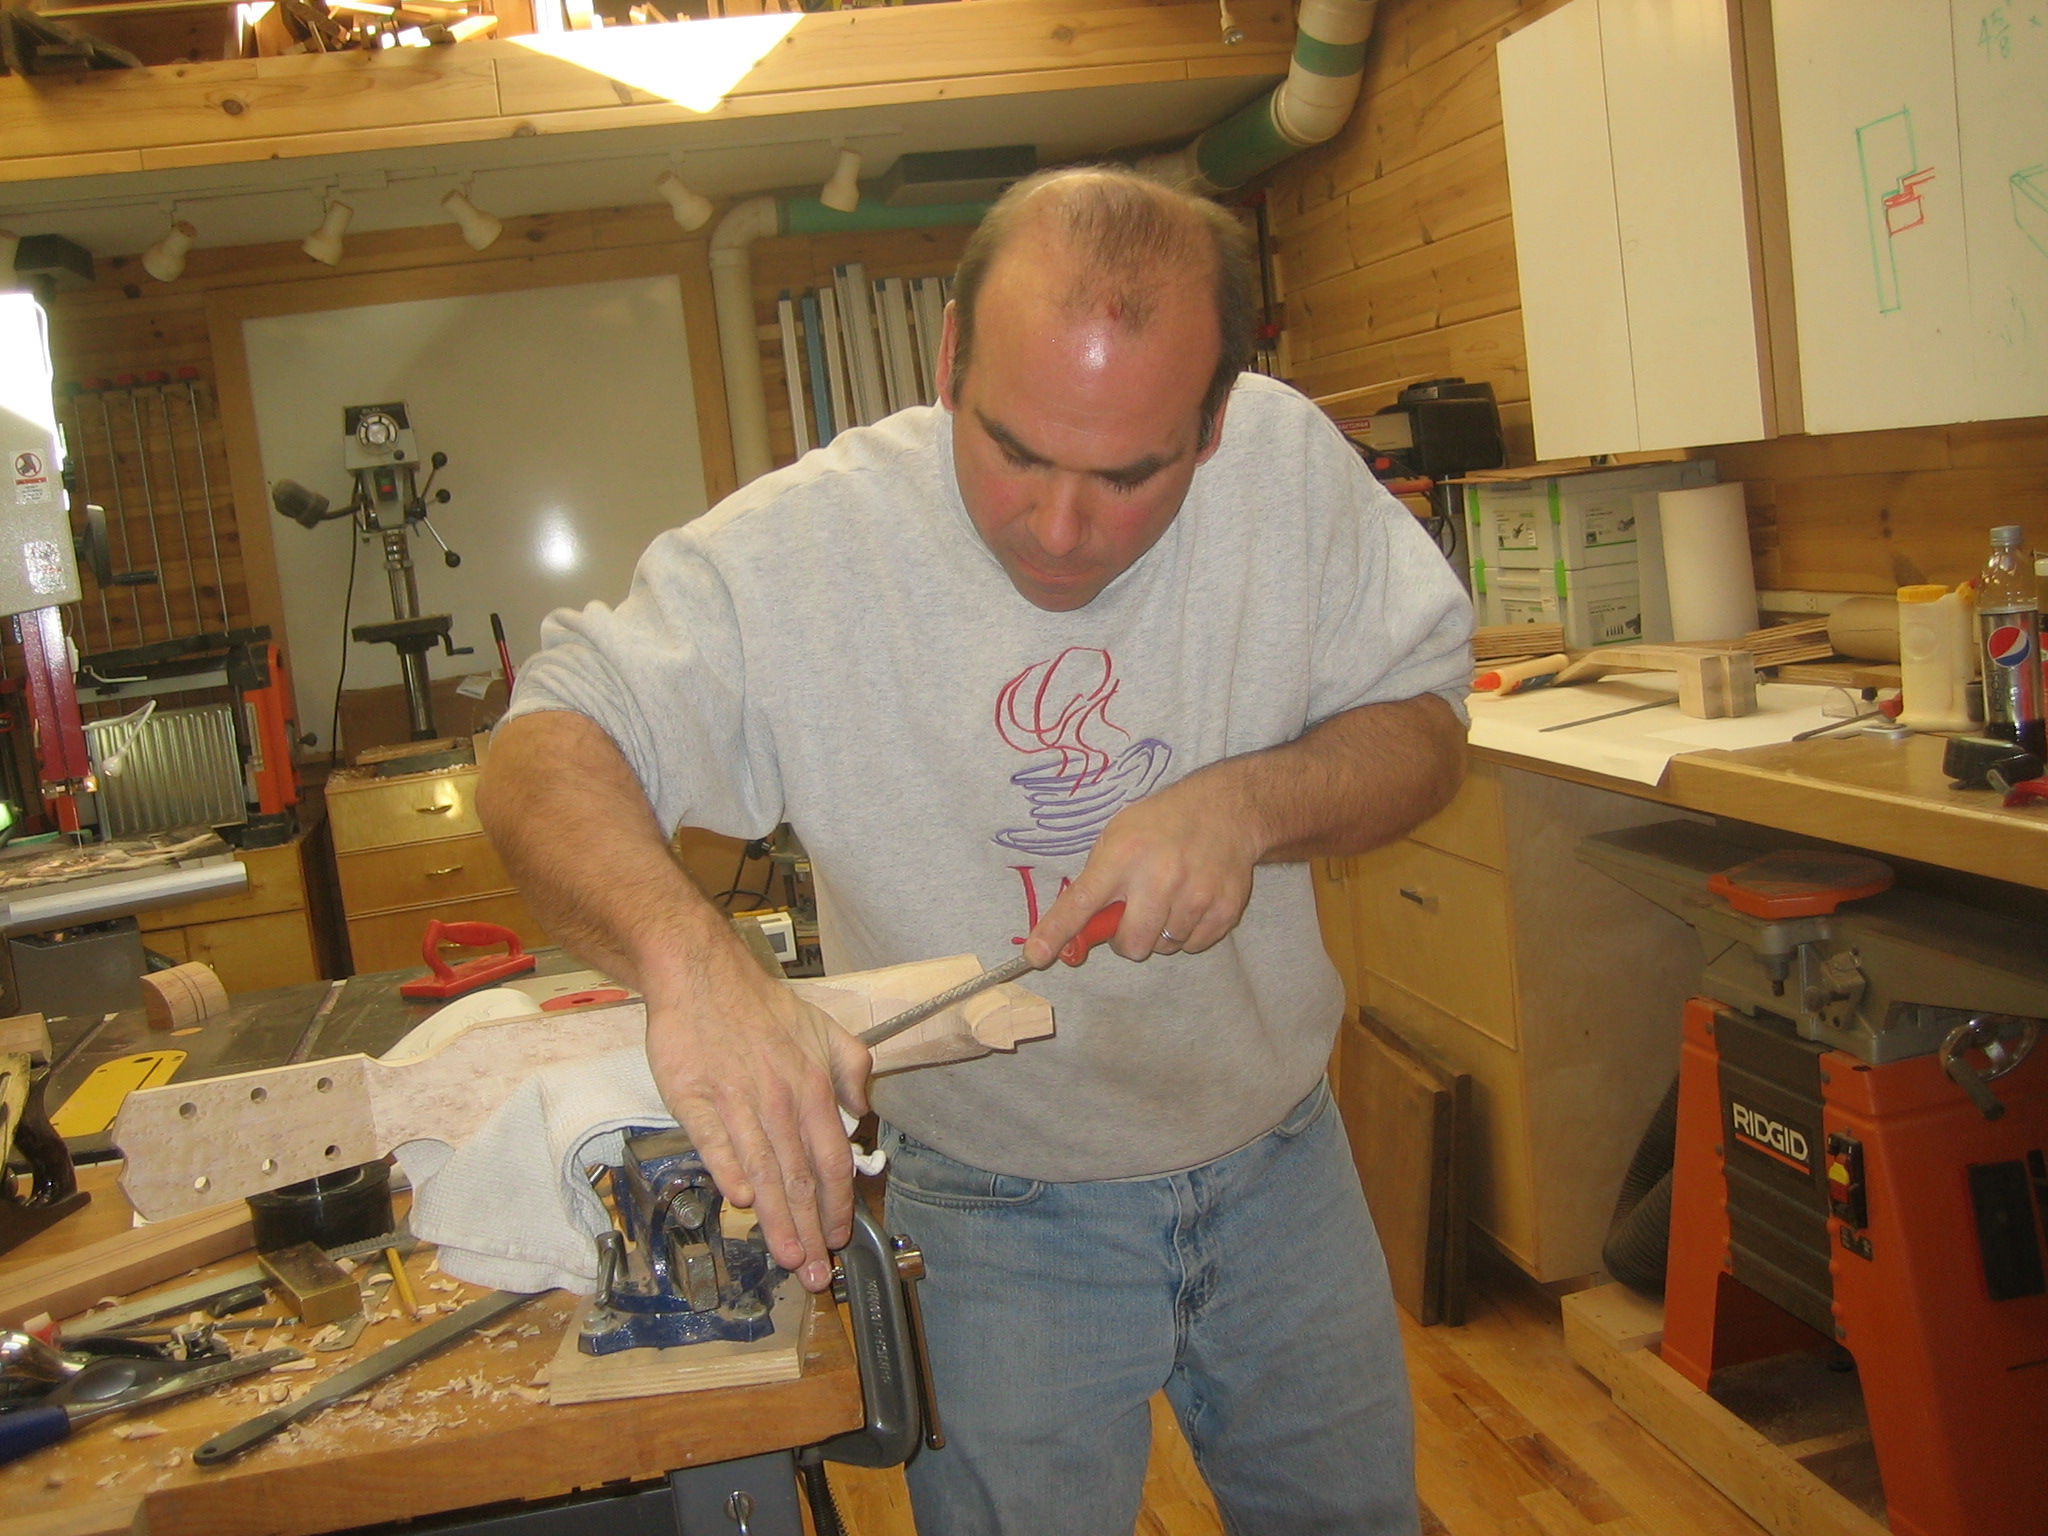
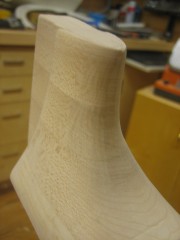
The heel, however, features smooth contours and significant hand-carving. Although I really had no clue what I was doing, I drew out some guide lines, touched up the sharp on my hand tools, and pretended that I did. And it was fun! First was roughing the curve on the bandsaw. Simple enough. Next, I started with my new low-angle block plane, narrowing the heel close to it’s final width at the fret board. The next step featured the 1″ and 3/4″ chisels to slope the sides down toward the heal cap. I’m guessing this would have been much easier with mahogany as opposed to the hard maple of this neck. I soon switched to a curved rasp, which made rather rapid work of wood removal. Switching to a rat tail, per Steve Dickie’s video series helped refine the final curve. I used a scraper and some course sand paper to finish it up.
There’s a bit more refinement I’d like to do yet, but I needed to call it a weekend. I’m still working on designs for the headstock inlay. At this point I’m considering forgoing an inlay on the maple neck and moving forward with the soundboard. After shaping the heel on the cherry neck, I may spend some time on a significant inlay on this one and then set it aside while I complete the bulk of the work (and hopefully make the bulk of any mistakes) on the maple one. Then again, I might just soldier on with both guitars instead. We shall see…

Carving the heel

Completed heel carving
-
- Cherry and purple heart sandwich

-
- Not exactly veneer tape, but it worked

-

- Head drilled and cut
-

- Shaping with a rat tail file
-
- Carving the heel

-
- Completed heel carving
