

- Building an Acoustic Guitar
- The Neck
- The Soundboard and Back
- The Rosette
- Picking Up Where I Left Off…
- Assembling the Box, Part I – Soundboard and Sides
In early 2012, I started my first acoustic guitar build and for several reasons wound up putting it aside. Over 4 years, a couple electric guitars and mountain dulcimers under my belt, I finally felt ready to return to this project.
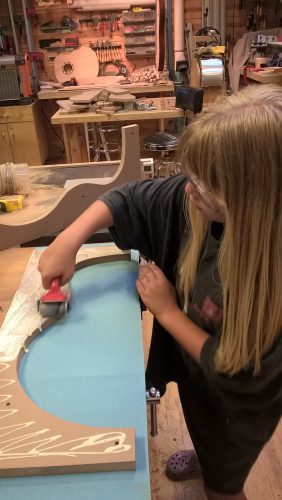
Annalise helps me glue up the mold

The completed bending machine
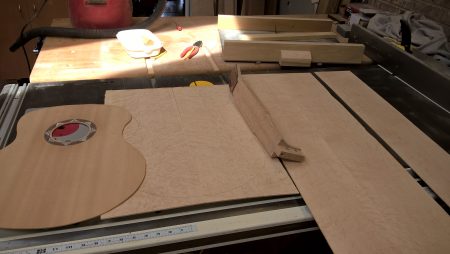
The soundboard and neck, and back and side blanks

Back plates ready for joining
Making the back braces
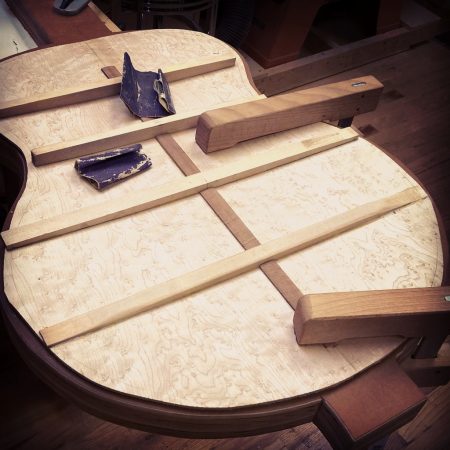
Gluing the soundboard bracing
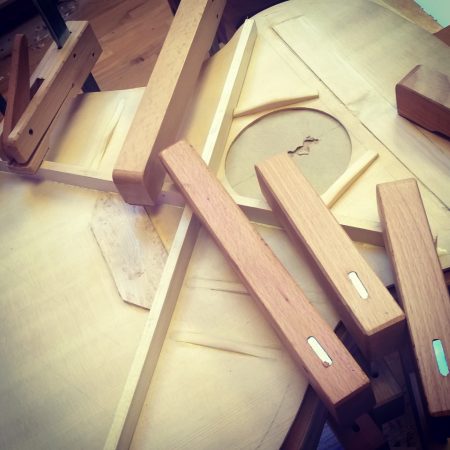
Sanding the carved braces
Back to Prep Work…
The first two tasks were to build a bending form and finish building the bending machine that’s been sitting under my bench gathering sawdust for several years. The machine was essentially complete – all that was needed was to assemble the form by drilling some holes and installing 1/2″ conduit. I also installed the springs for clamping down the ends.
Although I had already built a Cumpiano-style workboard, it’s clear that most luthiers these days use a mold to keep their sides in place during the assembly process. It certainly seemed to me like an easier and more precise way to assemble the guitar.
Additionally, with my somewhat limited and sporadic shop schedule, I knew the sides could be sitting around for several days, perhaps weeks, before being glued up. I wanted something to hold them securely in place to ensure the bends didn’t relax. And so my daughter and I built a mold of MDF.
Bending the Sides
Taking stock of where I left off, the neck I liked the most was made of birdseye Maple. I had also resawn a couple back blanks of birdseye. I just love the stuff and had a couple boards around that would work quite well as sides. So after an afternoon of resawing and thickness sanding the side blanks, it was time to test out the bending form.
Initially, I attempted placing a blank directly on the bending machine and allowing the heat from the three 200-watt bulbs to do the work. However, because my bending form is capped with aluminum sheeting, the heat is trapped by the surface of the form and doesn’t heat the straight slat floating several inches from its curved surface. This approach wouldn’t work unless I wanted to remove the aluminum, leaving the bright, hot bulbs exposed.
Shifting gears I briefly attempted bending the sides with a heat gun; a technique that worked very well with the dulcimer ribs. As I suspected, the extra width – more than 2x wider – of the guitar sides made this significantly more difficult to pull off.
So I pulled out my new steam box and decided to steam the wood before bending it against the pre-warmed bending form. This worked quite well. The pieces bent readily after a 20-minute steaming session. Leaving them on the form with heat applied for an additional 15 or so minutes helped “lock in” the bend. There was very minimal spring back.
The Back Plates
While the sides “cooked” we turned attention to the back plates. They were first jointed and glued. With the back and sides of Maple and top of Sitka spruce, there would be a whole lotta light-colored wood in the body. This would need to be broken up with some contrasting binding which meant ripping up a pile of 1/4″ wide Cocobolo strips. One of these was inlaid down the center of the back.
Mahogany seemed a nice contrast for the center patch. Sitka pieces were cut for the bracing. The 30″ radius curve was laid out on the computer and appropriate arcs printed out. I tried a new technique I learned recently from Mary May for transferring the drawings to the hardboard template: a hot iron was used to transfer the laser-printed curve directly onto the board. I would never have suspected this would work, but it does. This curve was traced onto the Sitka bracing and they were sanded to shape.
I glued these in place with the back clamped onto the Cumpiano work-board with cork shims around the edge to match the bow.
Soundboard Bracing
Before applying the bracing I noticed that the soundboard rosette wasn’t perfectly flat and flush to the surface. The soundboard itself also felt a bit stiffer than I’d like. I recall being apprehensive about running the delicate Spruce through the wide-belt sander four years ago. After running the birdseye Maple through probably dozens of times I was feeling far more confident. Several passes later and the rosette was flat and smooth and the soundboard stiff yet responsive.
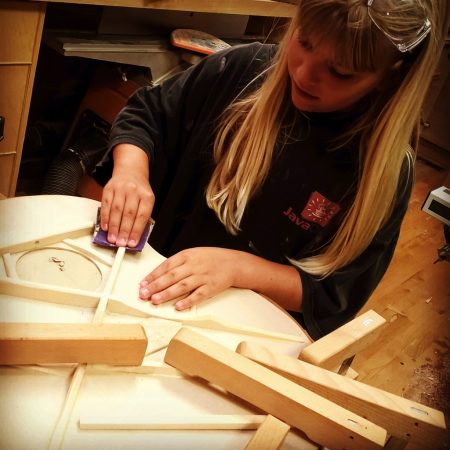
I’d purchased several blocks of Sitka Spruce “bracing wood” from LMI several years back. This was sliced up based on the specs from the Cumpiano book and curved in the same manner as the back bracing. Annalise helped me glue and clamp these into place and did much of the finish sanding after carving was done.
With the sides bent and the top and bottom plates completed, next up is assembling the body…