The soundhole rosette is an aesthetic embellishment that provides an excellent opportunity for the luthier (or newbie like myself) to leave his distinctive impression on the finished instrument. Consequently I spent much time considering the design for the rosette on my first guitar build. Although I’ve significant experience inlaying wood, I’ve never worked with abalone or mother of pearl as is commonly used. In researching materials, I discovered just how pricey abalone and “abalam” blanks are – ouch!
However, while perusing a local Michael’s crafts store, I discovered some packaged “mosaic shell tile,” which though designed for mosaic work, were clearly real shell, albeit in smallish 1/2″ – 3/4″ square tiles. And at about $1 and oz, significantly cheaper than “Abalam” blanks. I spent much of my first day experimenting with this material to see just what I could do with it with the tools on hand.
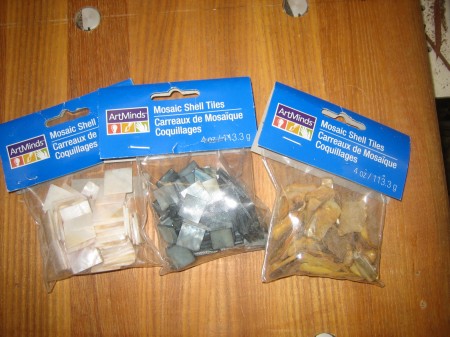
Inexpensive shell tiles from Michael's
the Design
By midday one thing became clear – radiusing these small tiles to form a ring simply wasn’t going to work with stuff on-hand. I spent some time crafting a jig, but my stock bandsaw blades simply weren’t going to cut it, literally or figuratively. Turning to my scroll saw, I found that 25tpi blades would work acceptably. Though they didn’t offer the kind of precision I’d prefer, I thought I’d give it a shot. So I worked out a design that required relatively simple, straight cuts in the shell. The design would consist of a walnut ring cut with my new trim router and shop-made circle jig. I’d then cut some diamond-point triangular rays in the ring into which I’d inlay some of the shell pieces.
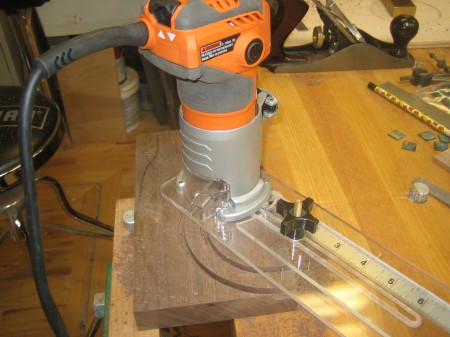
Cutting the ring halves in a walnut blank using my new adjustable circle jig
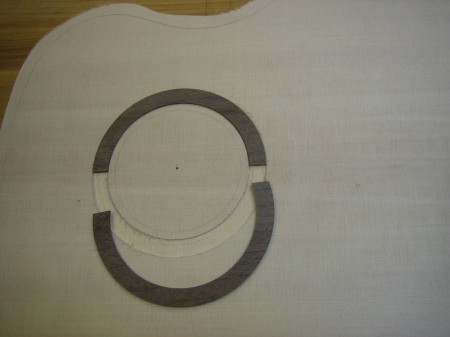
Walnut halves cut ready for glue up
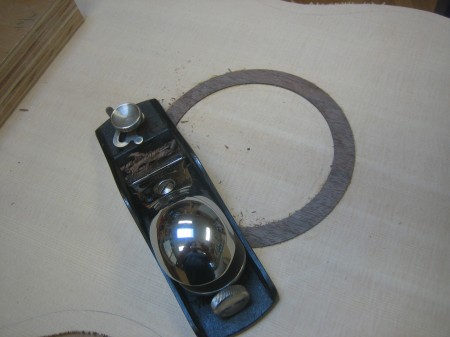
Flushing the walnut ring
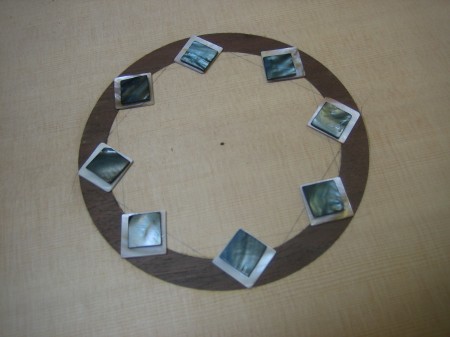
Previewing the design
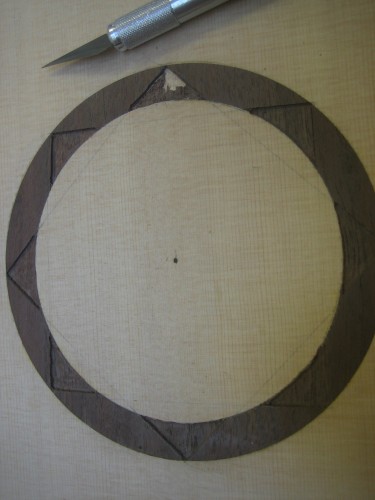
Routing out for the shell pieces
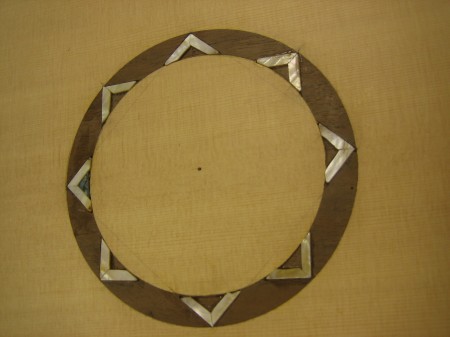
The ray edges inlayed
Finishing the edges
Because the shell was cut square, the bottom edges naturally didn’t follow the smooth curve. To fix this, I decided to route a 1/16″ ring on the inner and outer edges of the rosette. In this space I inserted strips of a mahogany veneer and white paper card stock. I essentially chose the material because it happened to fit nicely into the space and I thought the white of the card stock would produce a nice thin line. Basically the entire thing was then saturated in CA glue and then planed, scraped and sanded flush.
If you were paying attention to the earlier photos, you undoubtedly noticed the distinct blue coloring on the smaller inner shell pieces. What I failed to realize when I initially installed them was that this color was merely a dye applied to the surface of the tile. It scraped right off when I began flushing the surface. Thankfully I noticed this during a test scraping after only inlaying the first tile, and ultimately wasn’t surprised when everything turned white in the end.
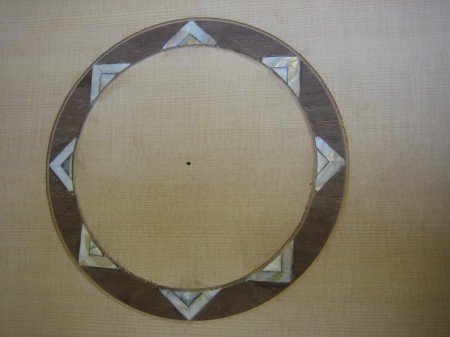
Routing the channel to finish off the ring edges
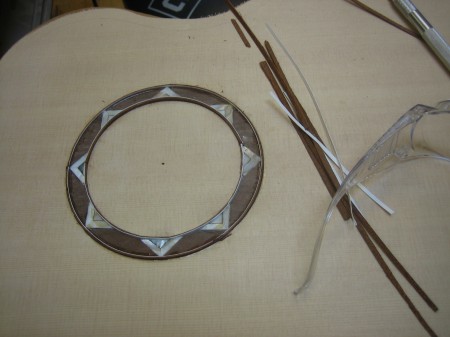
Inserting the veneer and paper strips
Mostly done
One of the unfortunate things I didn’t anticipate was the way a couple of the point edges would chip when hit by the router bit. The router worked very smoothly and the bit cut without a hint of the transition between wood and shell. Unfortunately though a couple of the sharp points at the end of the shell chipped instead of cutting cleanly. I should have cut a bit further in to clean this up, however I failed to notice this at the time. Consequently I’ll need to fill in these couple of small cavities before moving forward. Not a huge deal, but it does distract a bit from the finished look at this point.
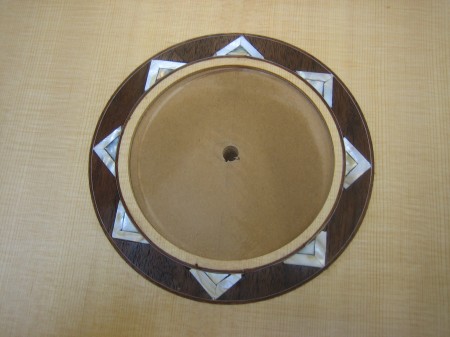
The completed rosette
Some time off…
My next move on this build will be to cut, install, and shape the soundboard bracing. However this will need to wait as I have a couple boys, ages 3 and 5, in immediate need of a bunk bed! So the guitar will sit for a bit while I tackle a this (physically) much larger and more practical project.

