- Building an Acoustic Guitar
- The Neck
- The Soundboard and Back
- The Rosette
- Picking Up Where I Left Off…
- Assembling the Box, Part I – Soundboard and Sides
A few years back I was conversing with a co-worker and fellow guitar player. Aware I was an amateur woodworker, he suggested I build a guitar. “Luthiery requires special tools and skills…training. Naw, I couldn’t do that,” I said.
Google search.
Fast forward to last year when essentially out-of-the-blue I recall this conversation and start thinking — could I? It didn’t take long to find numerous examples online of folks like me, some with no formal shop and less woodworking experience, building beautiful custom acoustic guitars. So I thought, “why not?”
Have you considered, maybe, boxes?
One of the things I like most about the idea of building guitars is their relatively small size and raw material requirements. The majority of my projects to date have been cribs and dressers that tend to overwhelm my small 300 sq. foot shop. Building these require significant planning so I don’t wind up painting myself into a corner, or more accurately behind a large, heavy cherry dresser! I’ve often admired the work of many of the folks in the LumberJocks.com community who specialize in small, ornate wooden boxes. The skill, patience, and artistry involved is sizable though the end product is anything but. I considered trying my hand at one, going as far as to draw some designs and pick up a cheap grinder for doing some wild shaping work. However in the end, though I’m sure I’ll get to it some day, they just don’t interest me all that much; and although I feel fairly confident in my design abilities I don’t think I could come close to matching many of the others I’ve seen.
The Plan
It didn’t take long to discover that the book “Guitarmaking: Tradition and Technology” by Jonathan Natelson and William Cumpiano (frequently discussed simply as “the Cumpiano book) was essentially the core curriculum. So I bought and read it, twice. The authors’ build process is centered around a guitar-shaped workboard. After settling on a style (Martin Grand Auditorium), I cut the shape out of acrylic and then used that to build the board. Being unable to get my hands on a Martin, I purchased the body layout online and had it printed out on a large format copier.
I knew I’d also need some additional specialty supplies. I have a reasonable stock of suitable wood. However I didn’t have any tone woods well-suited for the top and internal bracing. Although I did find an example of someone doing excellent work with domestic American hardwoods, I wanted to maximize the likelihood of having a decent, playable instrument at the conclusion of the process — so I placed an order with Stewart-MacDonald for some cheap sitka spruce tops, bracing, a couple truss rods, and some other incidentals.
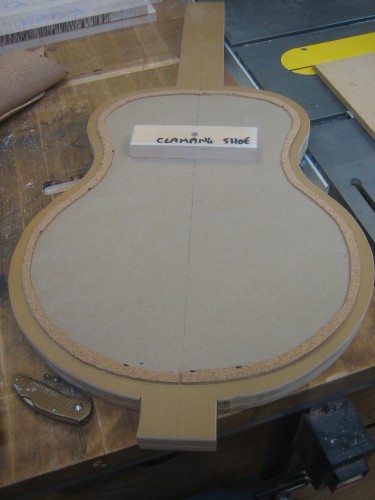
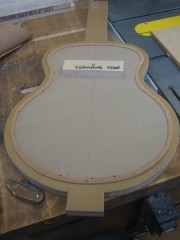
The completed workboard
I lack any experience building guitars — or for that matter, any type of stringed instrument. However, as I see it my biggest challenge in this process will be overcoming my tendency toward impatience. I love seeing a project come together; and, with the exception of my personal safety, if I see a quicker way to accomplish something I’ll typically take it even if it means risking screwing it up. To be fair, part of this urgency comes from the fact that I have very little “shop time” available to me — with four young kids, a full-time job, and frequent additional distractions and obligations, I try to make the absolute most of every moment in the shop. So a big concern was I would spend six plus months working on a guitar only to screw something up dramatically near the end of the build. My hedge against this: build more than one in parallel! I figure I might screw up one, but two, or three? Far less likely. Of course, there’s always the risk when working in parallel of making the same boneheaded move on all of them. So I’m actually going to work it in sections and complete a section from start to finish on the least attractive piece as practice for the next. Hopefully I’ll catch any issues with the first one before doing the same on subsequent pieces.
Building the neck
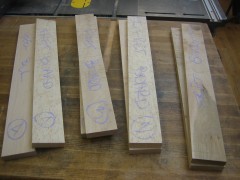
Cumpiano’s book begins with the neck. I figured I’d follow his lead and start there with my guitars. For a time I considered making multiple necks using different woods and build methods. The traditional scarf-joint method would naturally be first. However I also planned to build one by carving it from a laminated block of contrasting woods. A large curly maple board would make a great candidate for another carved neck. When it came time to actually build the necks it turned out that the lamination/carve method would waste far too much nice wood and by using the traditional method I would be able to build four necks with a relatively small amount of figured stock. So the decision was to resaw a large board of curly maple into a couple blanks and another board of birdseye maple as well. Thus I ended up with enough wood for four blanks using the scarf-joint method.
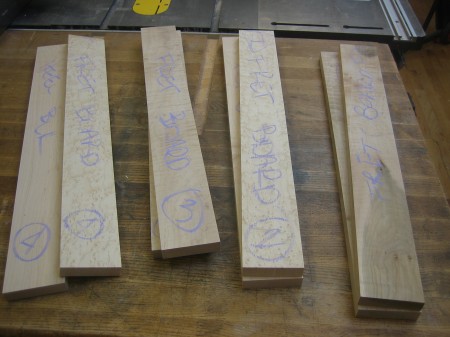
Neck blanks milled from curly, birdseye, and straight-grained maple.
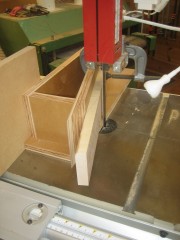
The remaining pictures highlight the process taken to date. I began by building a quick custom taper jig for the bandsaw for cutting the 15° angle in each blank.
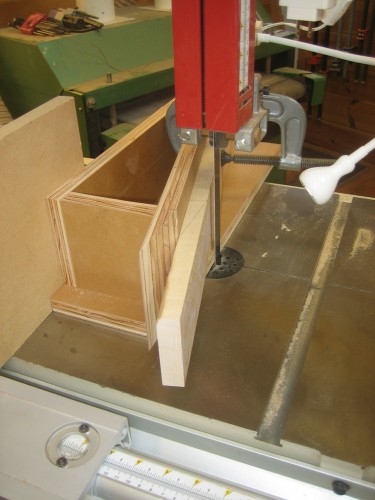
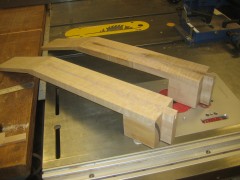
Sawing the scarf joints on the bandsaw
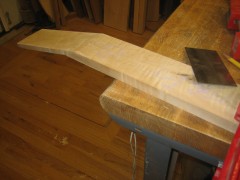
Then I sanded and scraped the resulting cut to clean it up and flatten it out (though apparently I didn’t take any photos of those steps), cut the sections for the heel block, glued it all together, and then sanded/scraped it flat, flush, and clean.
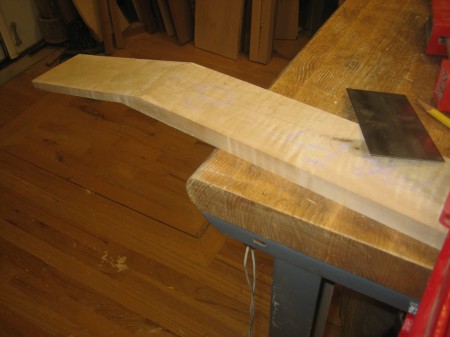
Scrapping the glued scarf joint.
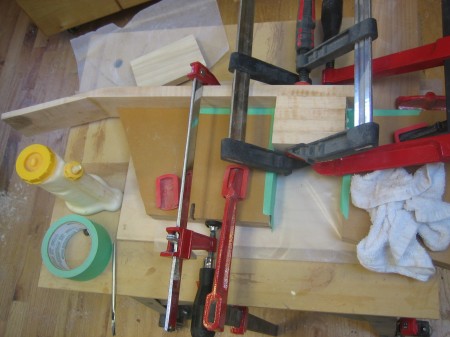
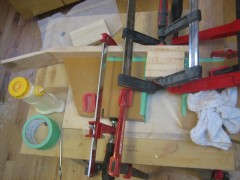
Glueing the heel block.
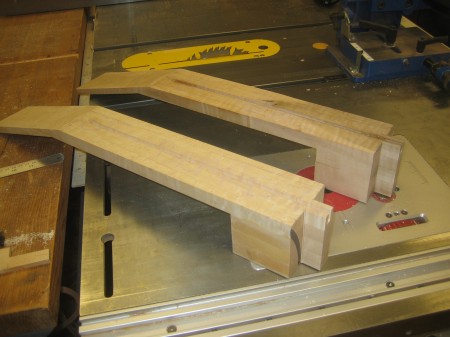
After routing a channel for the truss rods and notching the tenon at the heel end.
Next steps…
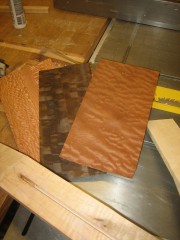
Because I had originally ordered only a single truss rod, I decided to stop at this point before burying the one I had in one of the necks. My next step will be to glue a shim over the installed truss rods, scrape it flush, and then probably glue the veneers to the headstock. On a visit to the last woodworking show I picked up a $30 sample pack of veneers. I figured they might be useful for the guitar build, and it looks like I was right. Now I’ve just got to make a final selection of the specific veneer sandwich to use for each neck. I’ll probably stop with these two at that point and begin the process all over again with the other two blanks…provided I don’t discover some major mistake in these two before then!
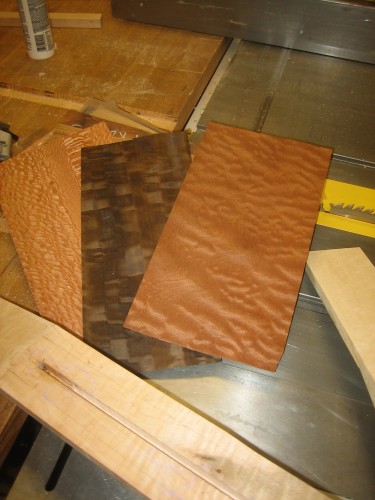
A sampling of the selection of veneers in consideration for the headstock
- Glueing the heel block.
- Sawing the scarf joints on the bandsaw
- The completed workboard
- After routing a channel for the truss rods and notching the tenon at the heel end.
- A sampling of the selection of veneers in consideration for the headstock


