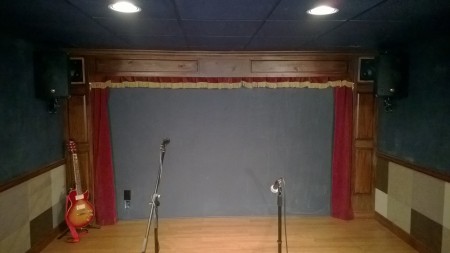
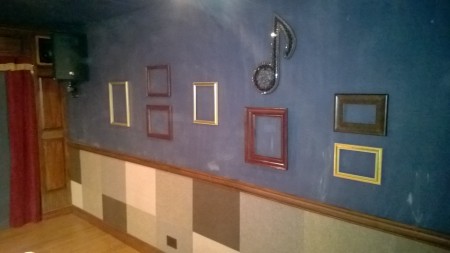
I spent a good deal of time contemplating the wall covering below the chair rail. I didn’t see traditional wainscoting here…it called for something different. I turned again to my collection of inspirational images I’d assembled from the web. The recurring theme here was rectangles. My favorite image of the lot was a wall panel built of random strips of various lengths and widths of wood. I’d also considered a wall composed of endgrain 4×4 blocks like this one, and a panel wall of randomly stained 2′ squares.
The “wood strip” wall, while very attractive and unique, would simply be too costly to reproduce. The 4×4 blocks looked interesting, but I couldn’t see them blending well with the chalkboard above.
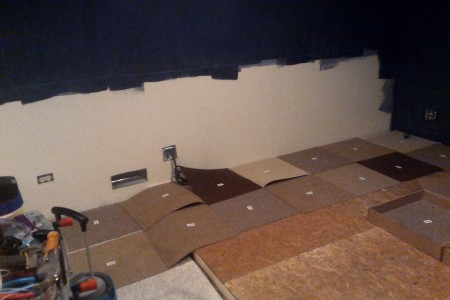
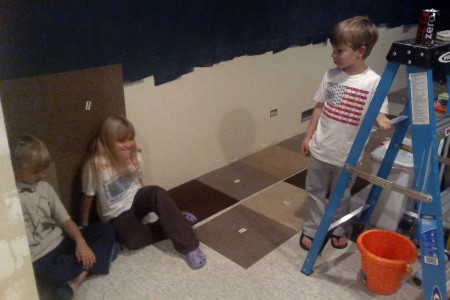
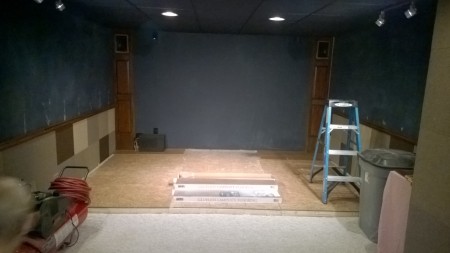
It ultimately occurred to me that I could get a similar effect of the stained wood with far less effort and a bit of added interest by gluing carpet tiles to the walls. I found some rather inexpensive thin squares and bought five different shades (in the same family) of the stuff. Since there were four boxes and five of us (the kids insisted on helping with this bit), we were each assigned a single shade and I would, more or less randomly call out a child’s (or my) name who would then pick up a tile and place it on the floor as we laid this out.
Speaker towers
Three parts comprise the proscenium – two vertical “speaker towers,” and the top horizontal “bridge” piece that connects them.
I figured since these would be finished rather dark, and live in a dimly-lit corner of a dimly-lit room, there was no point in using expensive hardwood to construct them. Instead I built simple frame-and-raised-panel facades out of cheap big box pine.
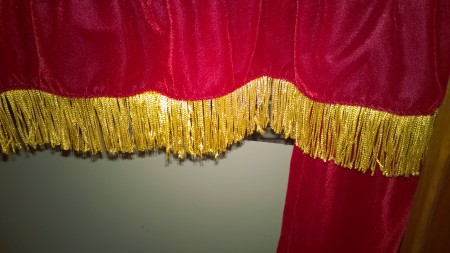
Every stage needs a curtain, of course. The material is a bit pricey but thankfully I only needed a few yards – and the results I think were well worth it.
Framed
As mentioned in my initial post, I really liked the idea of mounting empty frames to chalkboard walls – essentially inviting family and guests to fill them. My sister-in-law helped out here by painting and mounting them for me. I think she got the spacing just about perfect. The kids certainly had a blast coloring them in…and they continue to tweak and re-draw bits. It’s quite a bit of fun.
Next up…custom cabinetry


