- One Tough Customer
- Finally Complete
It’s been difficult finding time to complete this project.
When you come home after work to two toddlers, a baby and an exhausted wife, it’s extremely difficult to then suggest you’d like to head out to the shop for a couple hours! “Disappearing” into the shop on weekends can be equally problematic. Nevertheless, we worked out a plan and I finally managed to make the time to get this crib done…and none to soon with Nathan now just over 3 mos. old!
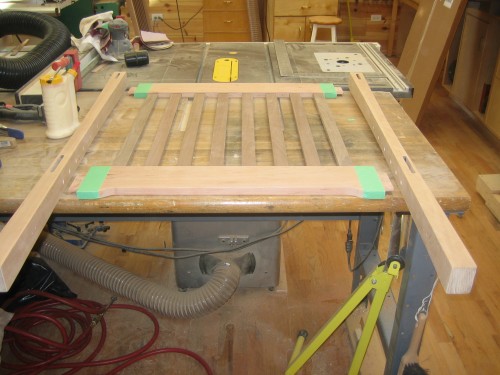
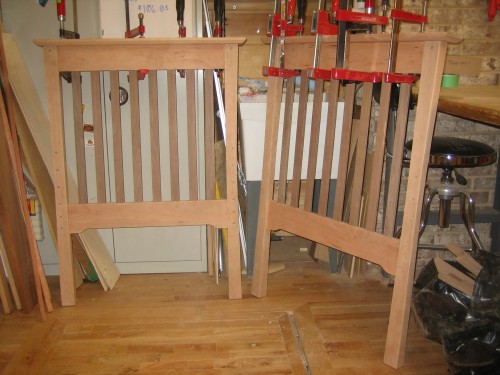
I didn’t take many “in progress” shots — partially due to the time constraints, partially because while the build was “spread out,” there weren’t that many hours or steps, and partially because being the my third crib, and second project with curved legs, there were fewer unique and interesting shots to take.
Modifications
The crib itself is based on the very popular “Heirloom Crib” plan from Wood. I’ve made a couple modifications to make it better match the dresser. These include broader, thicker end caps with a chamfer matching the dresser’s top, “cloud lifts” on the bottom of the ends, and curved “gumby” legs.
One of the firsts for me with this project was the joinery of the end caps. The purchased plans call for a double cap — the bottom piece is glued and screwed into the ends and the top is then simply glued on top of it. As I wanted this to match the dresser, I needed to do away with the bottom piece — but how to join the cap without using exposed screws? I briefly considered using screws and matching cherry plugs in the holes, but felt this would negatively impact the look. I ultimately decided to use dowels, something for various reasons I’d not done before. I purchased a $10 jig at Menards and cut matching holes for (5) 5/16″ dowels in each cap. This seemed to work quite well and I’m fairly confident will stand up over time.
Finish and Assembly
I sanded all the parts, prior to glue up, to 220. The first coat was a Watco natural Danish Oil. I then topped it with 3 light layers of Waterlox Tung-oil based sealer/finish. During assembly, I had some issues with the threaded inserts and the Cherry. I had no problem with the Maple version of this crib, but clearly these inserts are too coarse for use with Cherry. Even after enlarging the holes, they “mounded” the cherry and splintered the face somewhat as they drove, even with a caul clamped to the face around the hole. I’ll probably fix this with some sanding and new finish in a couple years before putting it in long term storage. For now, the hardware covers this issue and I couldn’t bear delaying the “rollout” any longer!
Installed
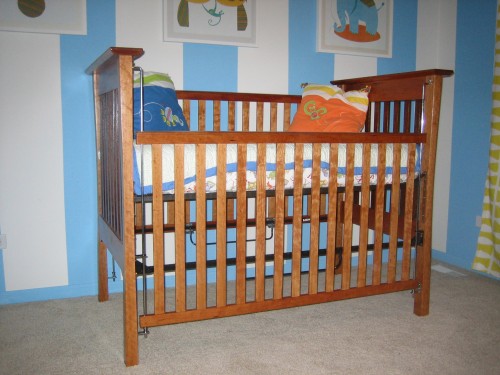
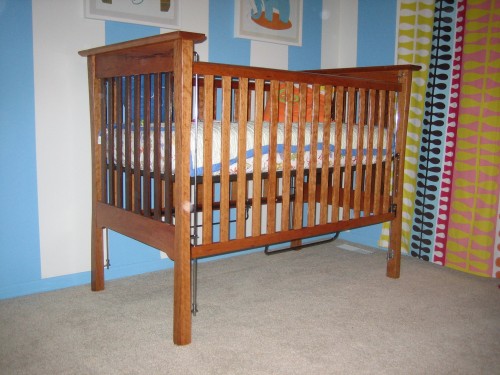
And here’s the finished crib in its natural habitat…
Hopefully he’ll sleep soundly in his new crib for at least the next 2 – 3 years!


