

- The LCA SG Jr.
- Electronics cavity, headstock, and placing the bridge
- Wiring it up and finishing touches
I managed to make significant progress on the SG build this weekend. After routing the electronics cavity I laminated sheets of black and white acrylic together with some CA glue and fit the cover.
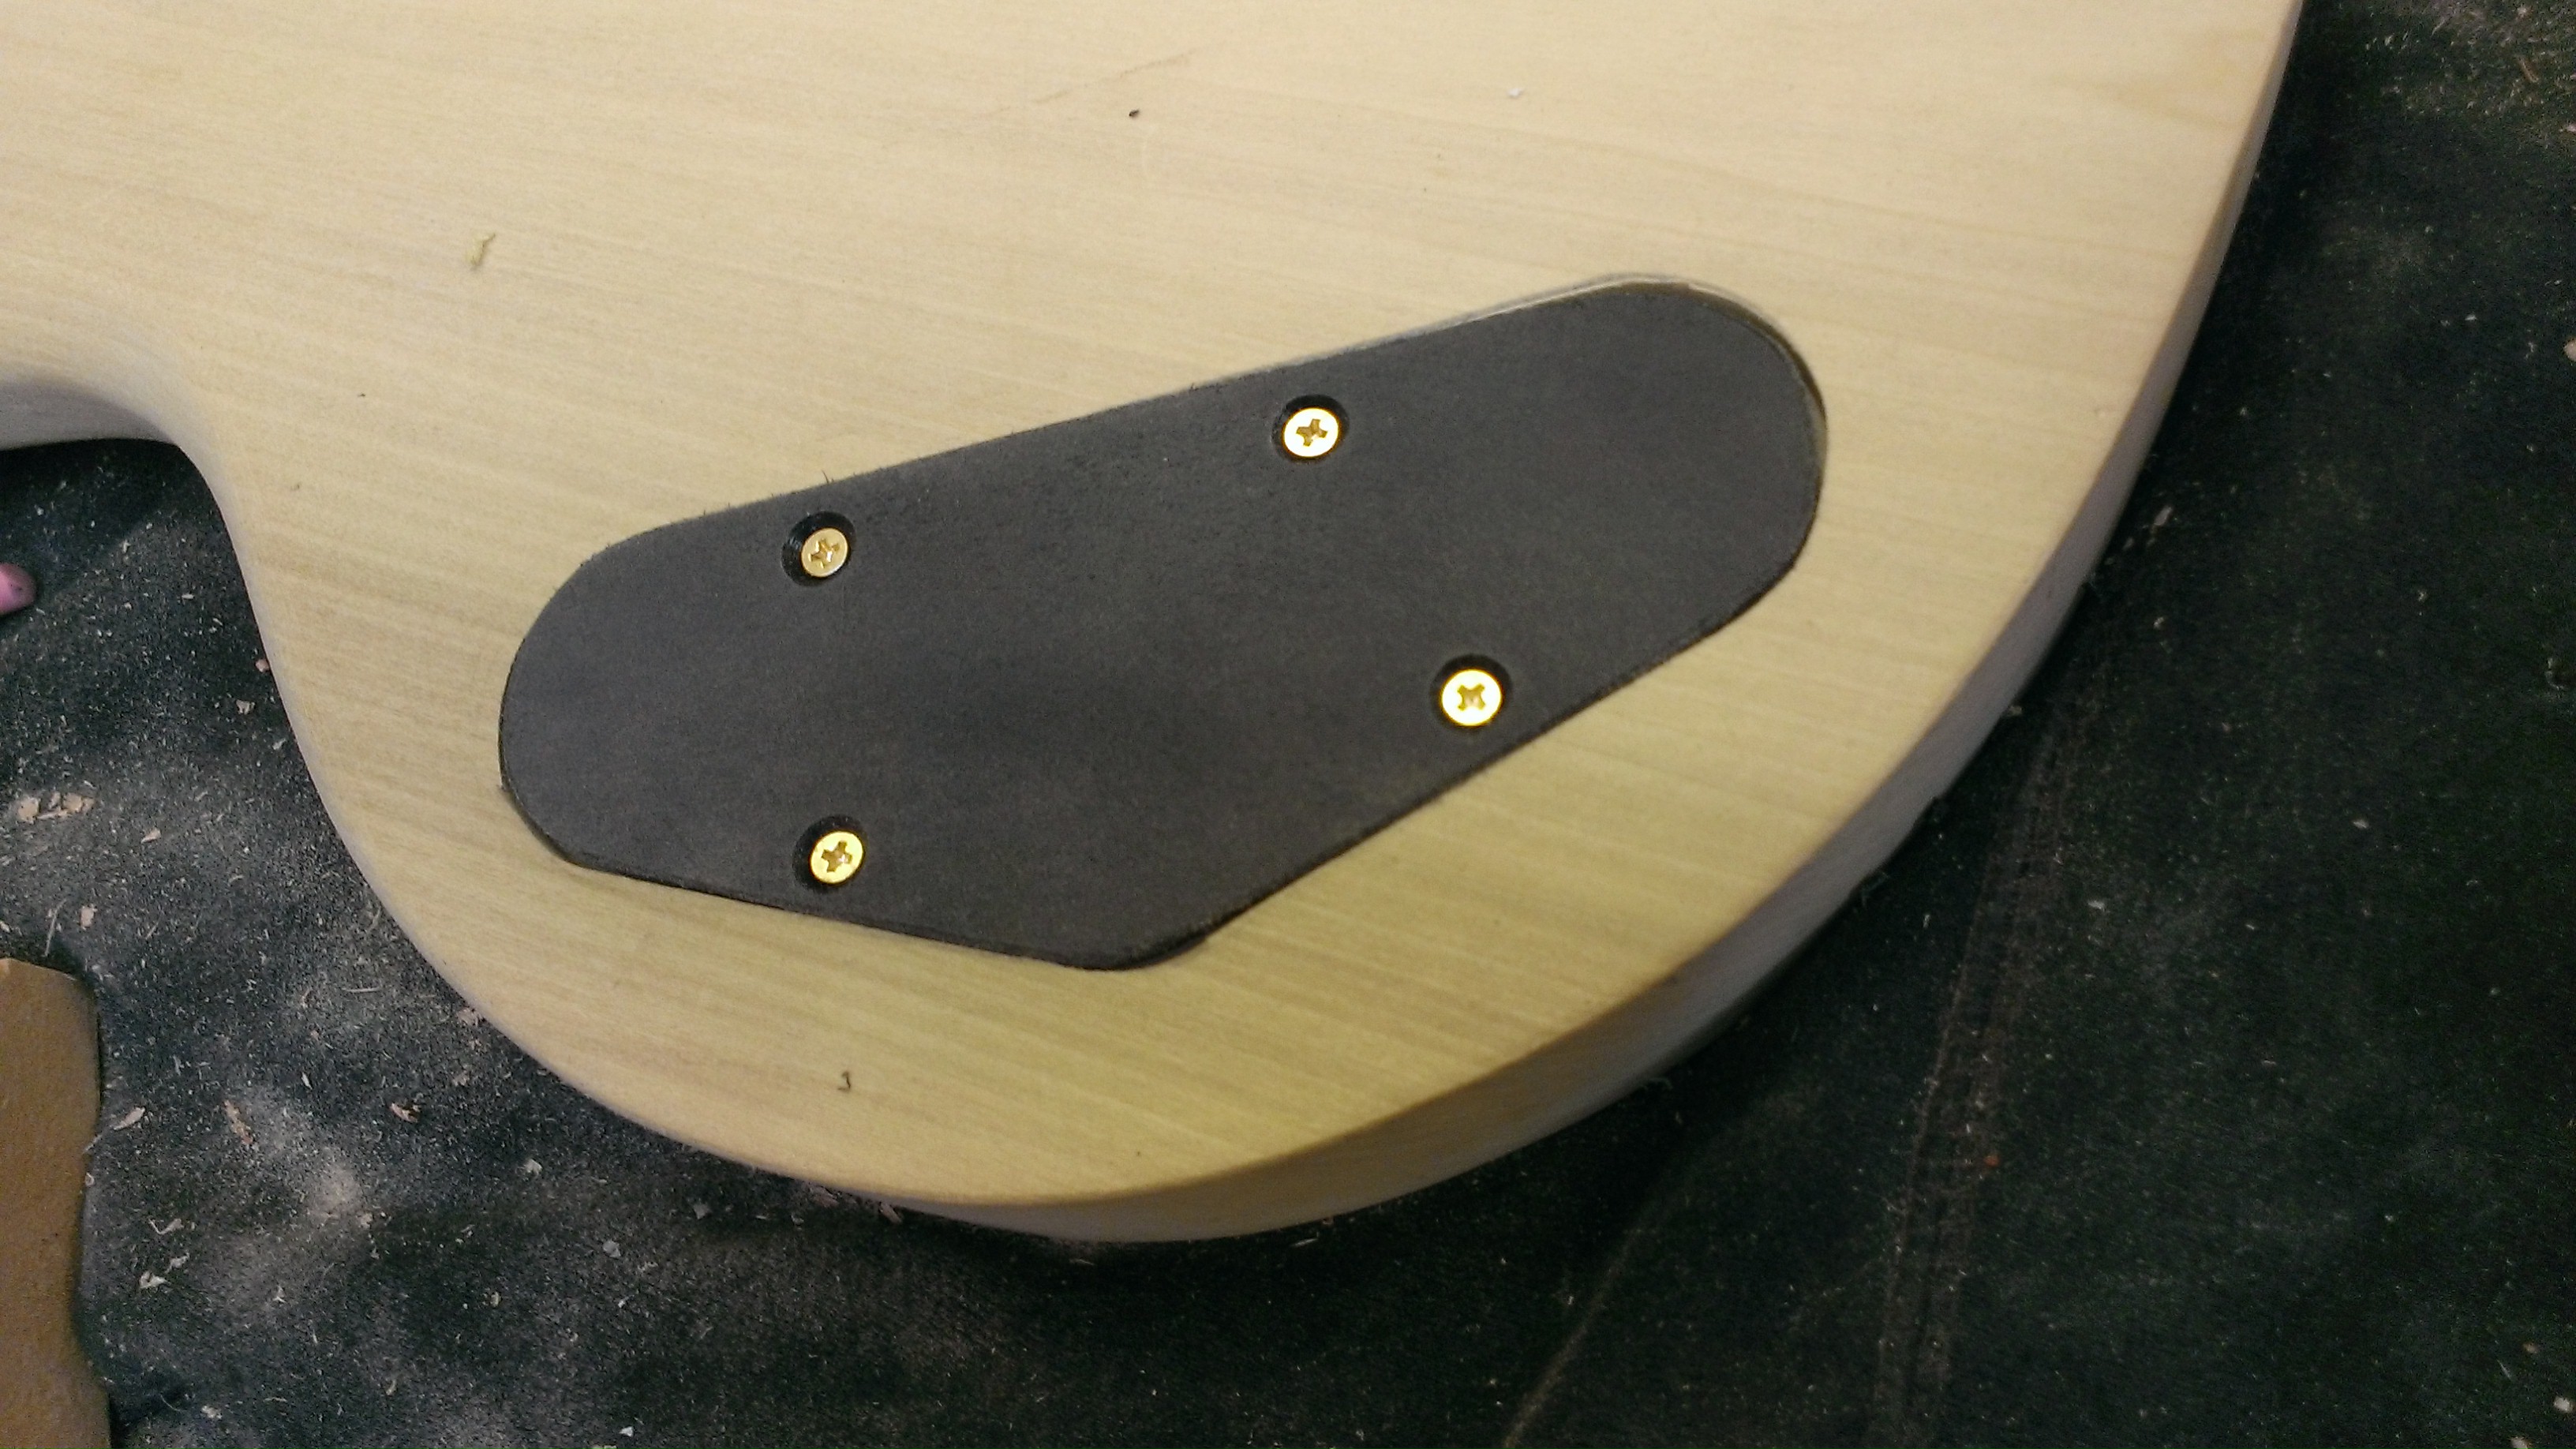
Electronics cavity cover
Though I’d typically fret and fuss with something like the headstock design, in this case I basically decided to wing it and see what I could come up with in the shop. A friend recently introduced me to the Collings guitars “haircut” headstock design. With that design in mind, I sketched out my own pattern. I’m sure it’s been done before, but I rather like the final shape.
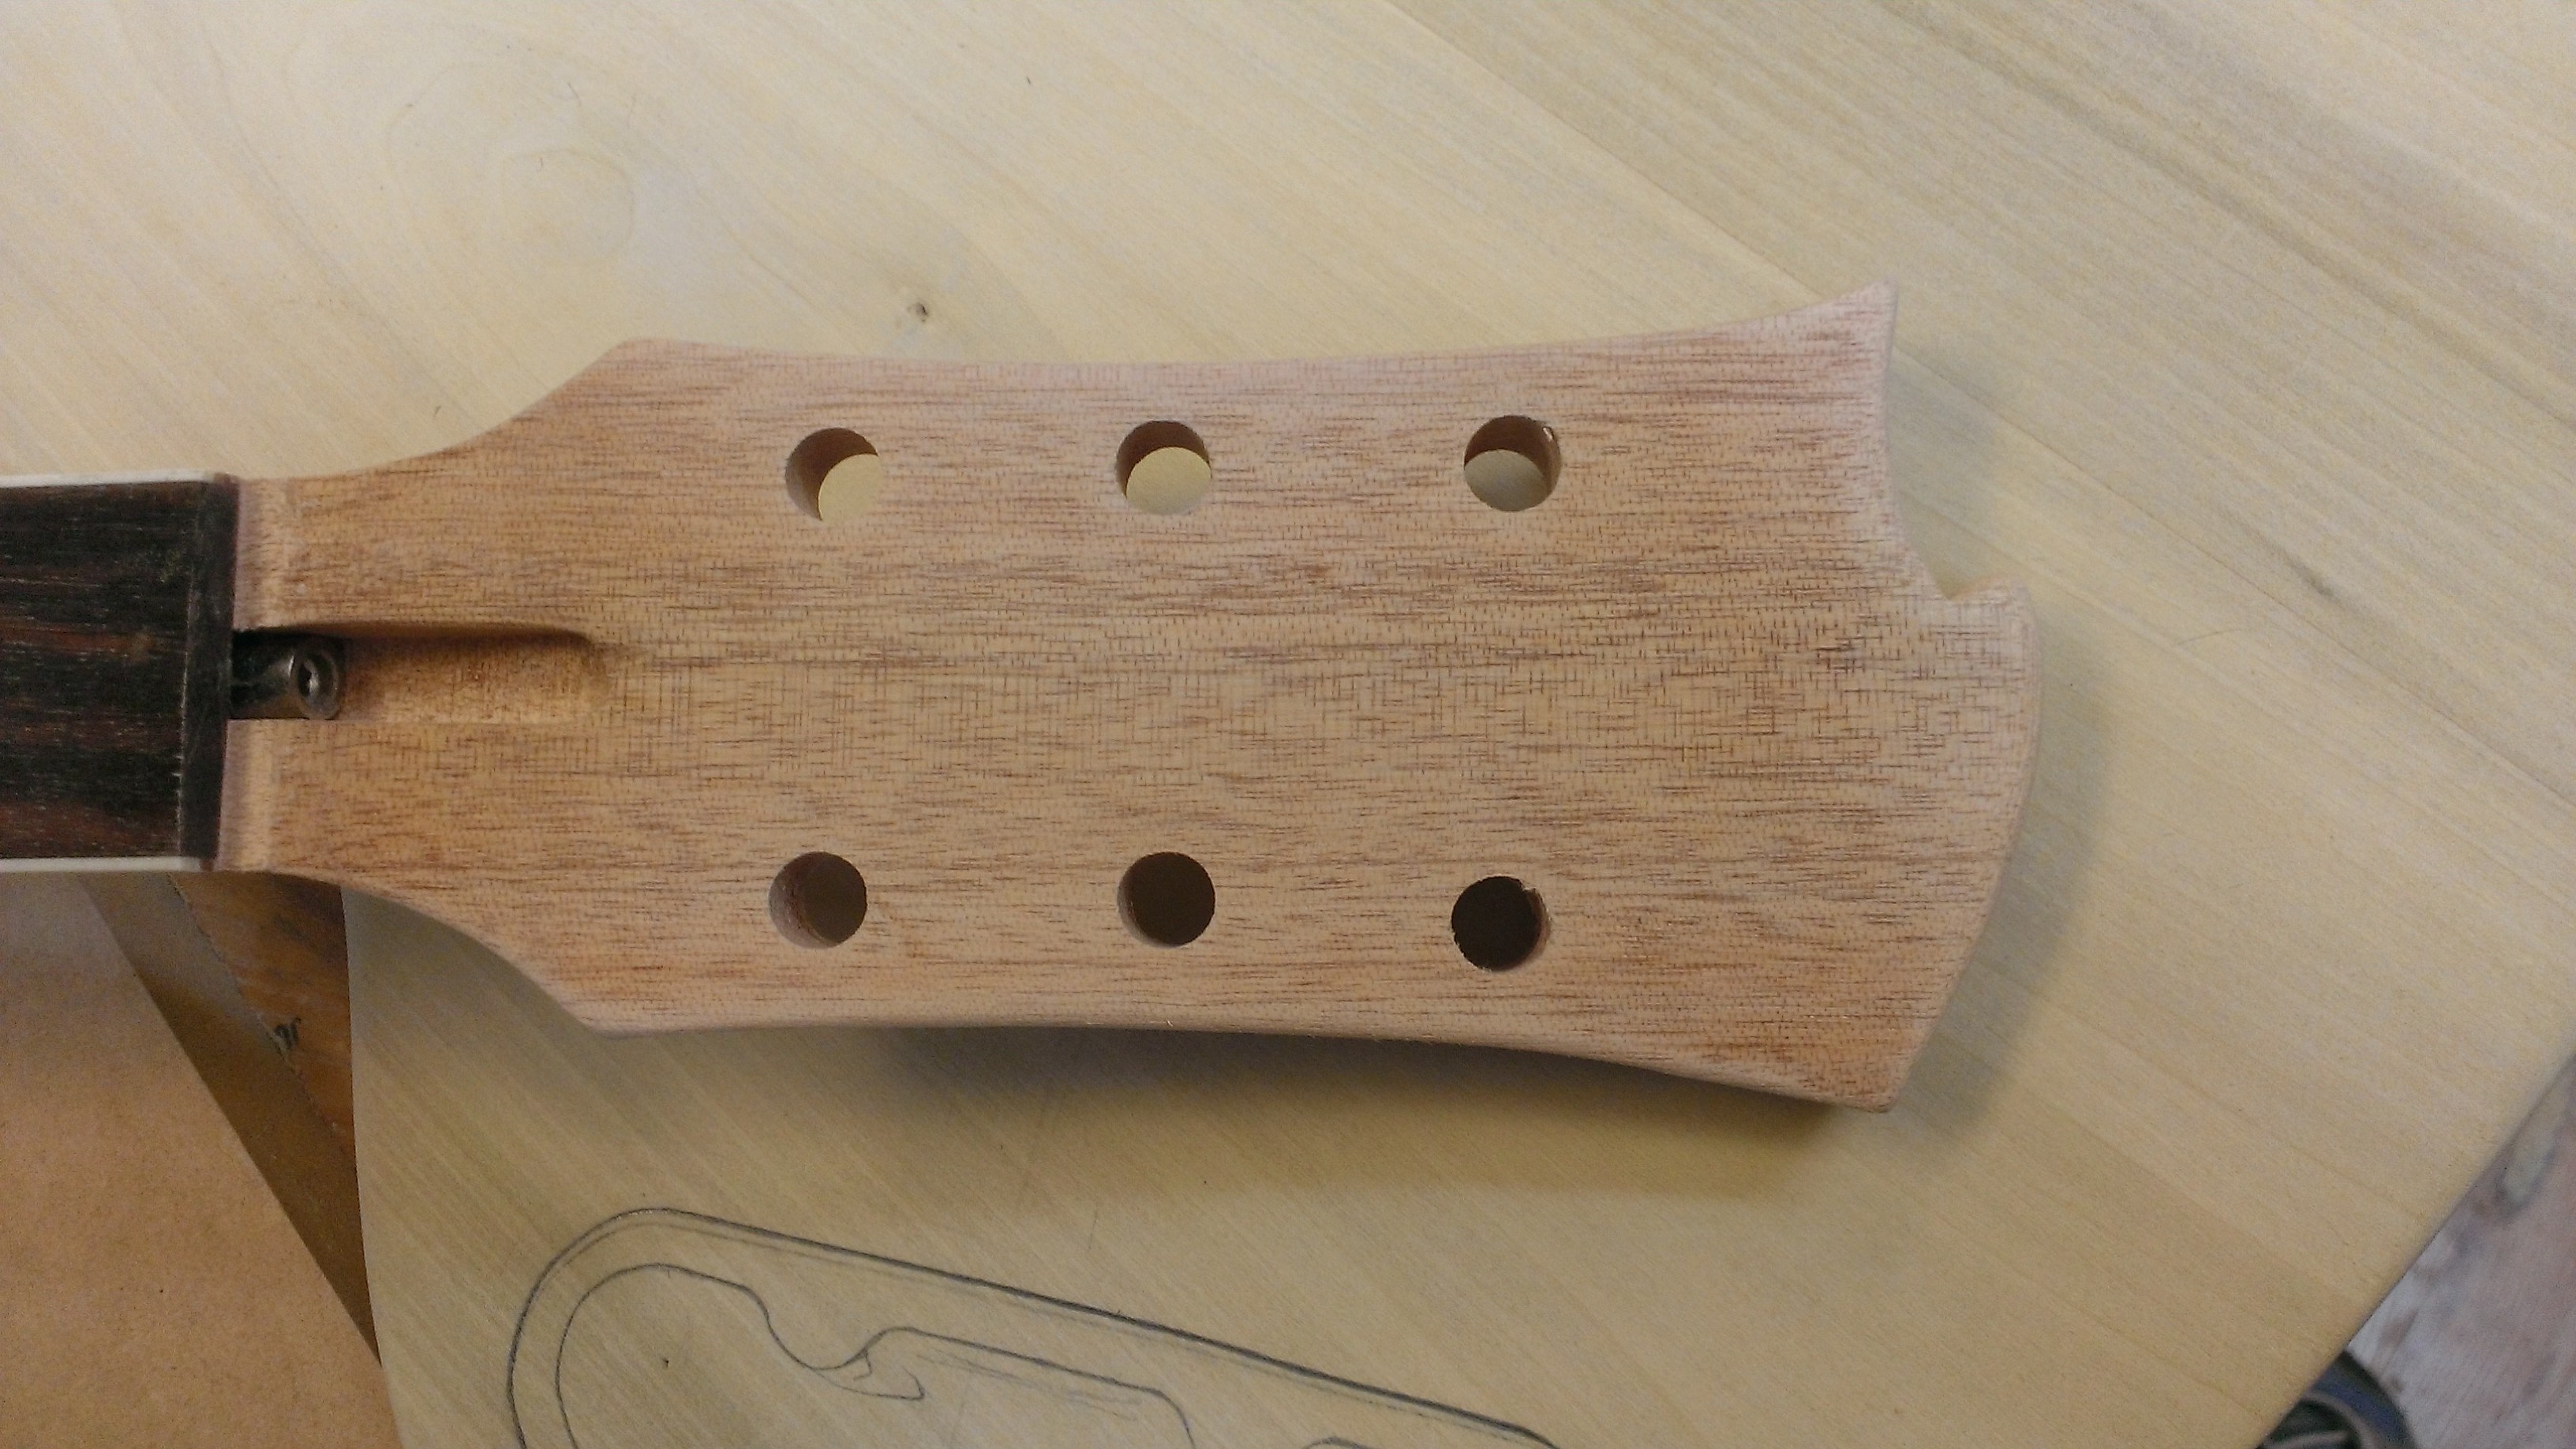
Headstock design
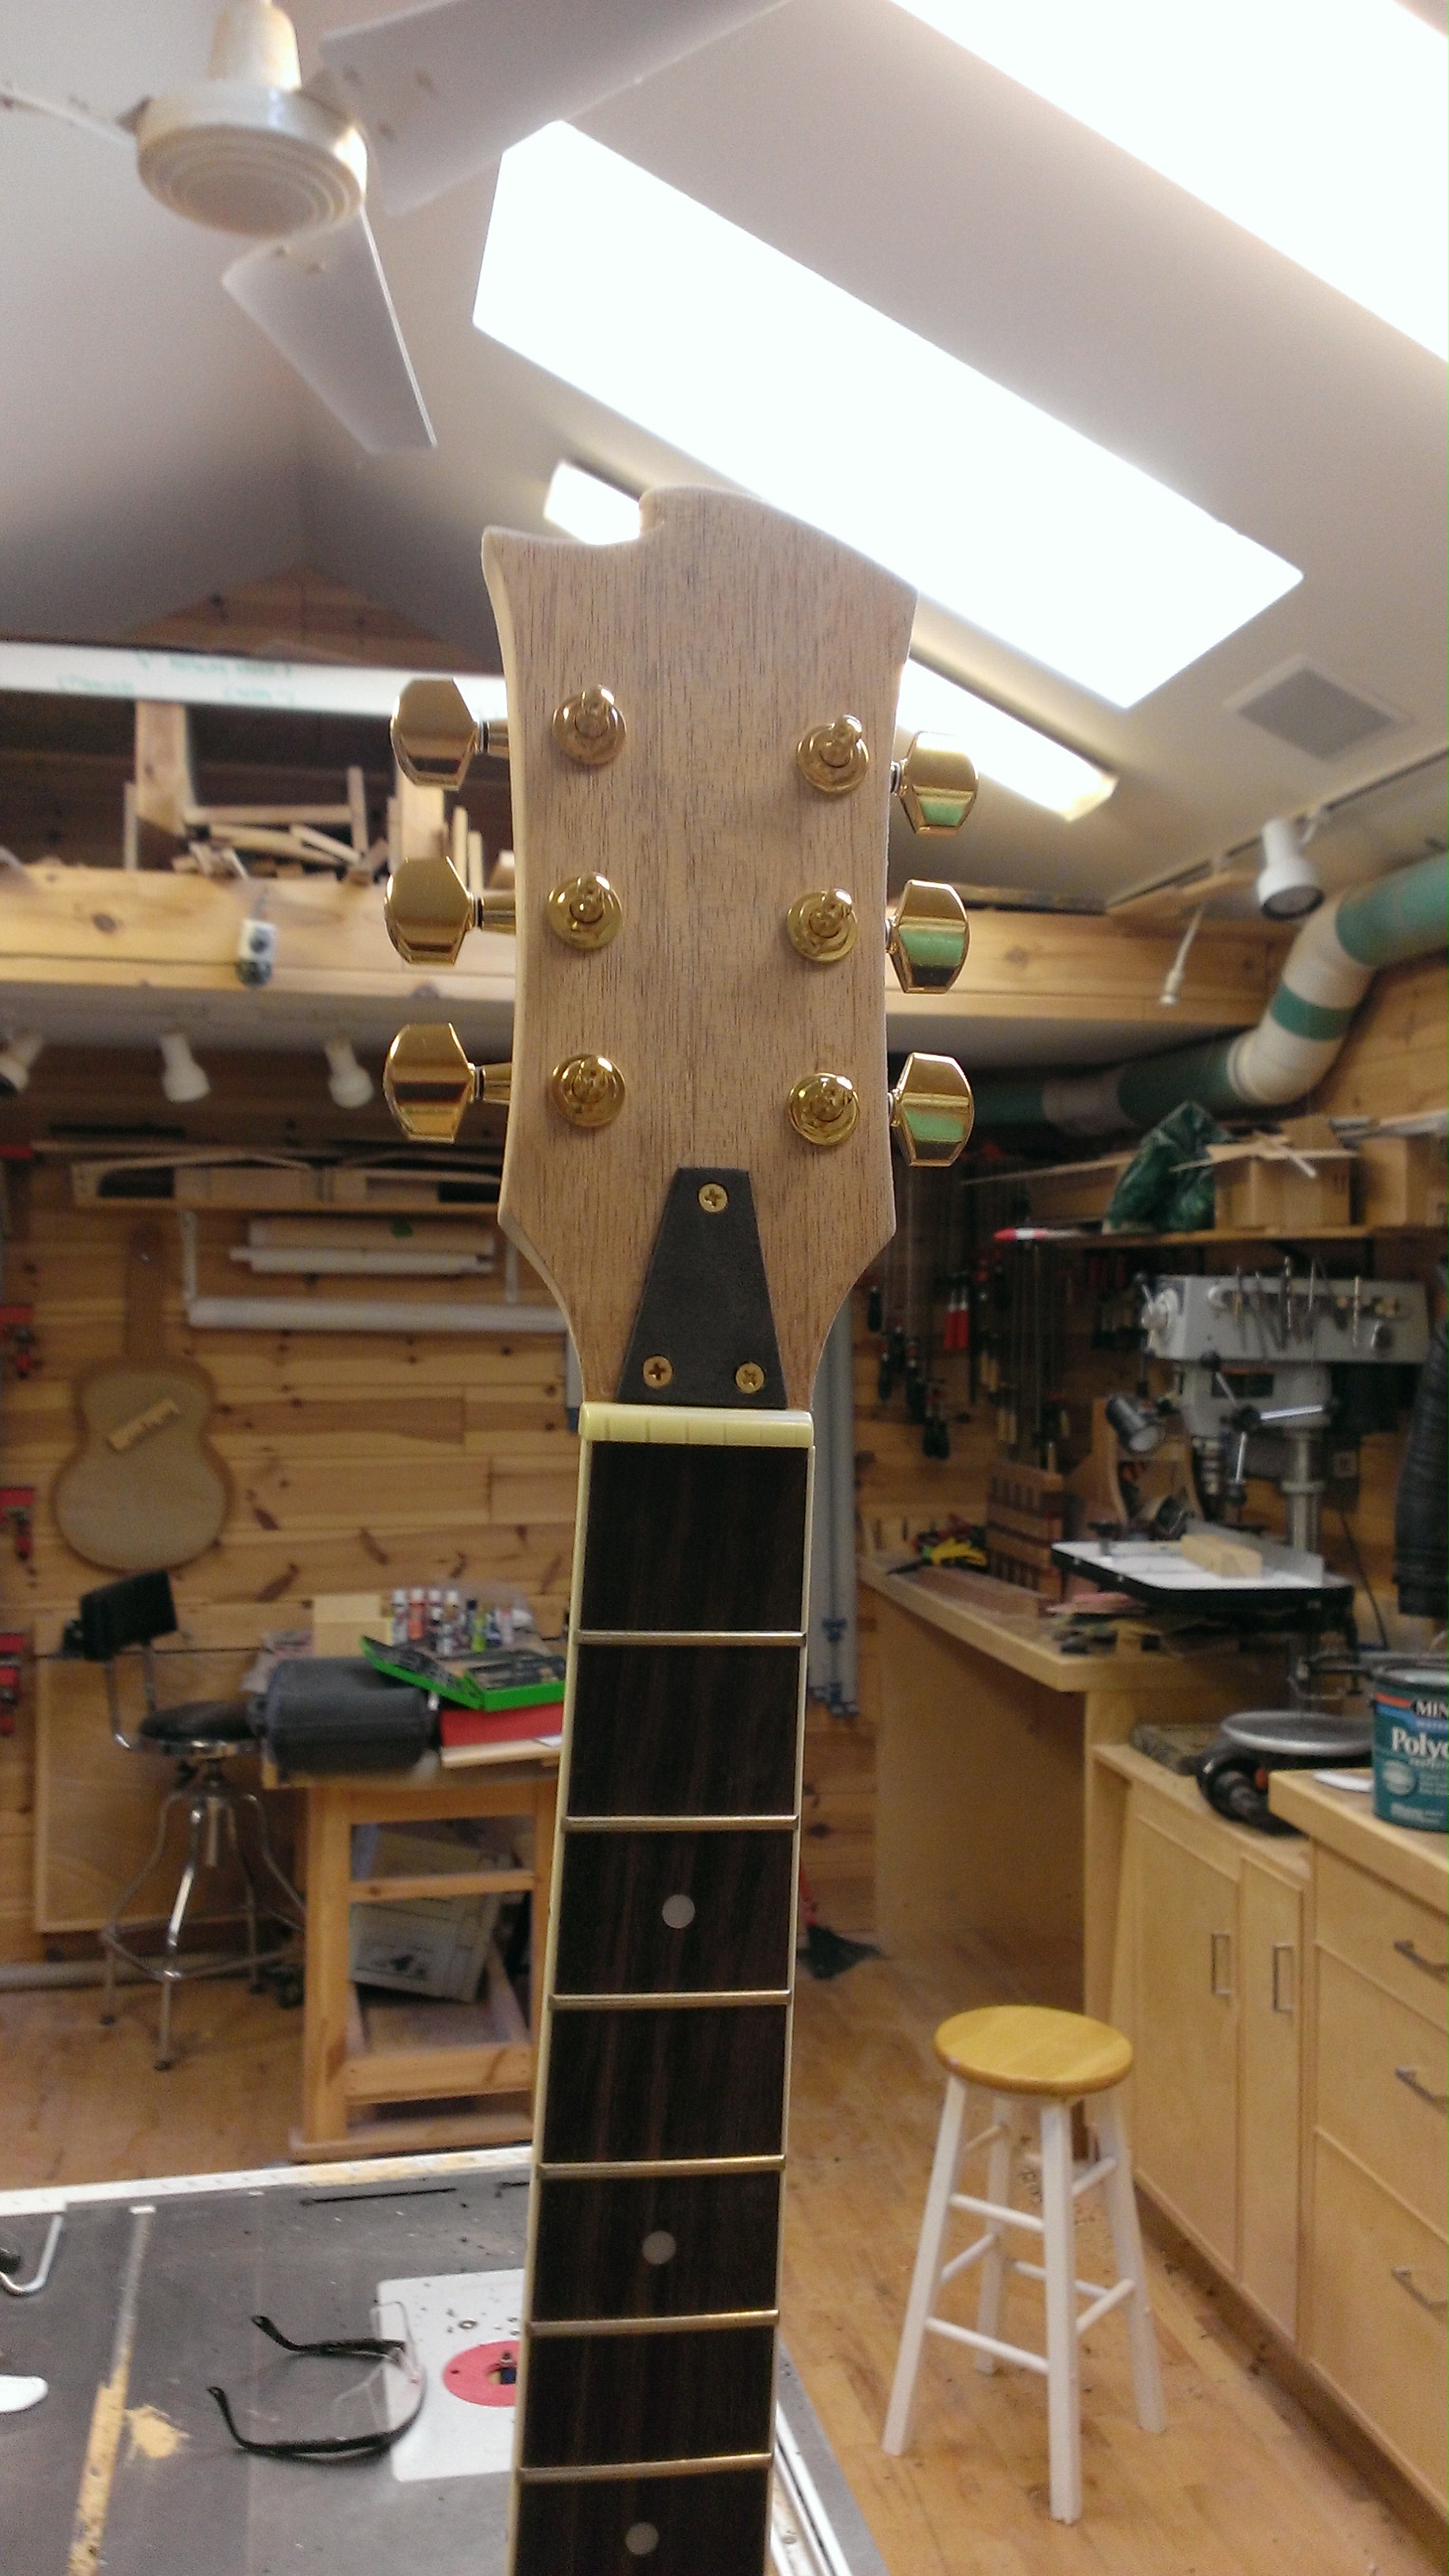
Completed headstock
On Sunday, between birthday parties and baskets of laundry, I measured out the location for the wraparound bridge and dropped it into position. This was the source of much anxiety – I was mainly concerned it’d entirely muck up the bridge installation and wind up with an unplayable block of wood in need of significant repair work. I’m planning my next guitar to be something for me – but this one’s on a deadline and I don’t have time for major reworking.
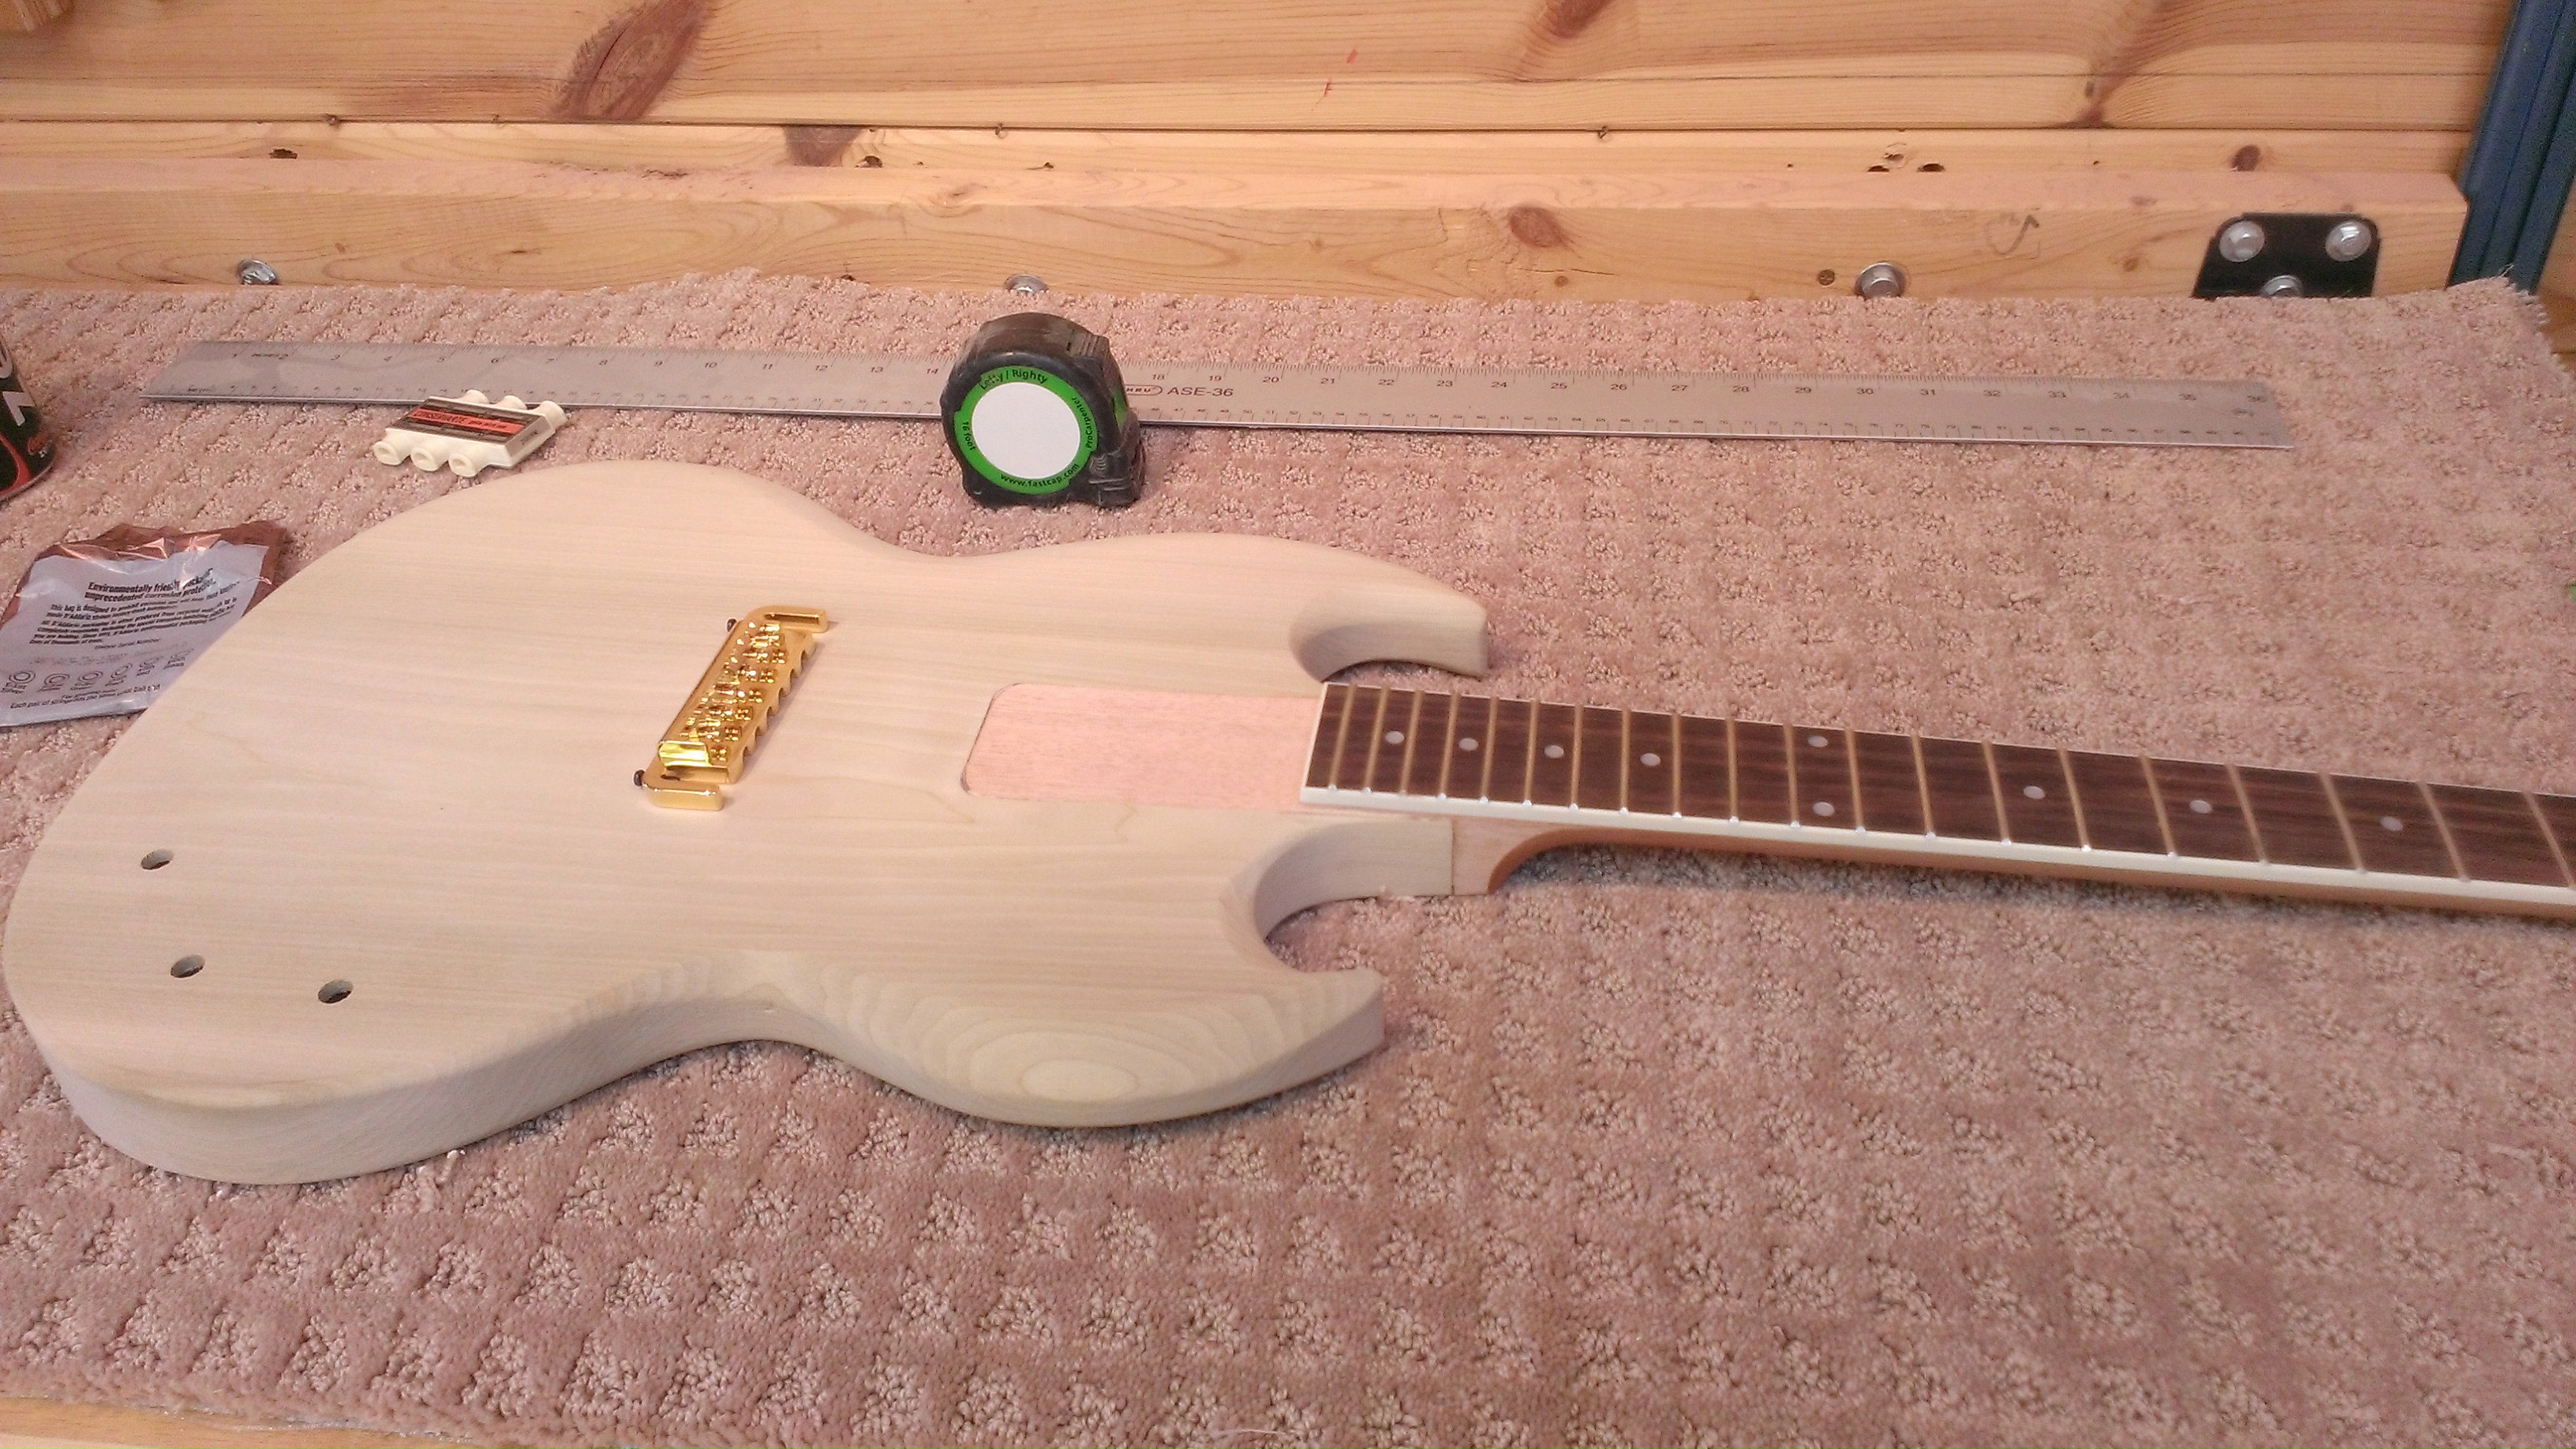
Measuring for the bridge
I used the nut supplied with the factory neck. However, this piece of plastic is nearly worthless…and far too tall. When I first strung it up the action at the 22nd fret was sky high. Some of this is due to the bridge which is clearly designed to work better with a neck angle of greater than the 2-degrees my SG plans called for. However, after sanding down the top of the nut, I wound up with an entirely serviceable action. Although I spent some time on intonation, my rush job on the factory nut – that I knew I would replace with a custom piece – resulted in a bit of buzz on the low “E.” I intend to shape a custom nut from some material I already have on hand, which will necessitate resetting the intonation anyway.
With that in mind, and a fresh set of strings installed, I gave it a preliminary test run:
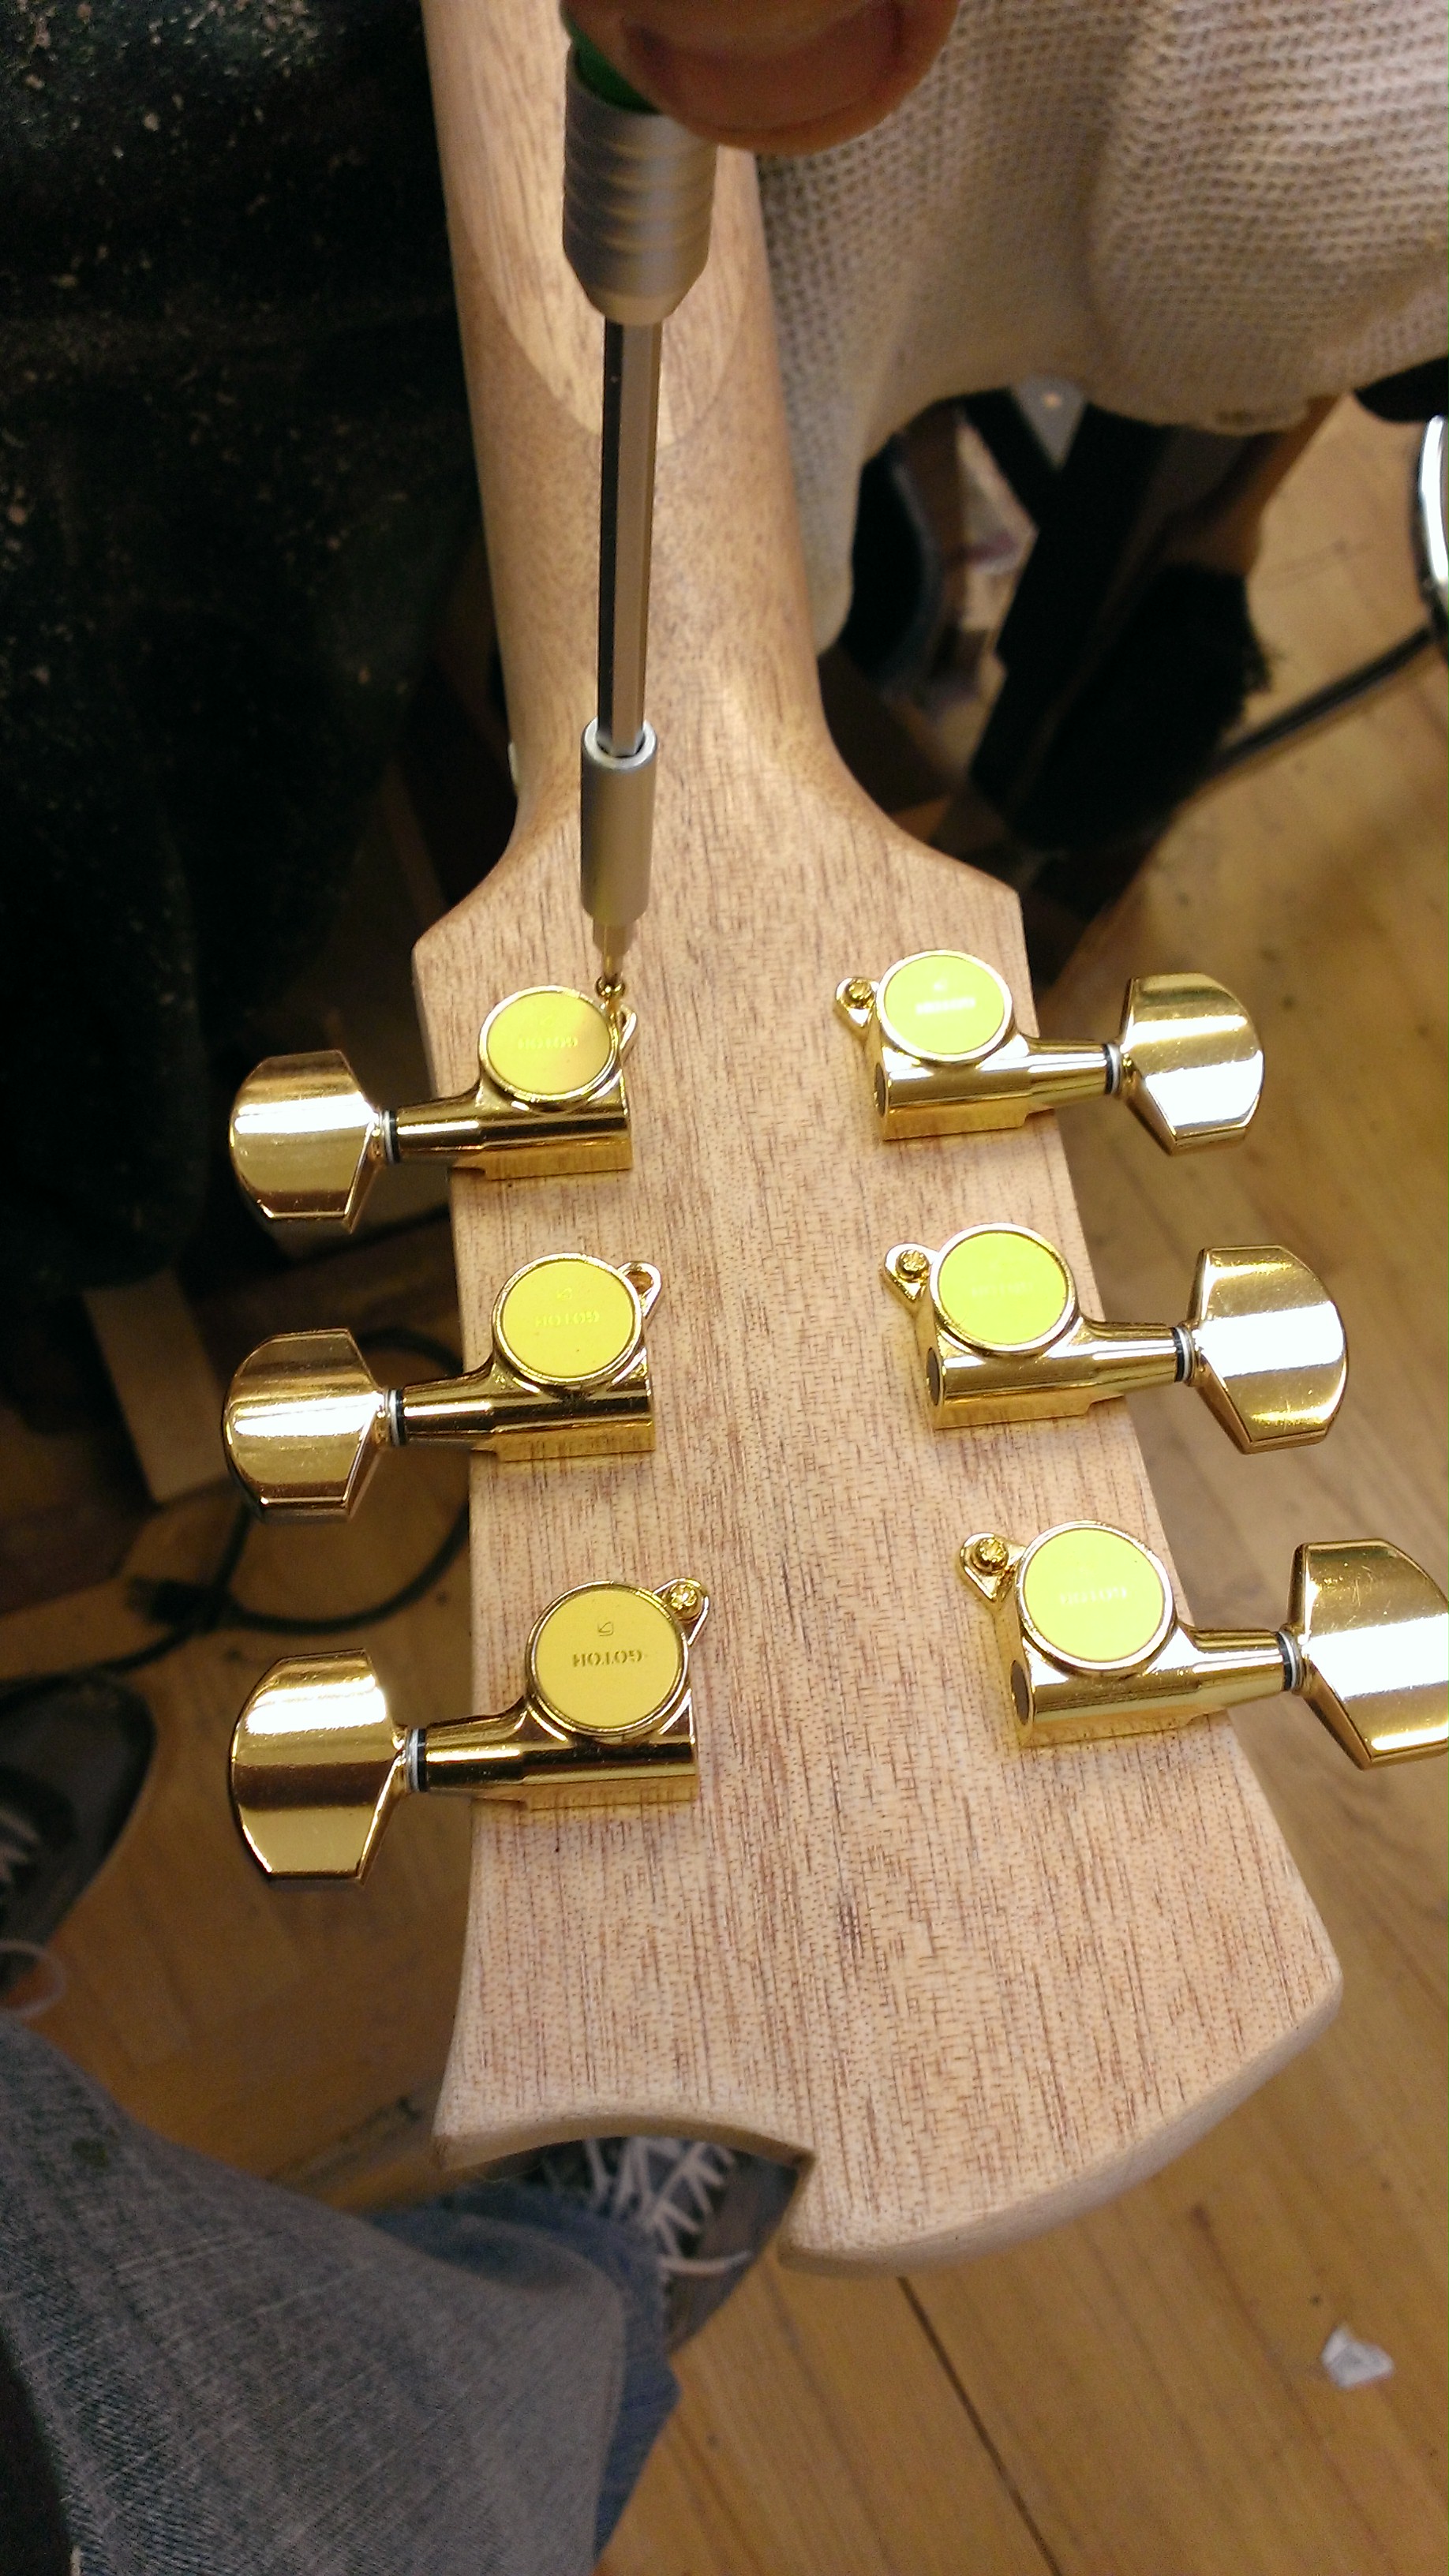
Attaching the tuning machines
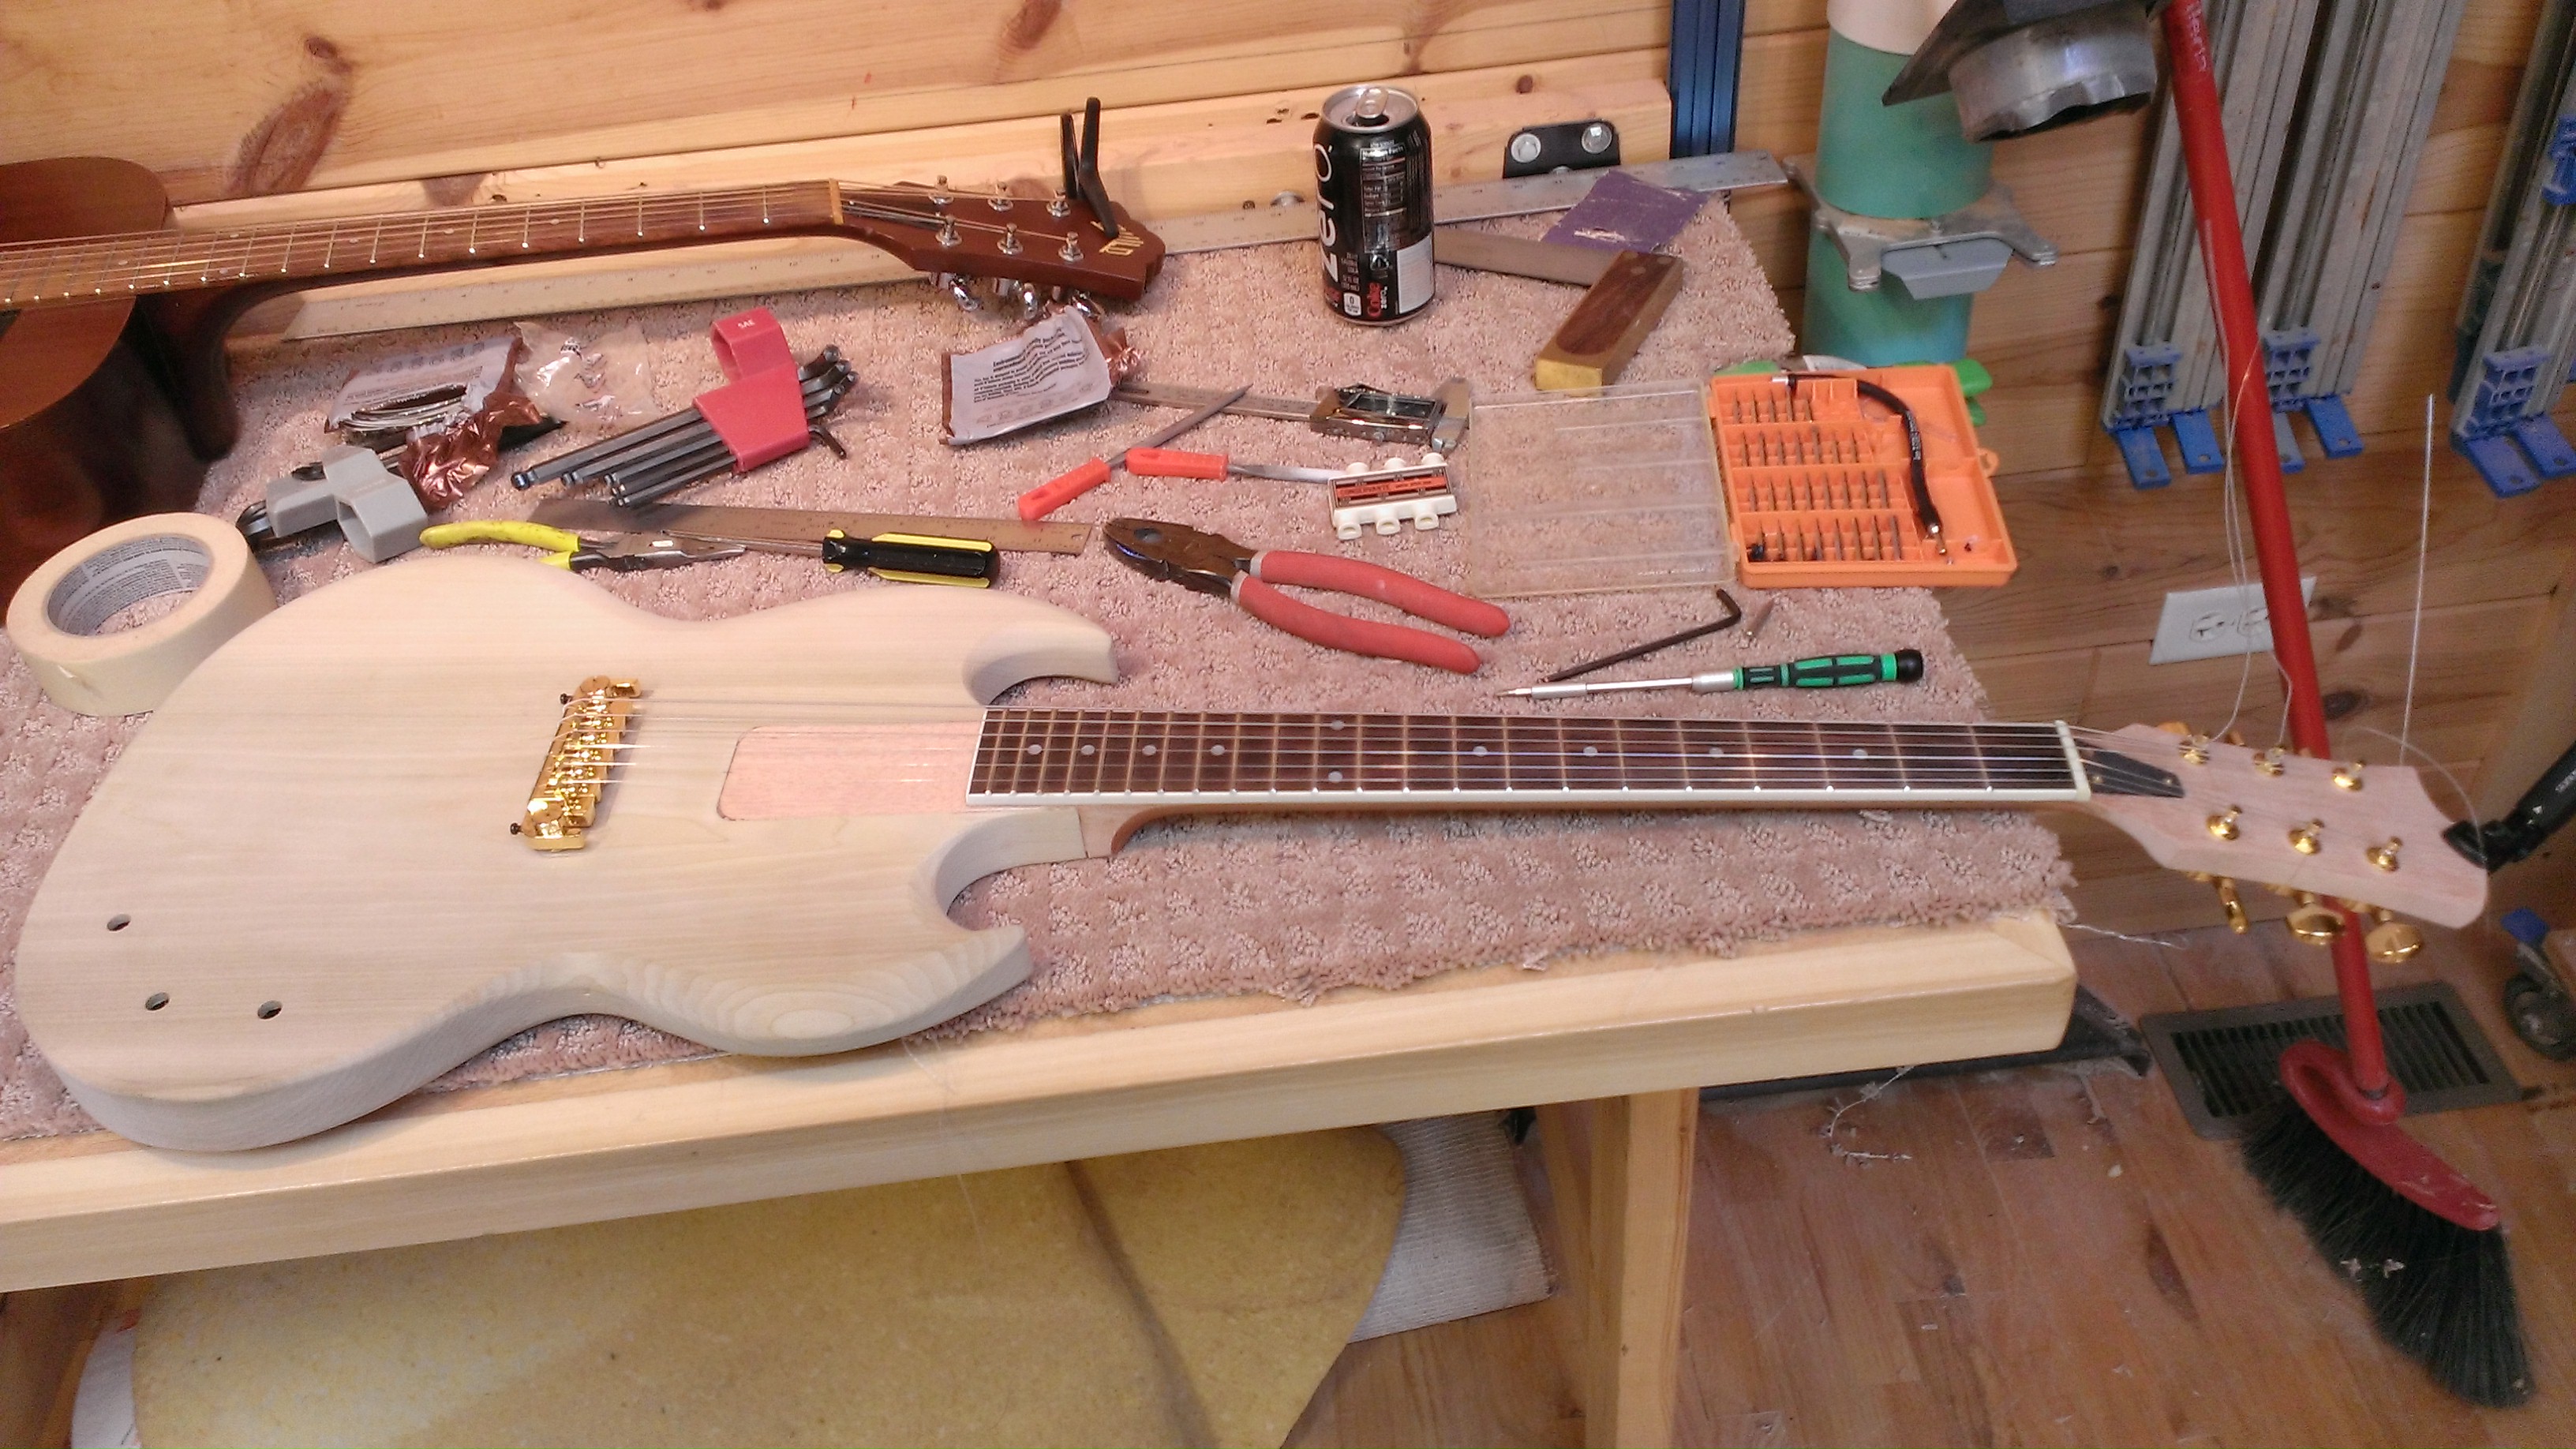
Strung up and ready for intonation