

- Rock ‘n Roll Basement
- Setting the stage
- Fuzzy Walls
- Picky Media Cabinet
- This Cabinet Goes To 11!
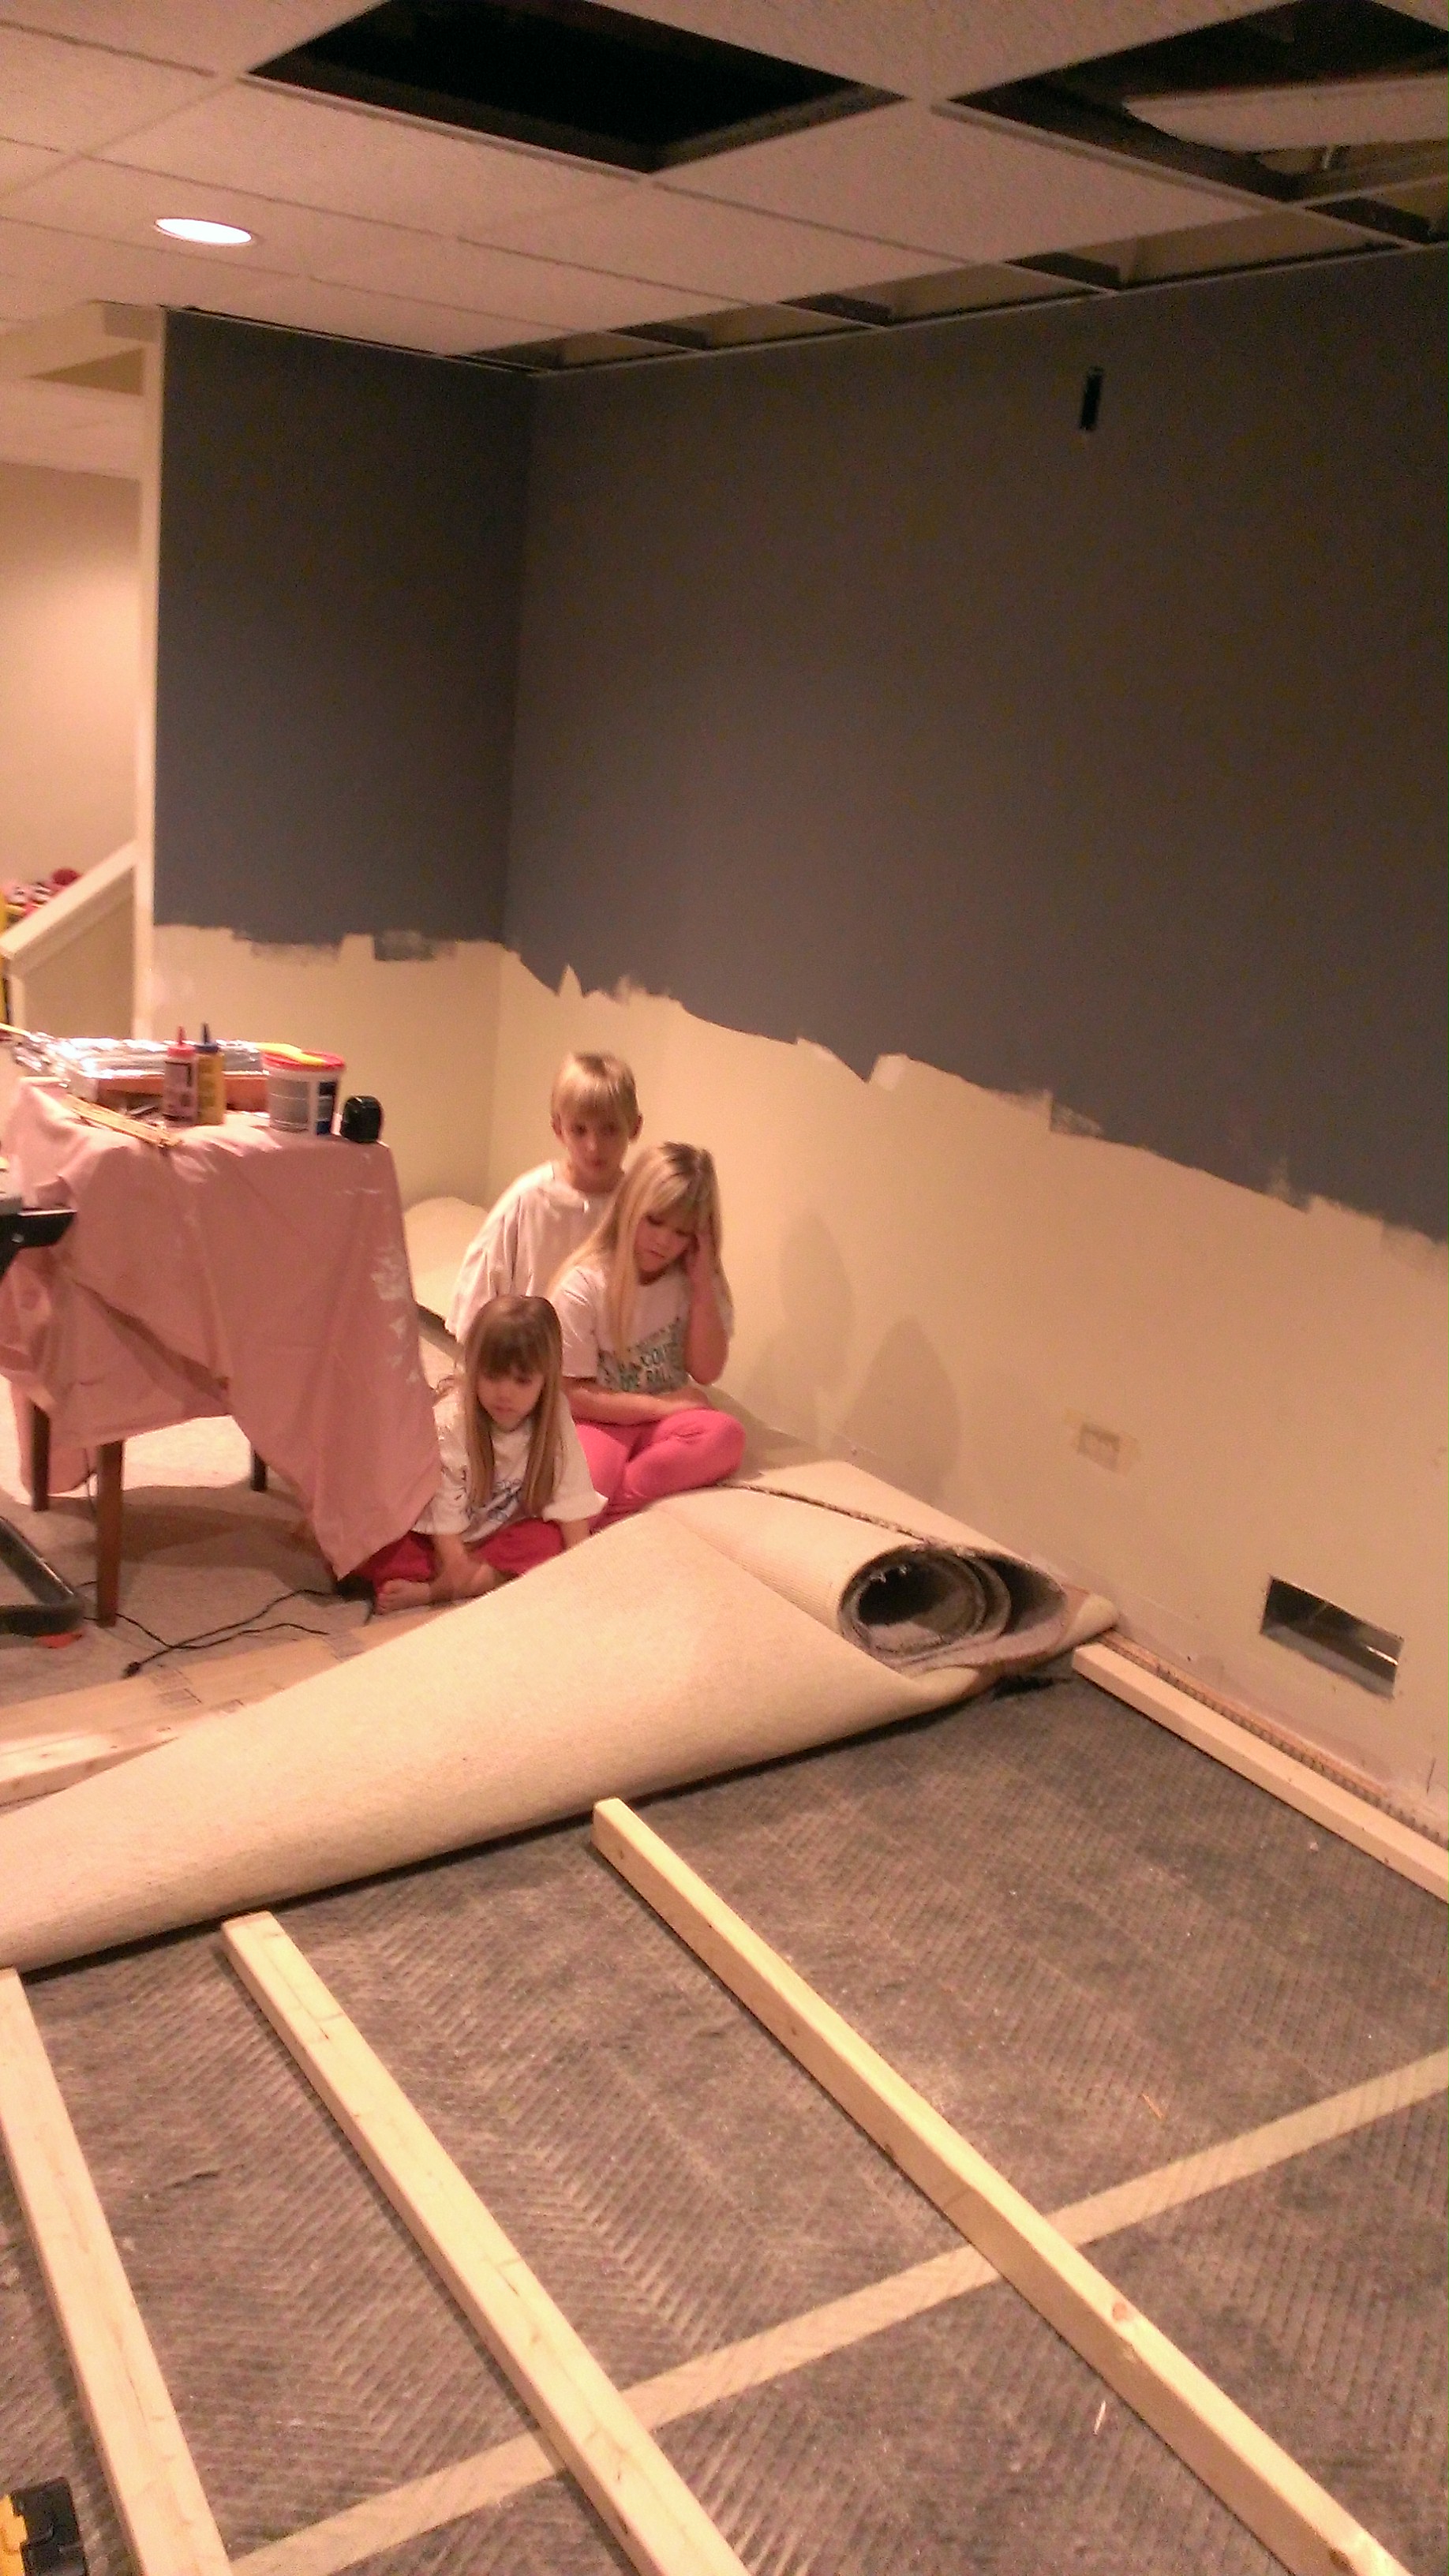
The Stage
The main focal point for the music area is the stage. With only 7′ of height to work with under the drop ceiling, it would need to be a fairly small step up. 2×3’s would fit the bill here, topped with 5/8″ OSB. I added additional support under the area where the drum set would live and pink insulation under the entire thing to deaden any resonance from the platform. The entire 8′ 6″ x 12′ 5″ stage would be finished off later with some inexpensive laminate flooring…and some rather pricey matching stair nose at the front to finish off the front edge.
Building the stage
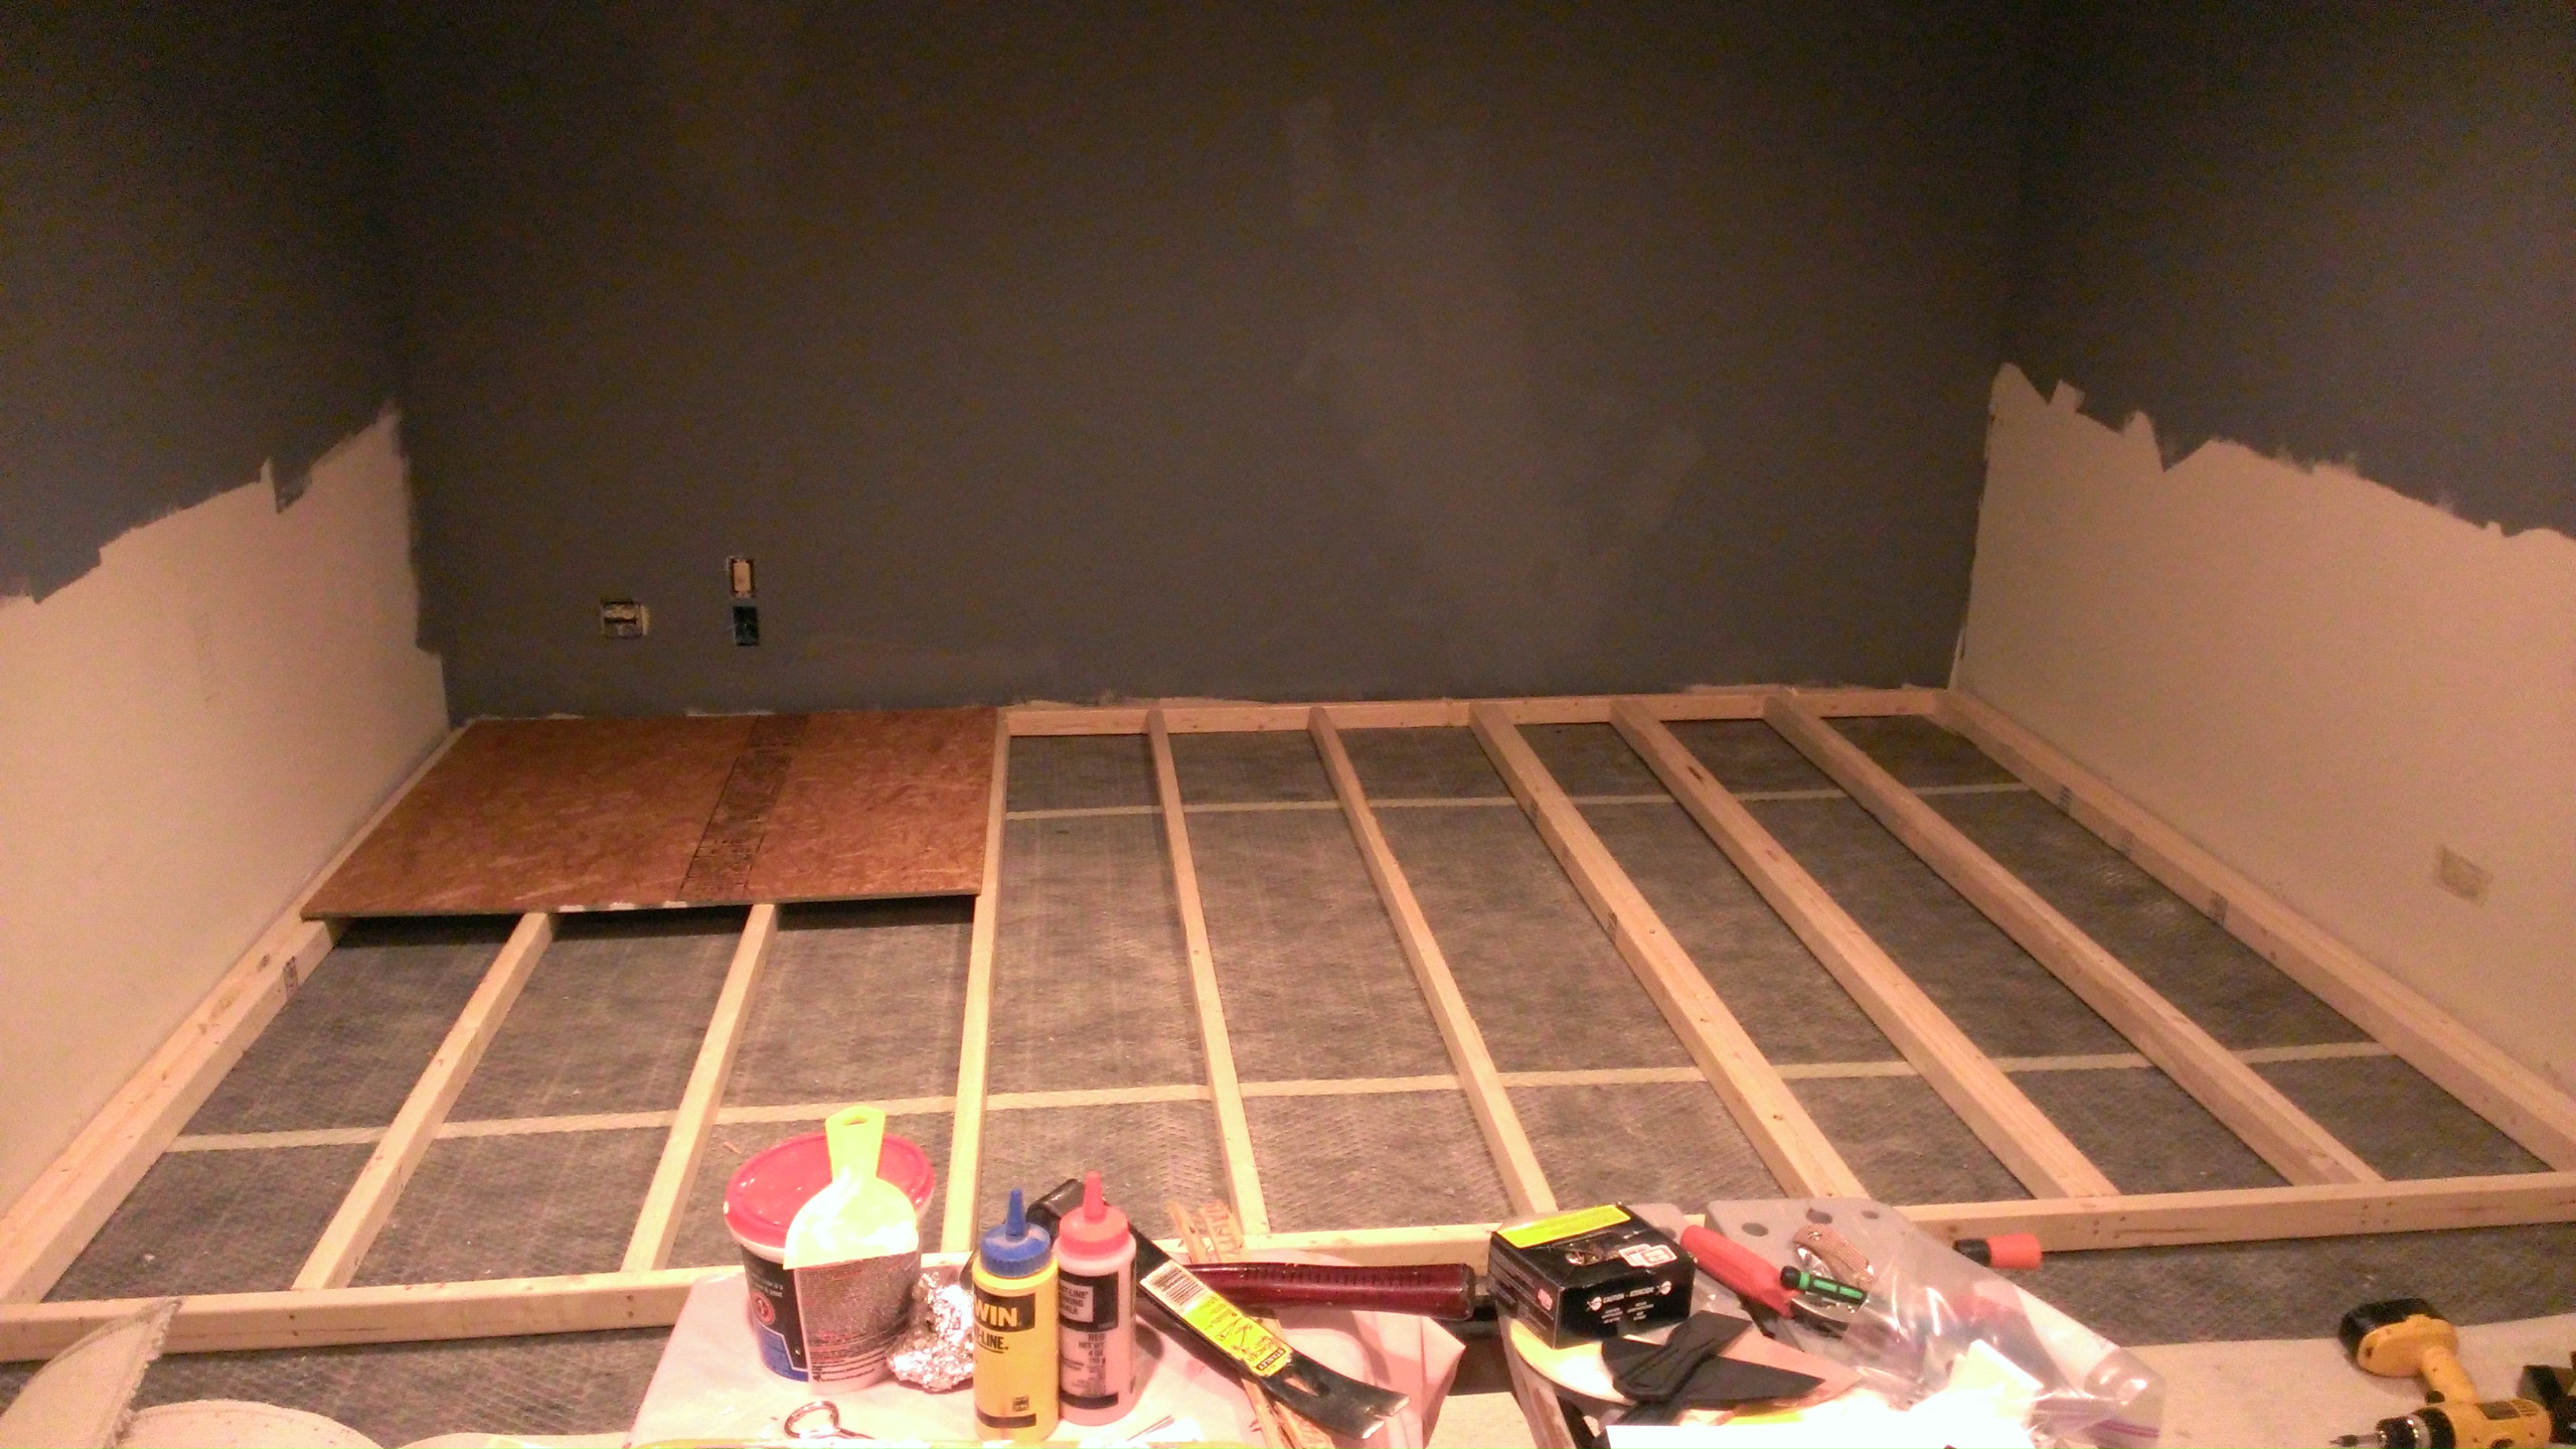
Platform framework
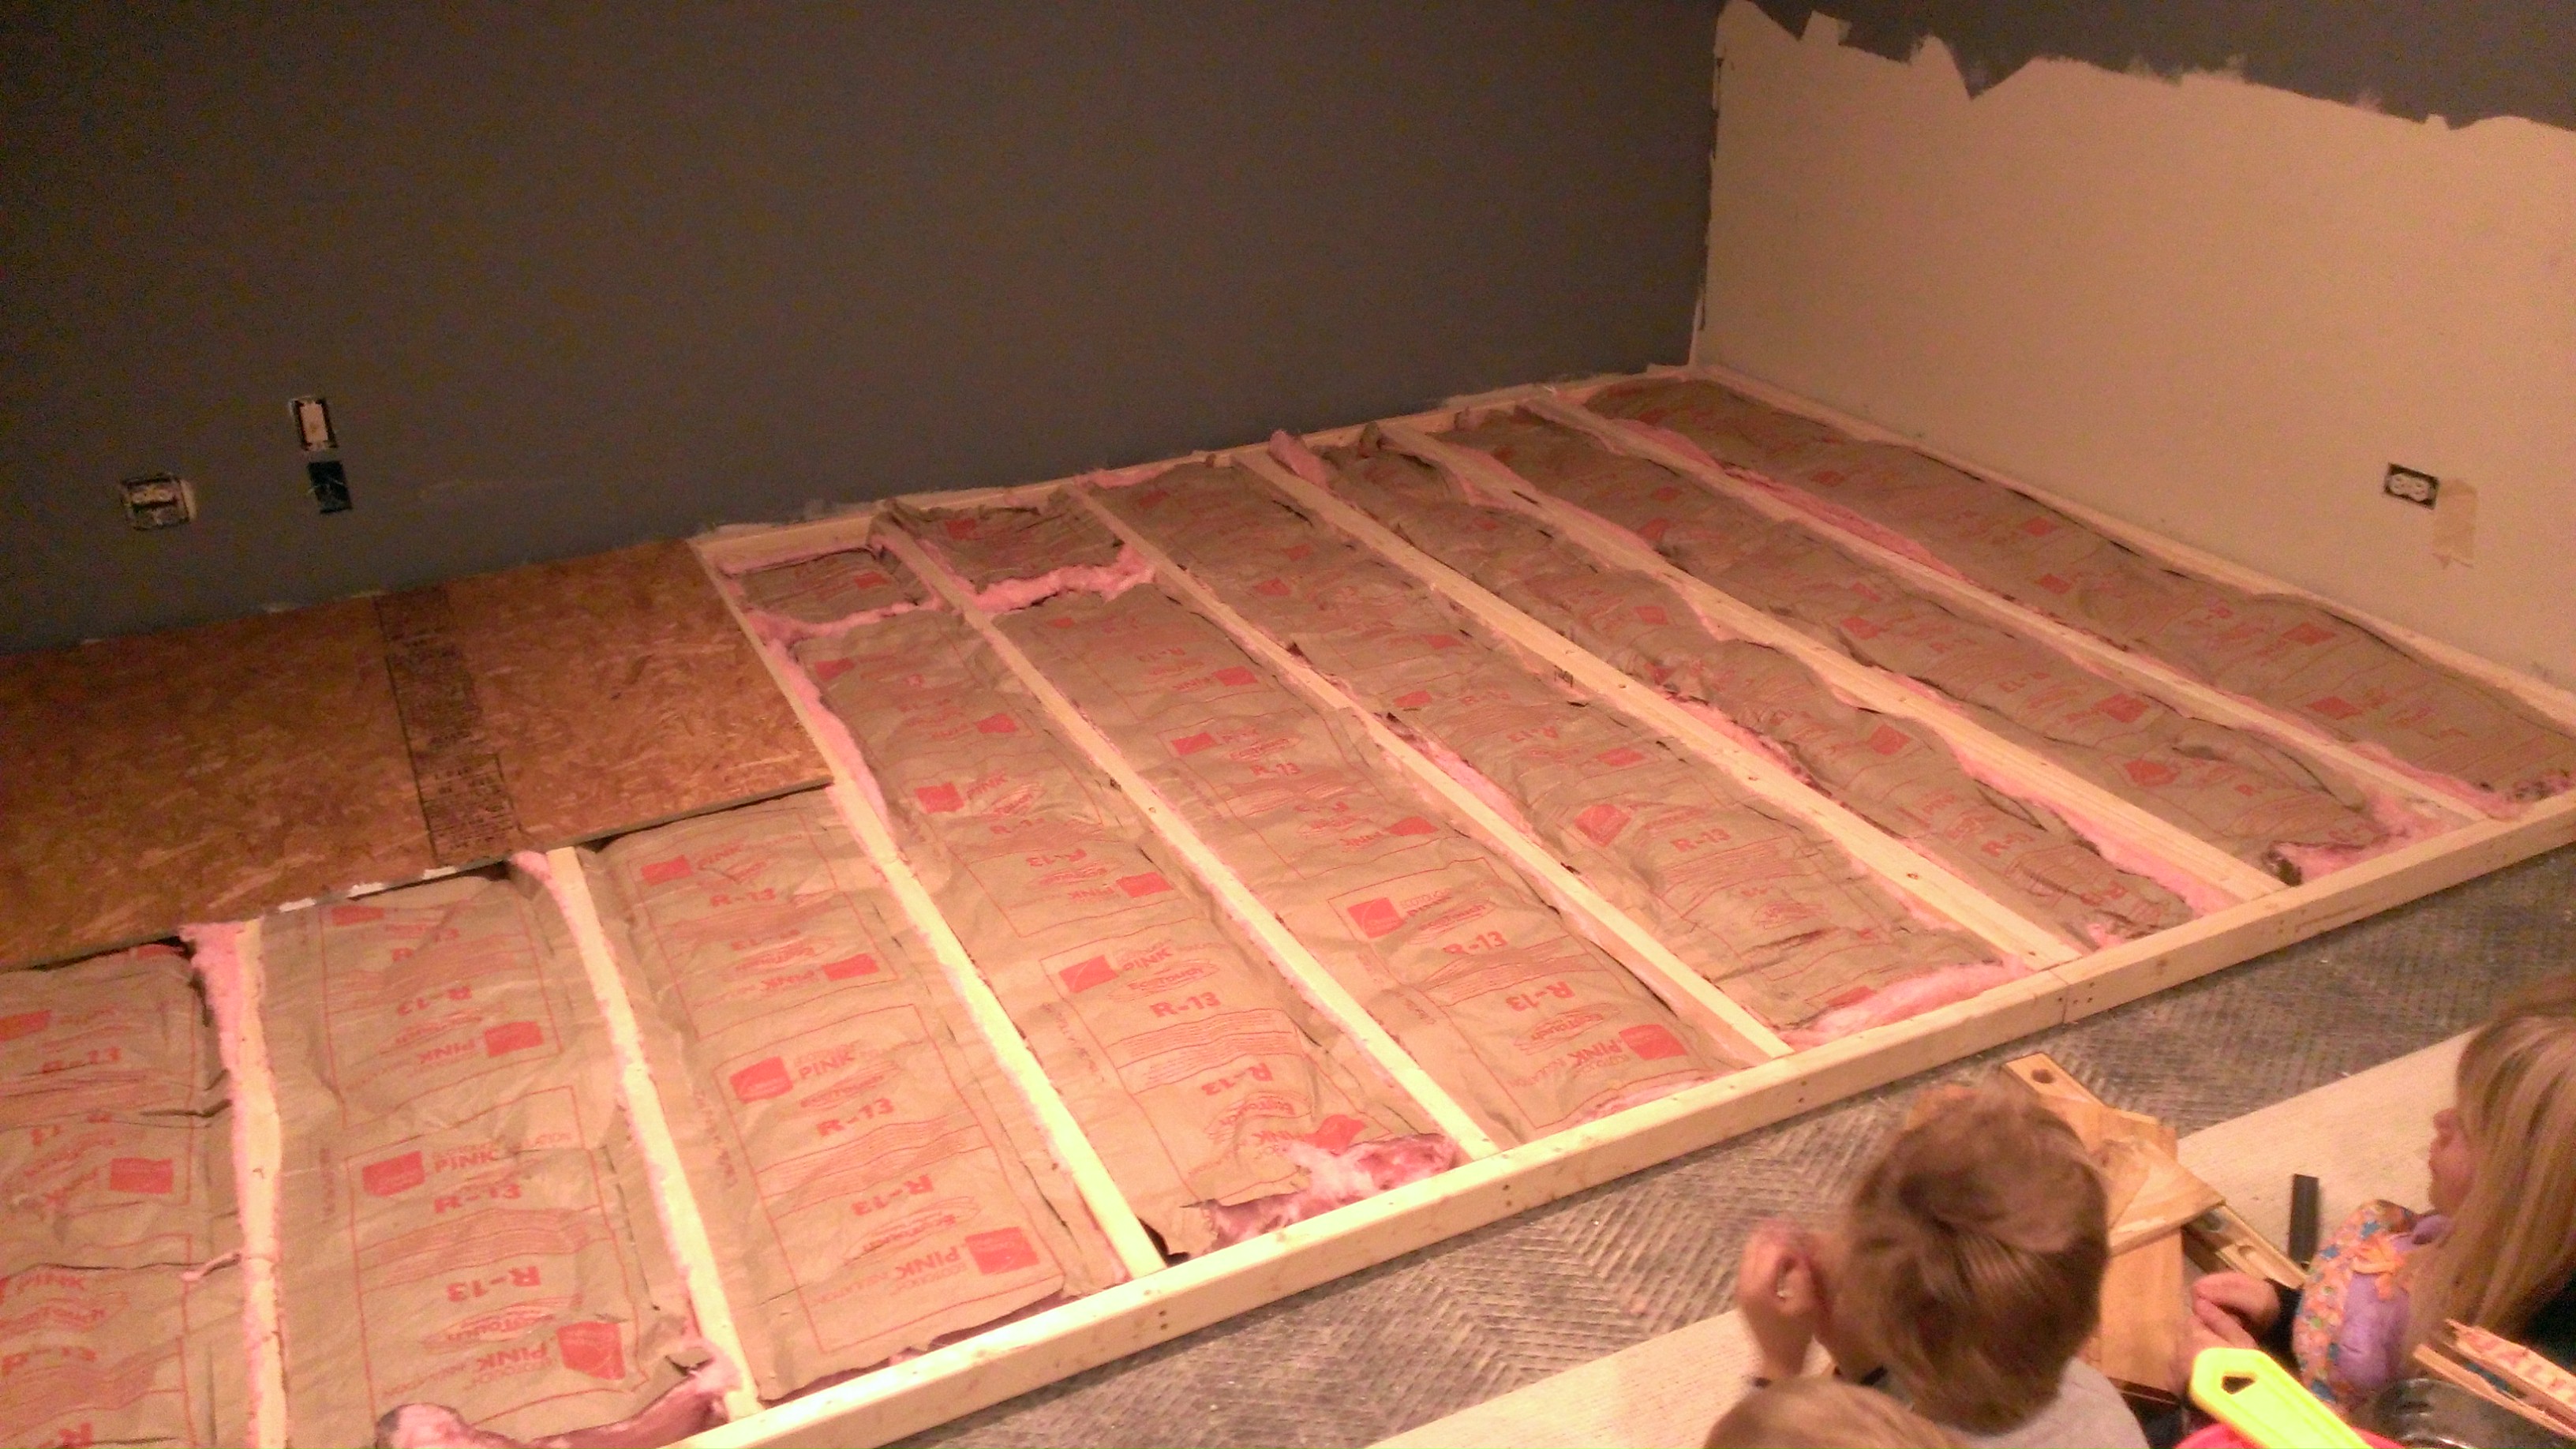
Insulating the stage
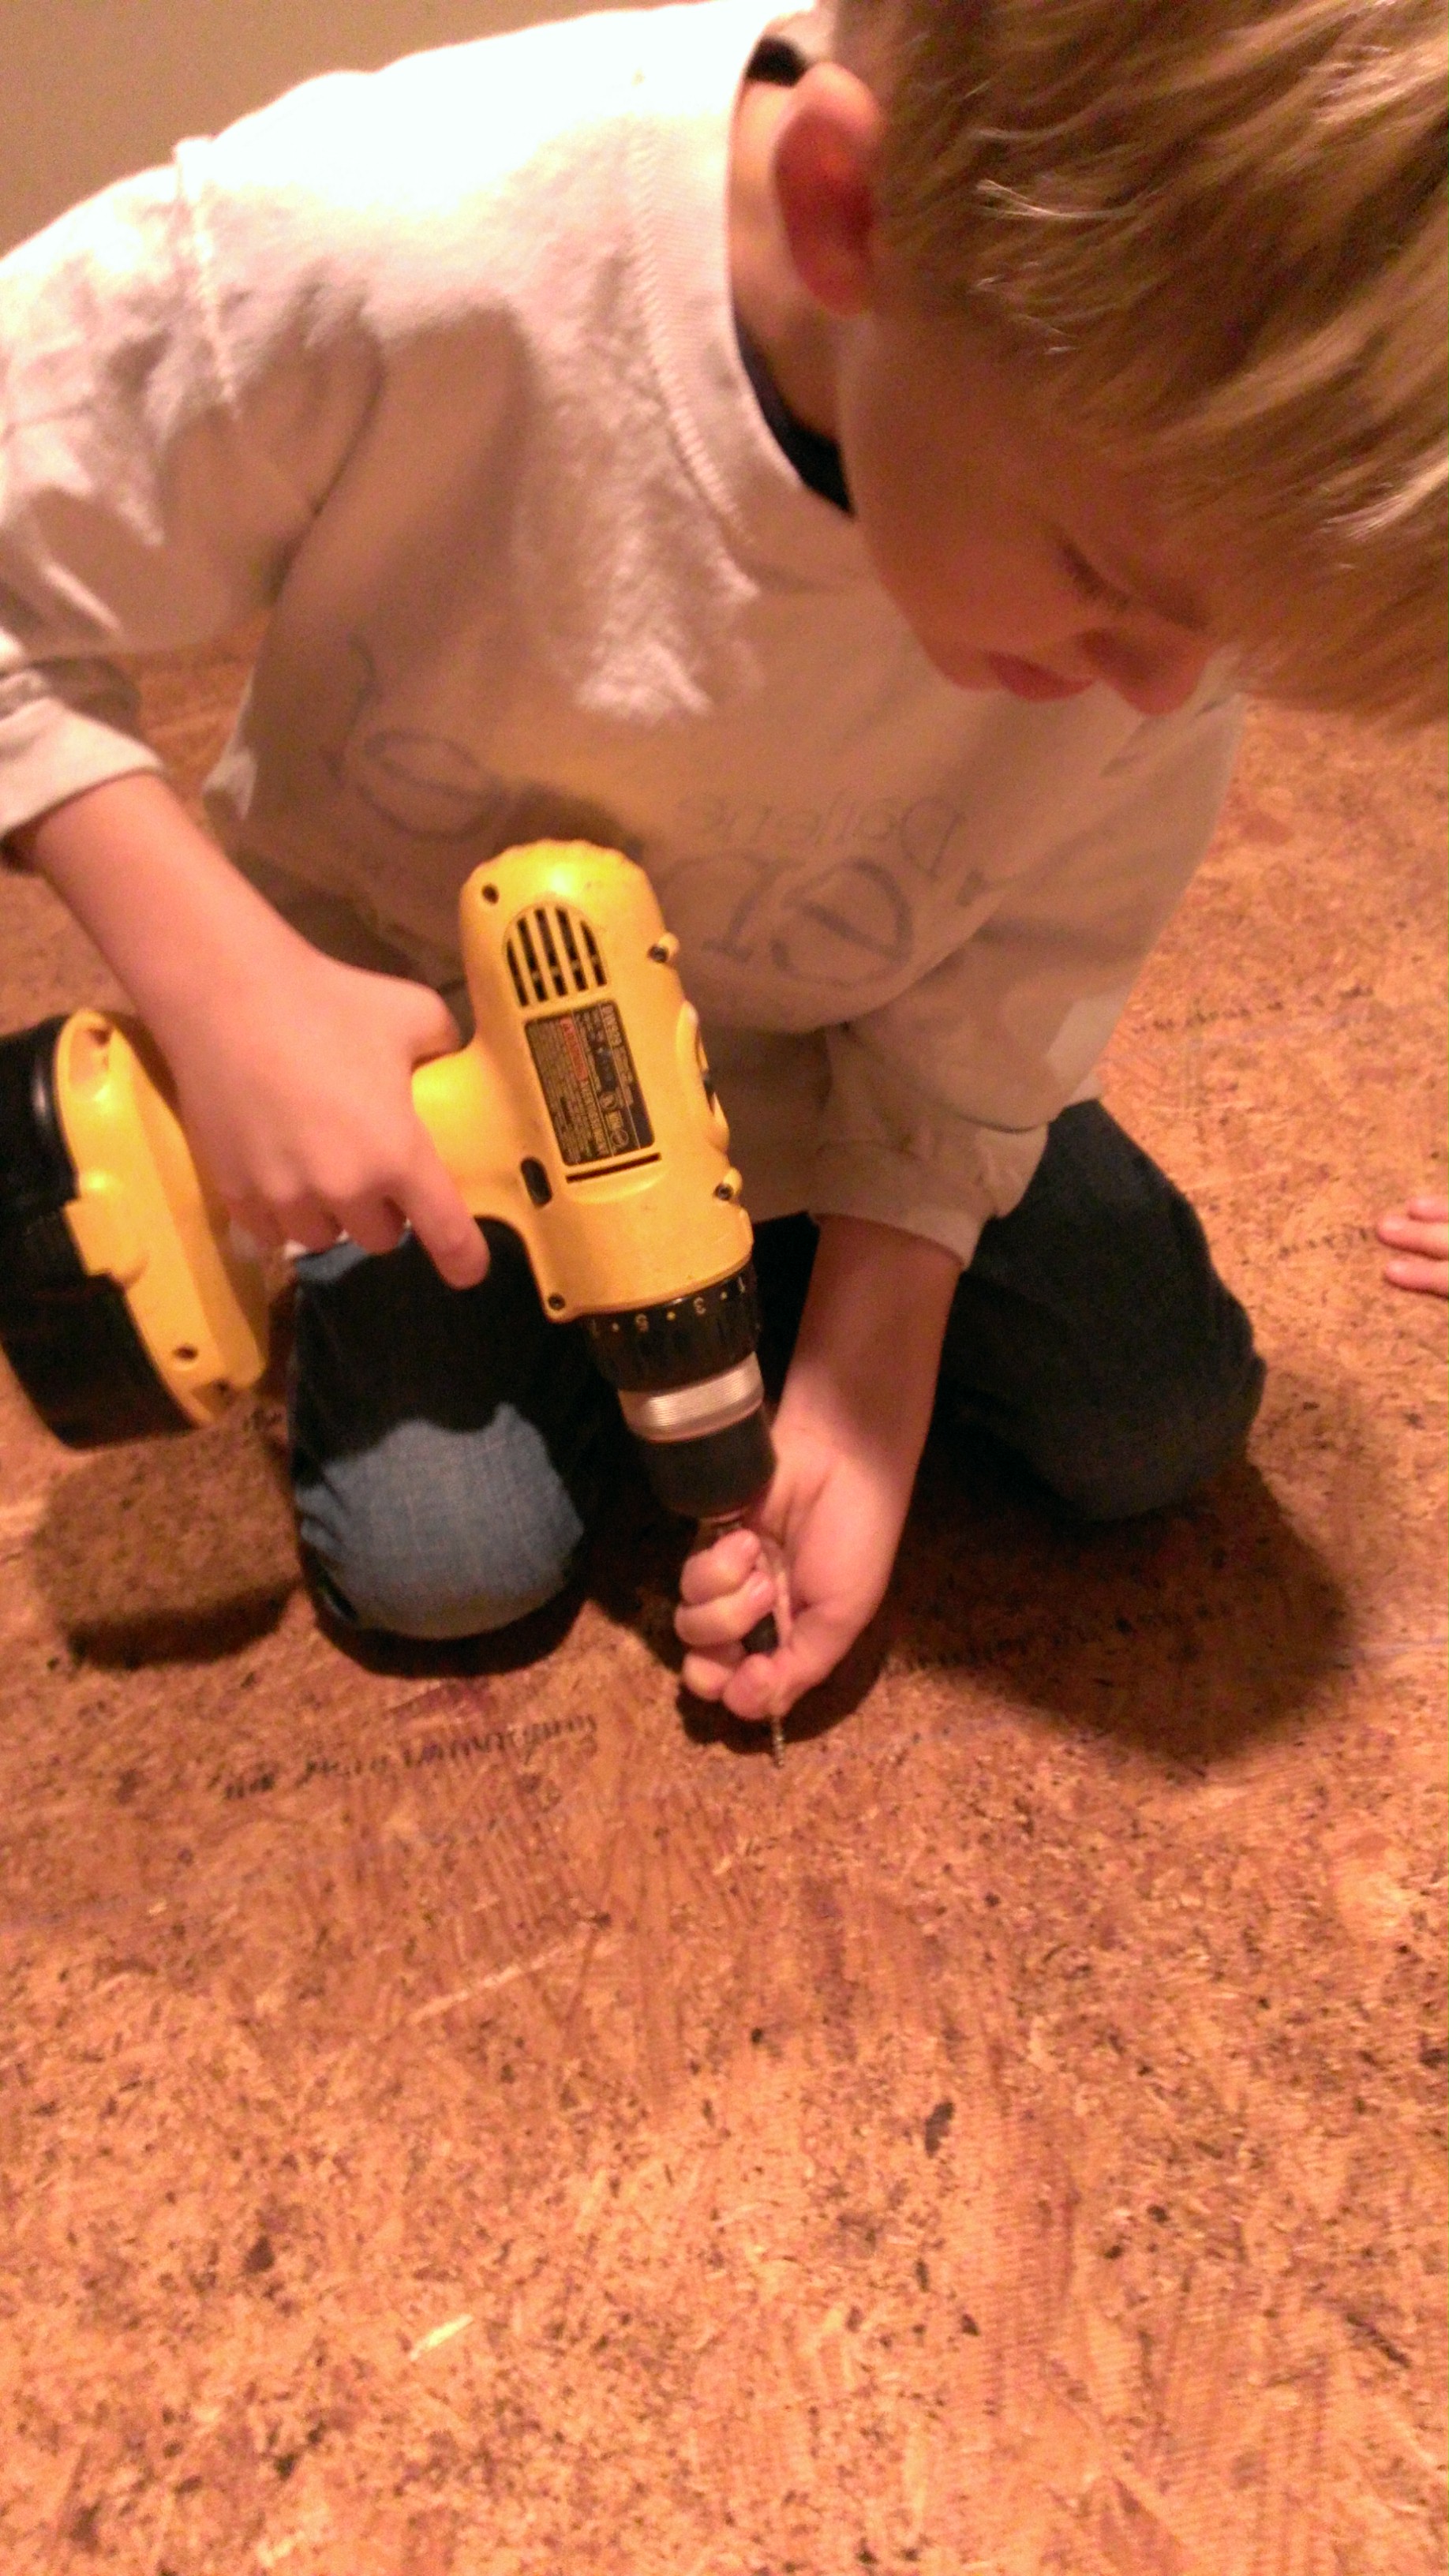
The kids got a chance to learn how to use a screw gun!
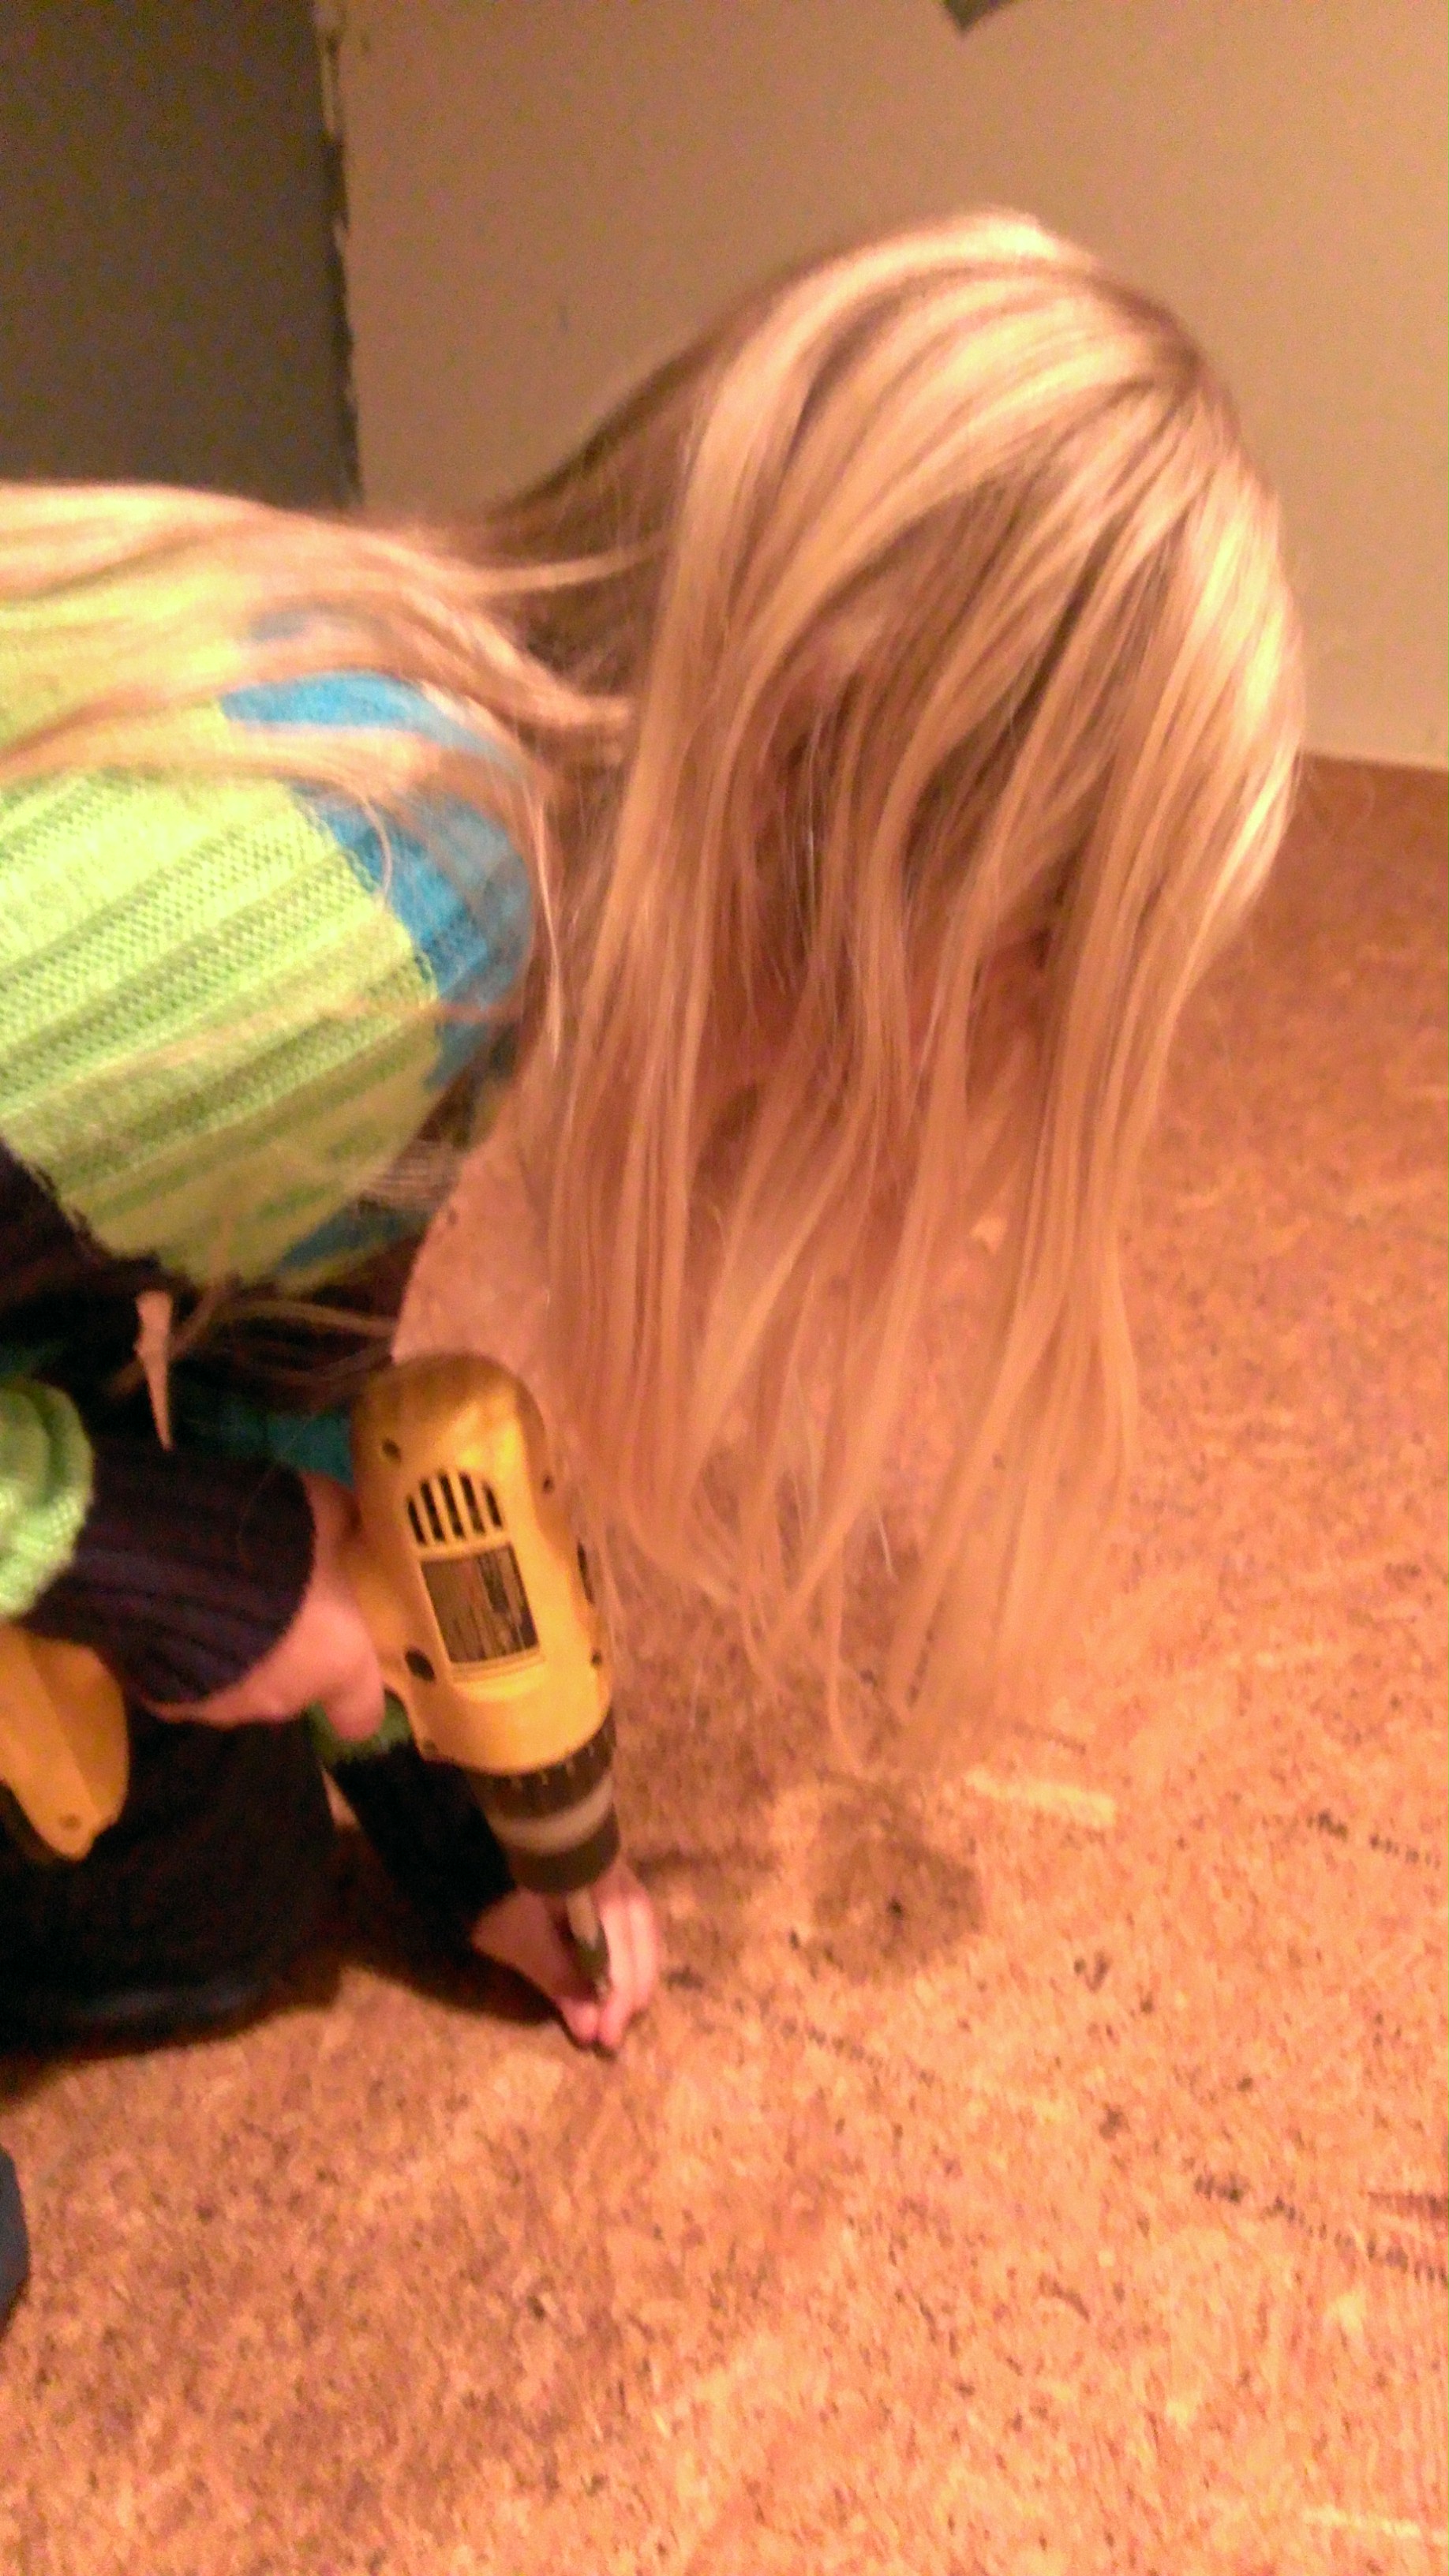
I probably should have made her put her hair up, but she did great driving screws for the first time.
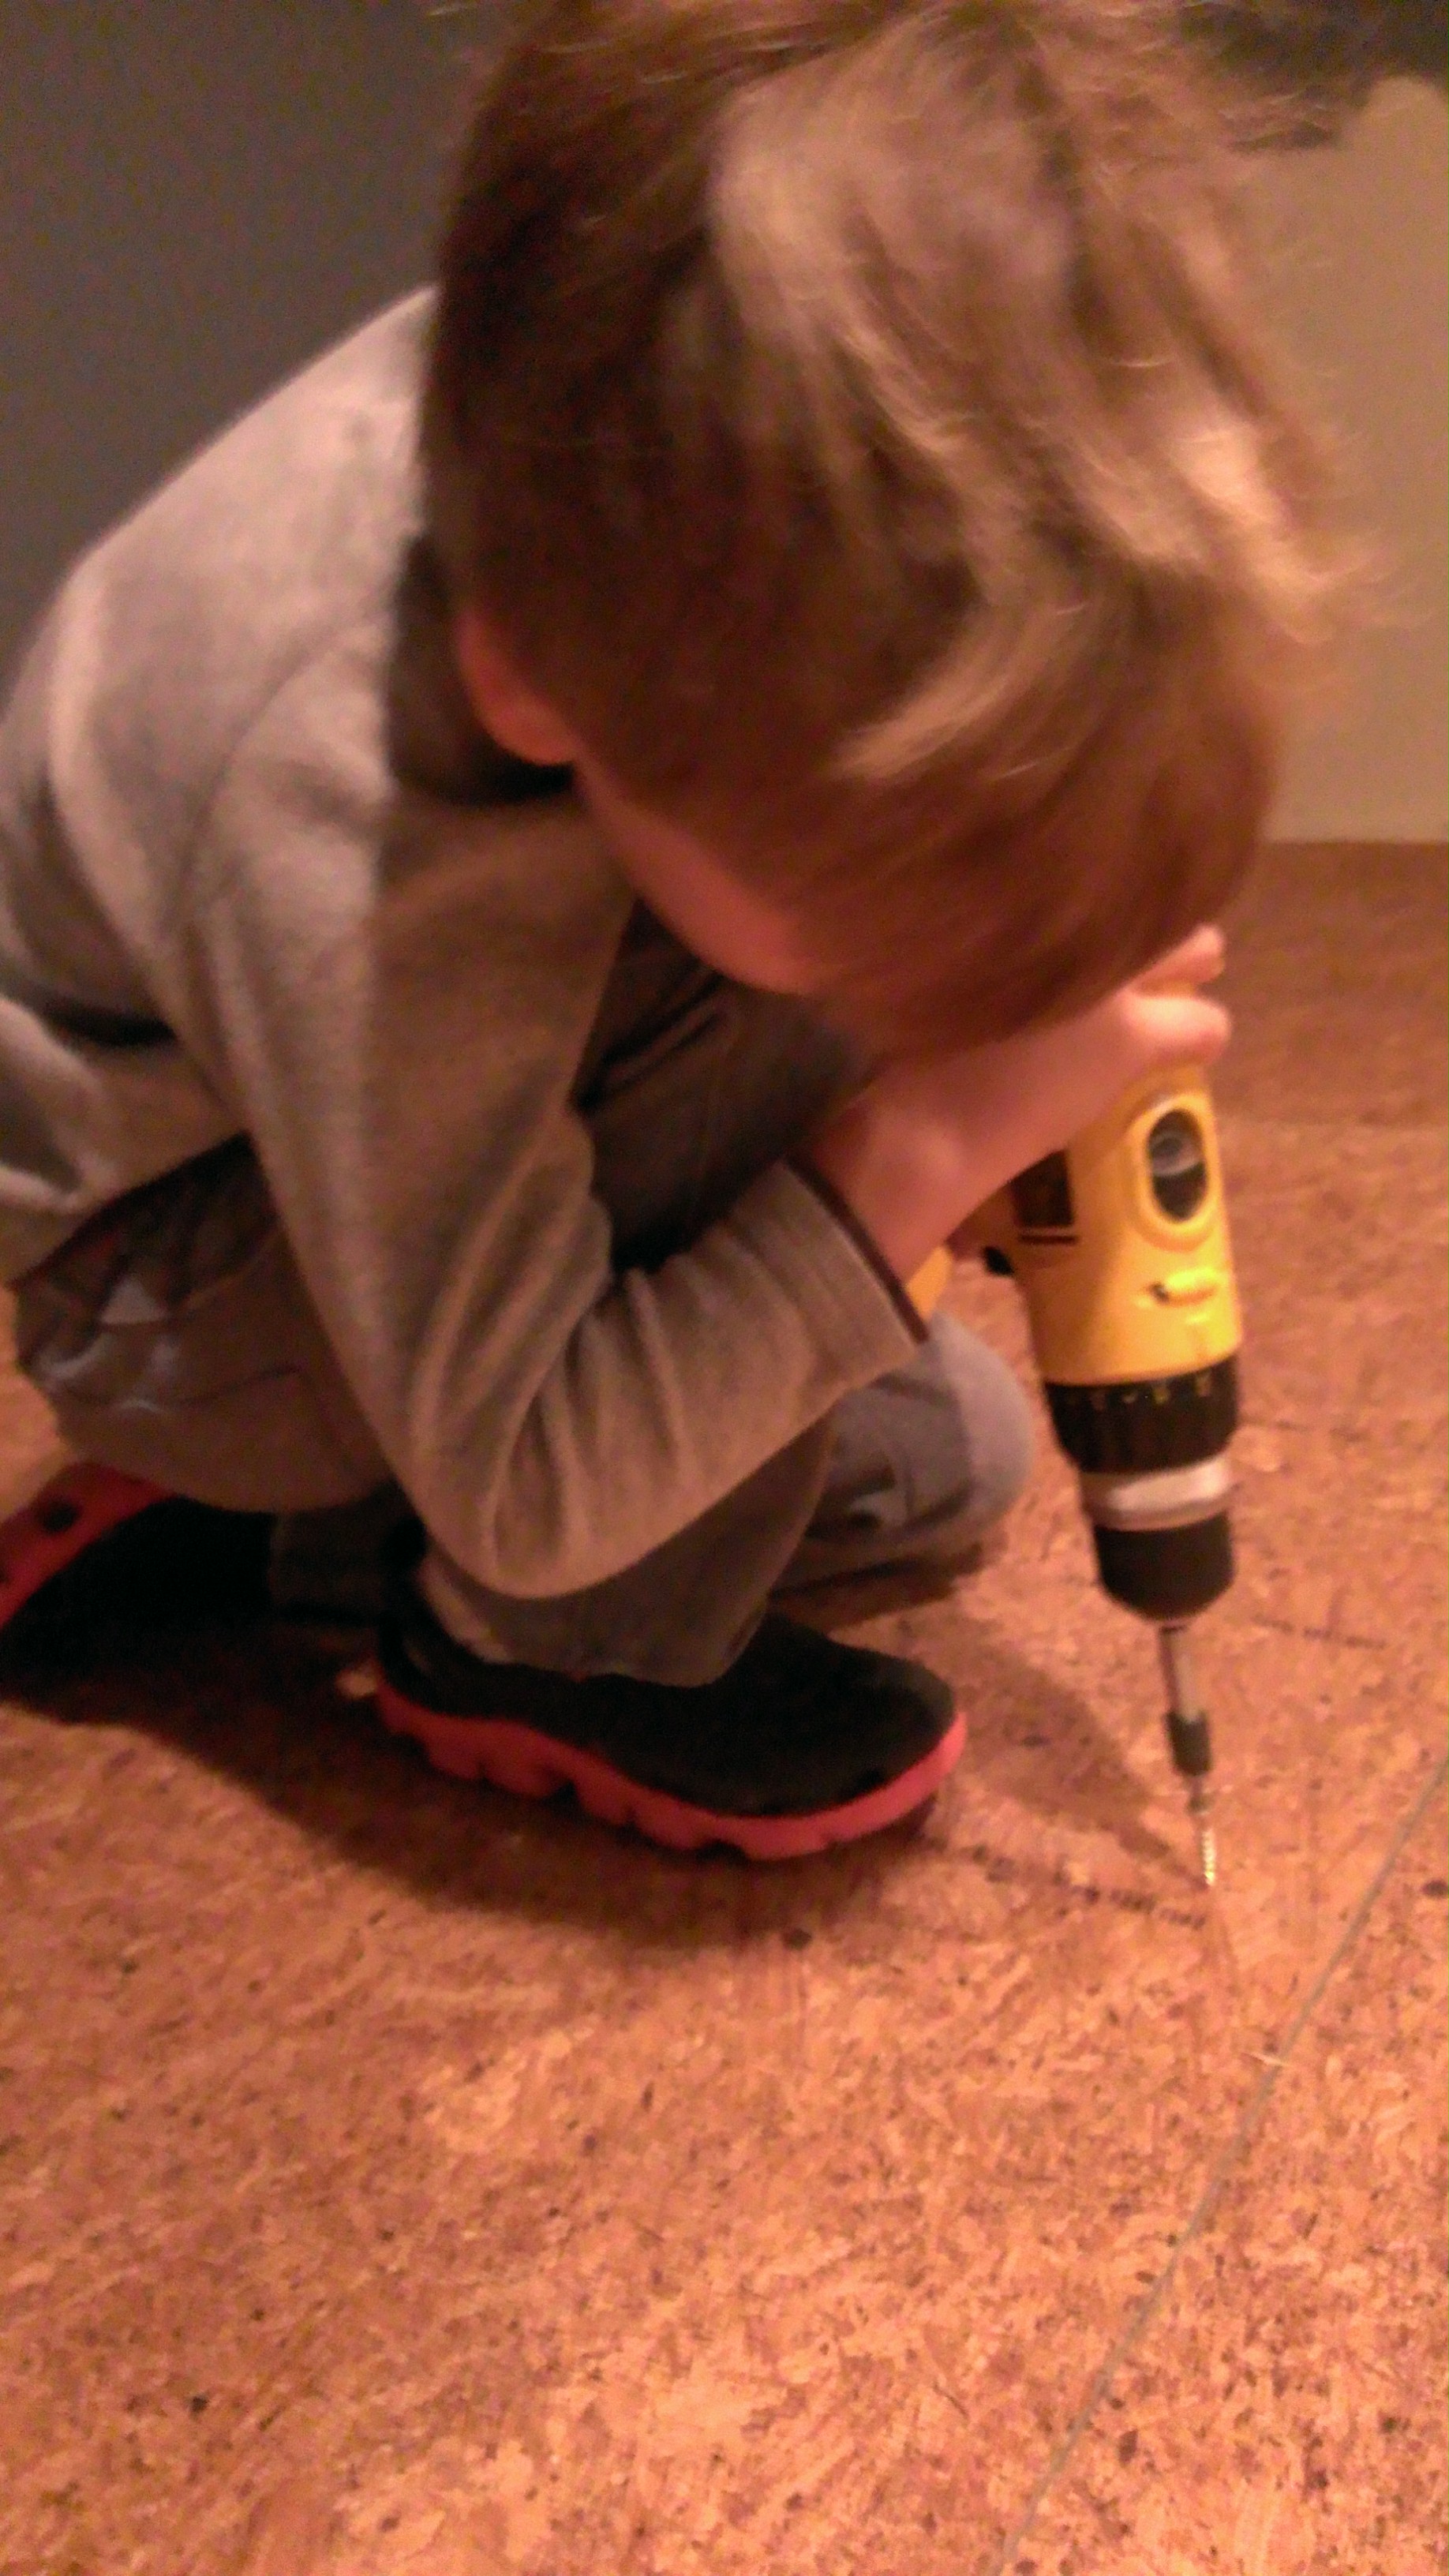
Even 6-yr-old Nathan was able to use the driver
The Ceiling
I was greatly concerned about the ceiling. On the one hand I knew it really should match the wall color. On the other, the dark walls were already going to darken up a small basement room with limited lighting. But I ultimately decided to march forward and figured I’d deal with any lighting issues that arose. The big question was if I could actually paint the squares and supporting framework – and how would that look? This gave me an opportunity to (literally) dust off my Earlex 3000 sprayer and try it out. The tiles coated fairly well. They each required two coats – I would paint in one direction, rotate the tile 1/4 turn, and spray it again. This helped getting the paint into all the nooks and crevices in the textured tiles. They look really good, however if you hit them with a bright light from an angle you can see some white in the deep pockets. As long as I don’t install any up-lighting this won’t be an issue!
For the metal supports, I considered using a separate primer first. In the end they took the paint well enough without a primer coat, though requiring two coats for full coverage. In this case the short ceiling was a big help as there was no need to march a ladder around the room…though it was a bit hard on the neck!
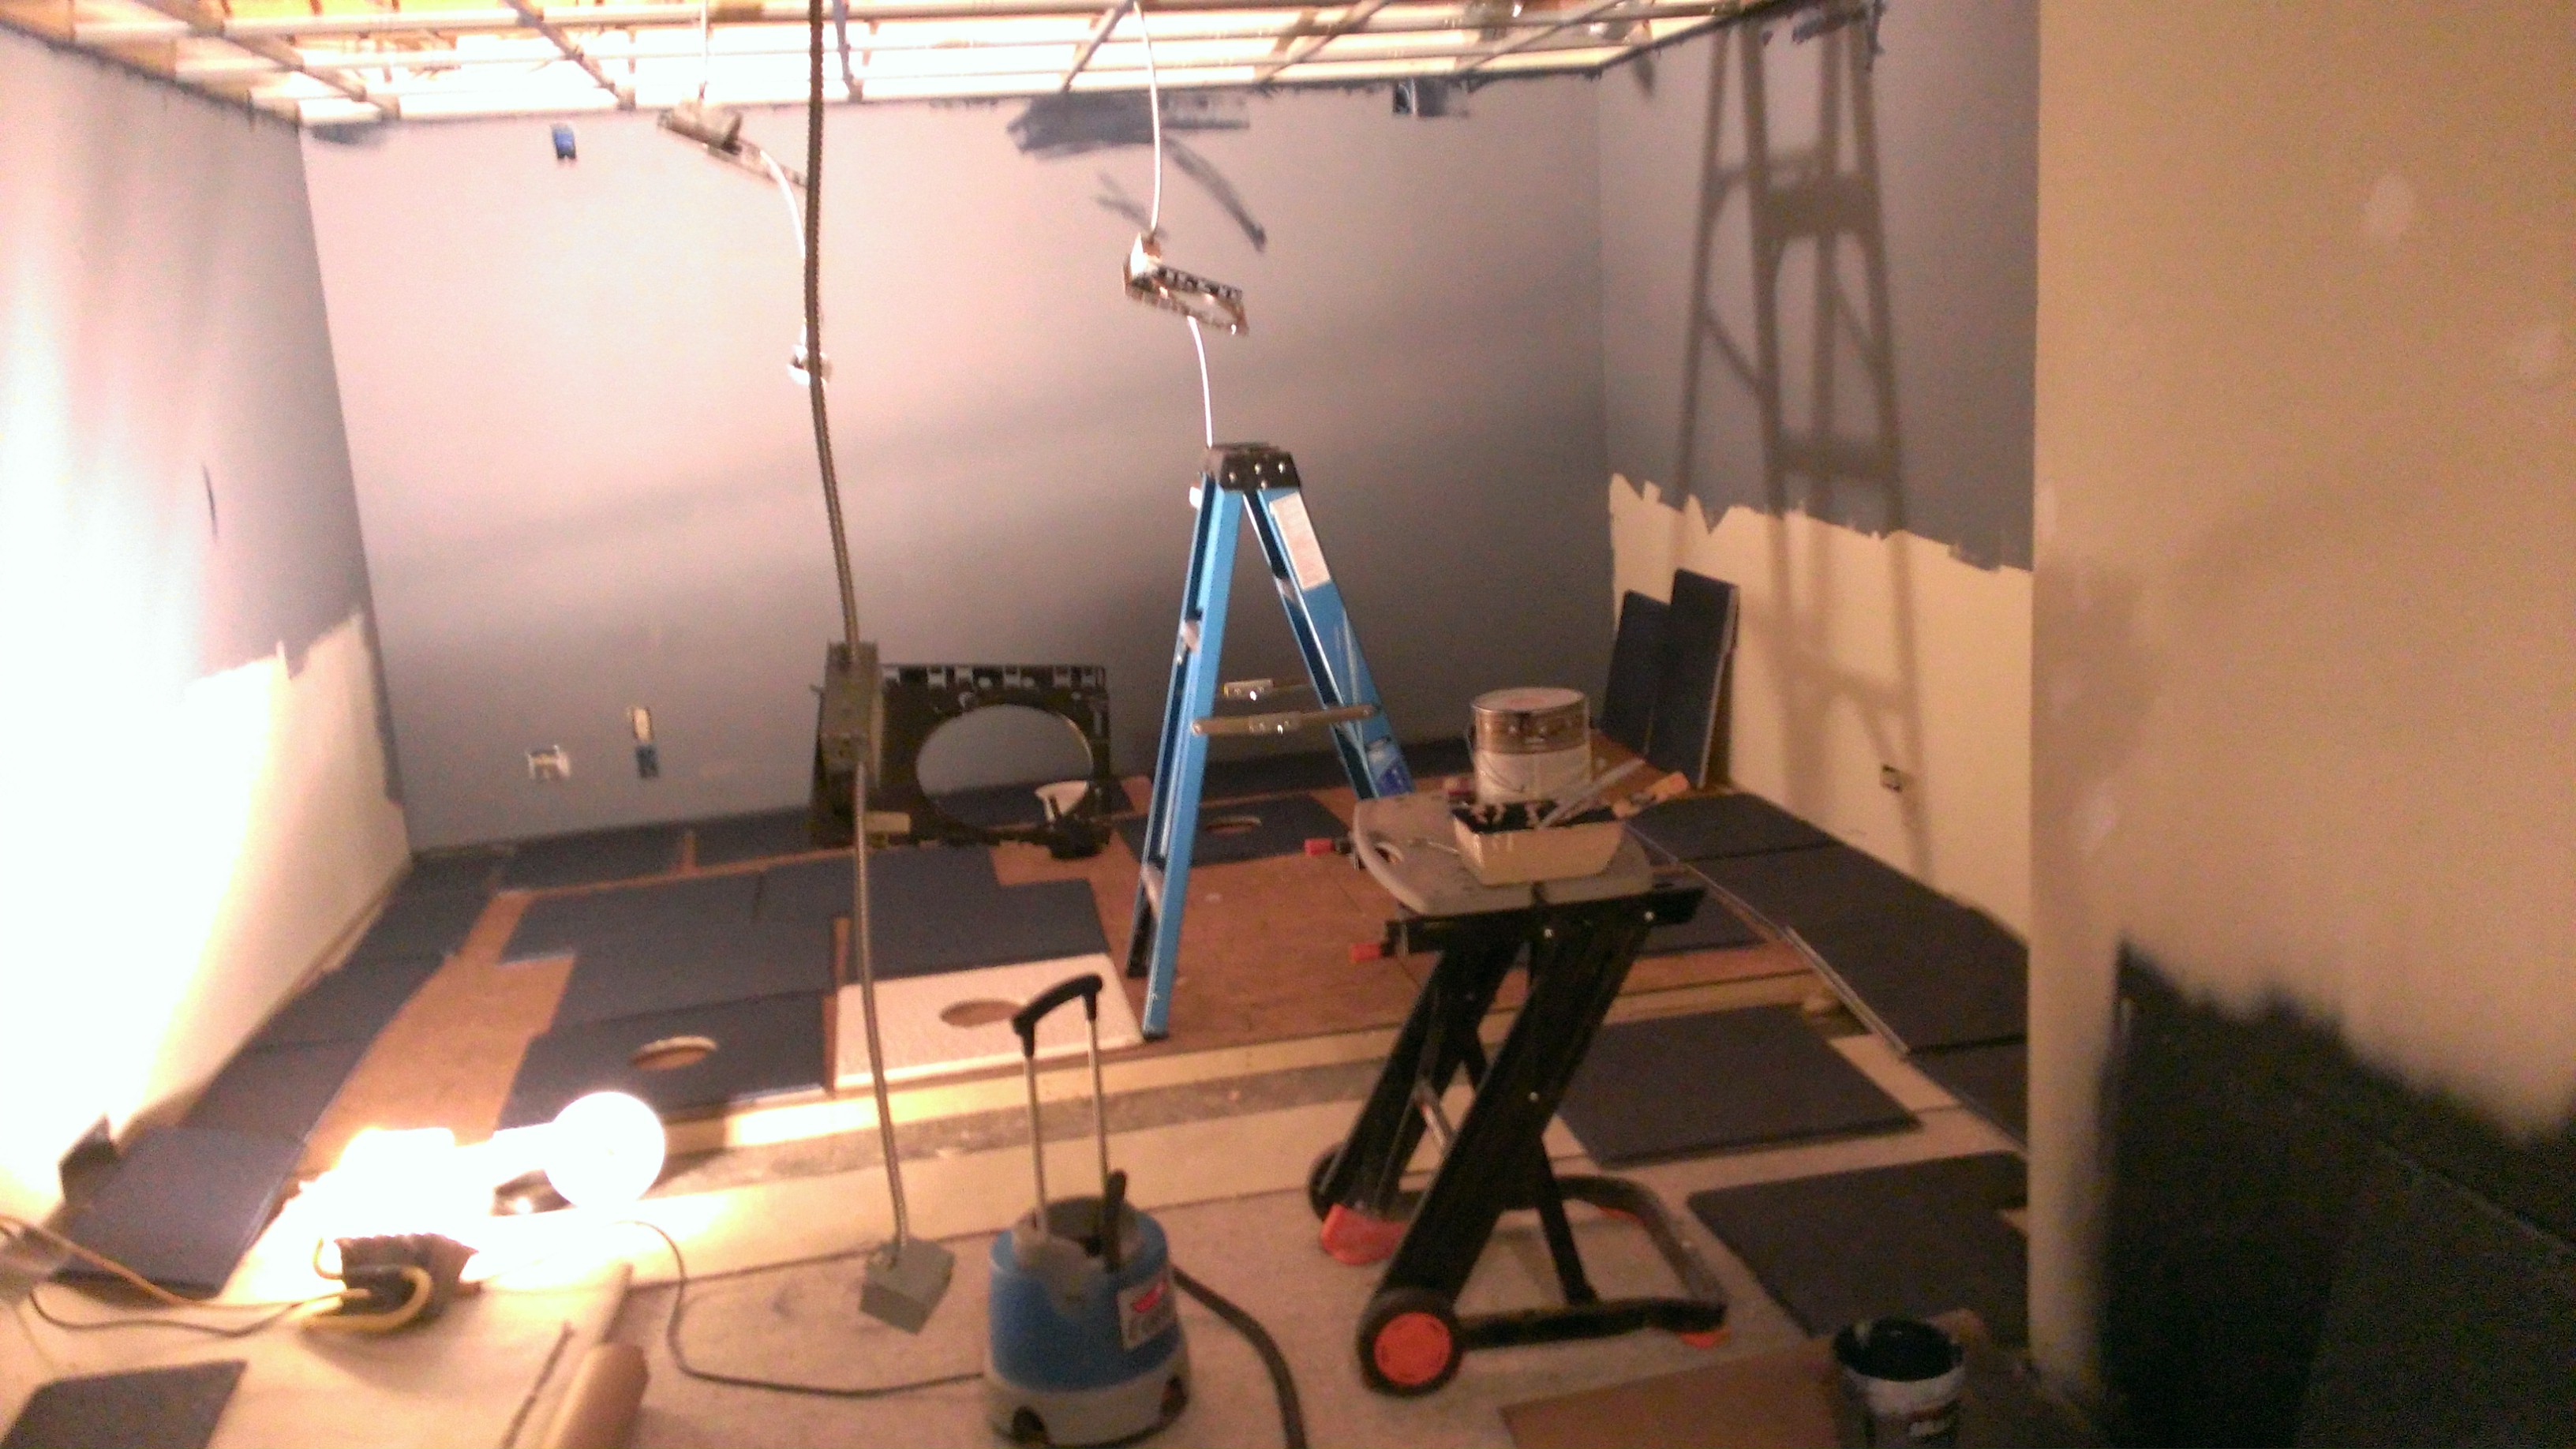
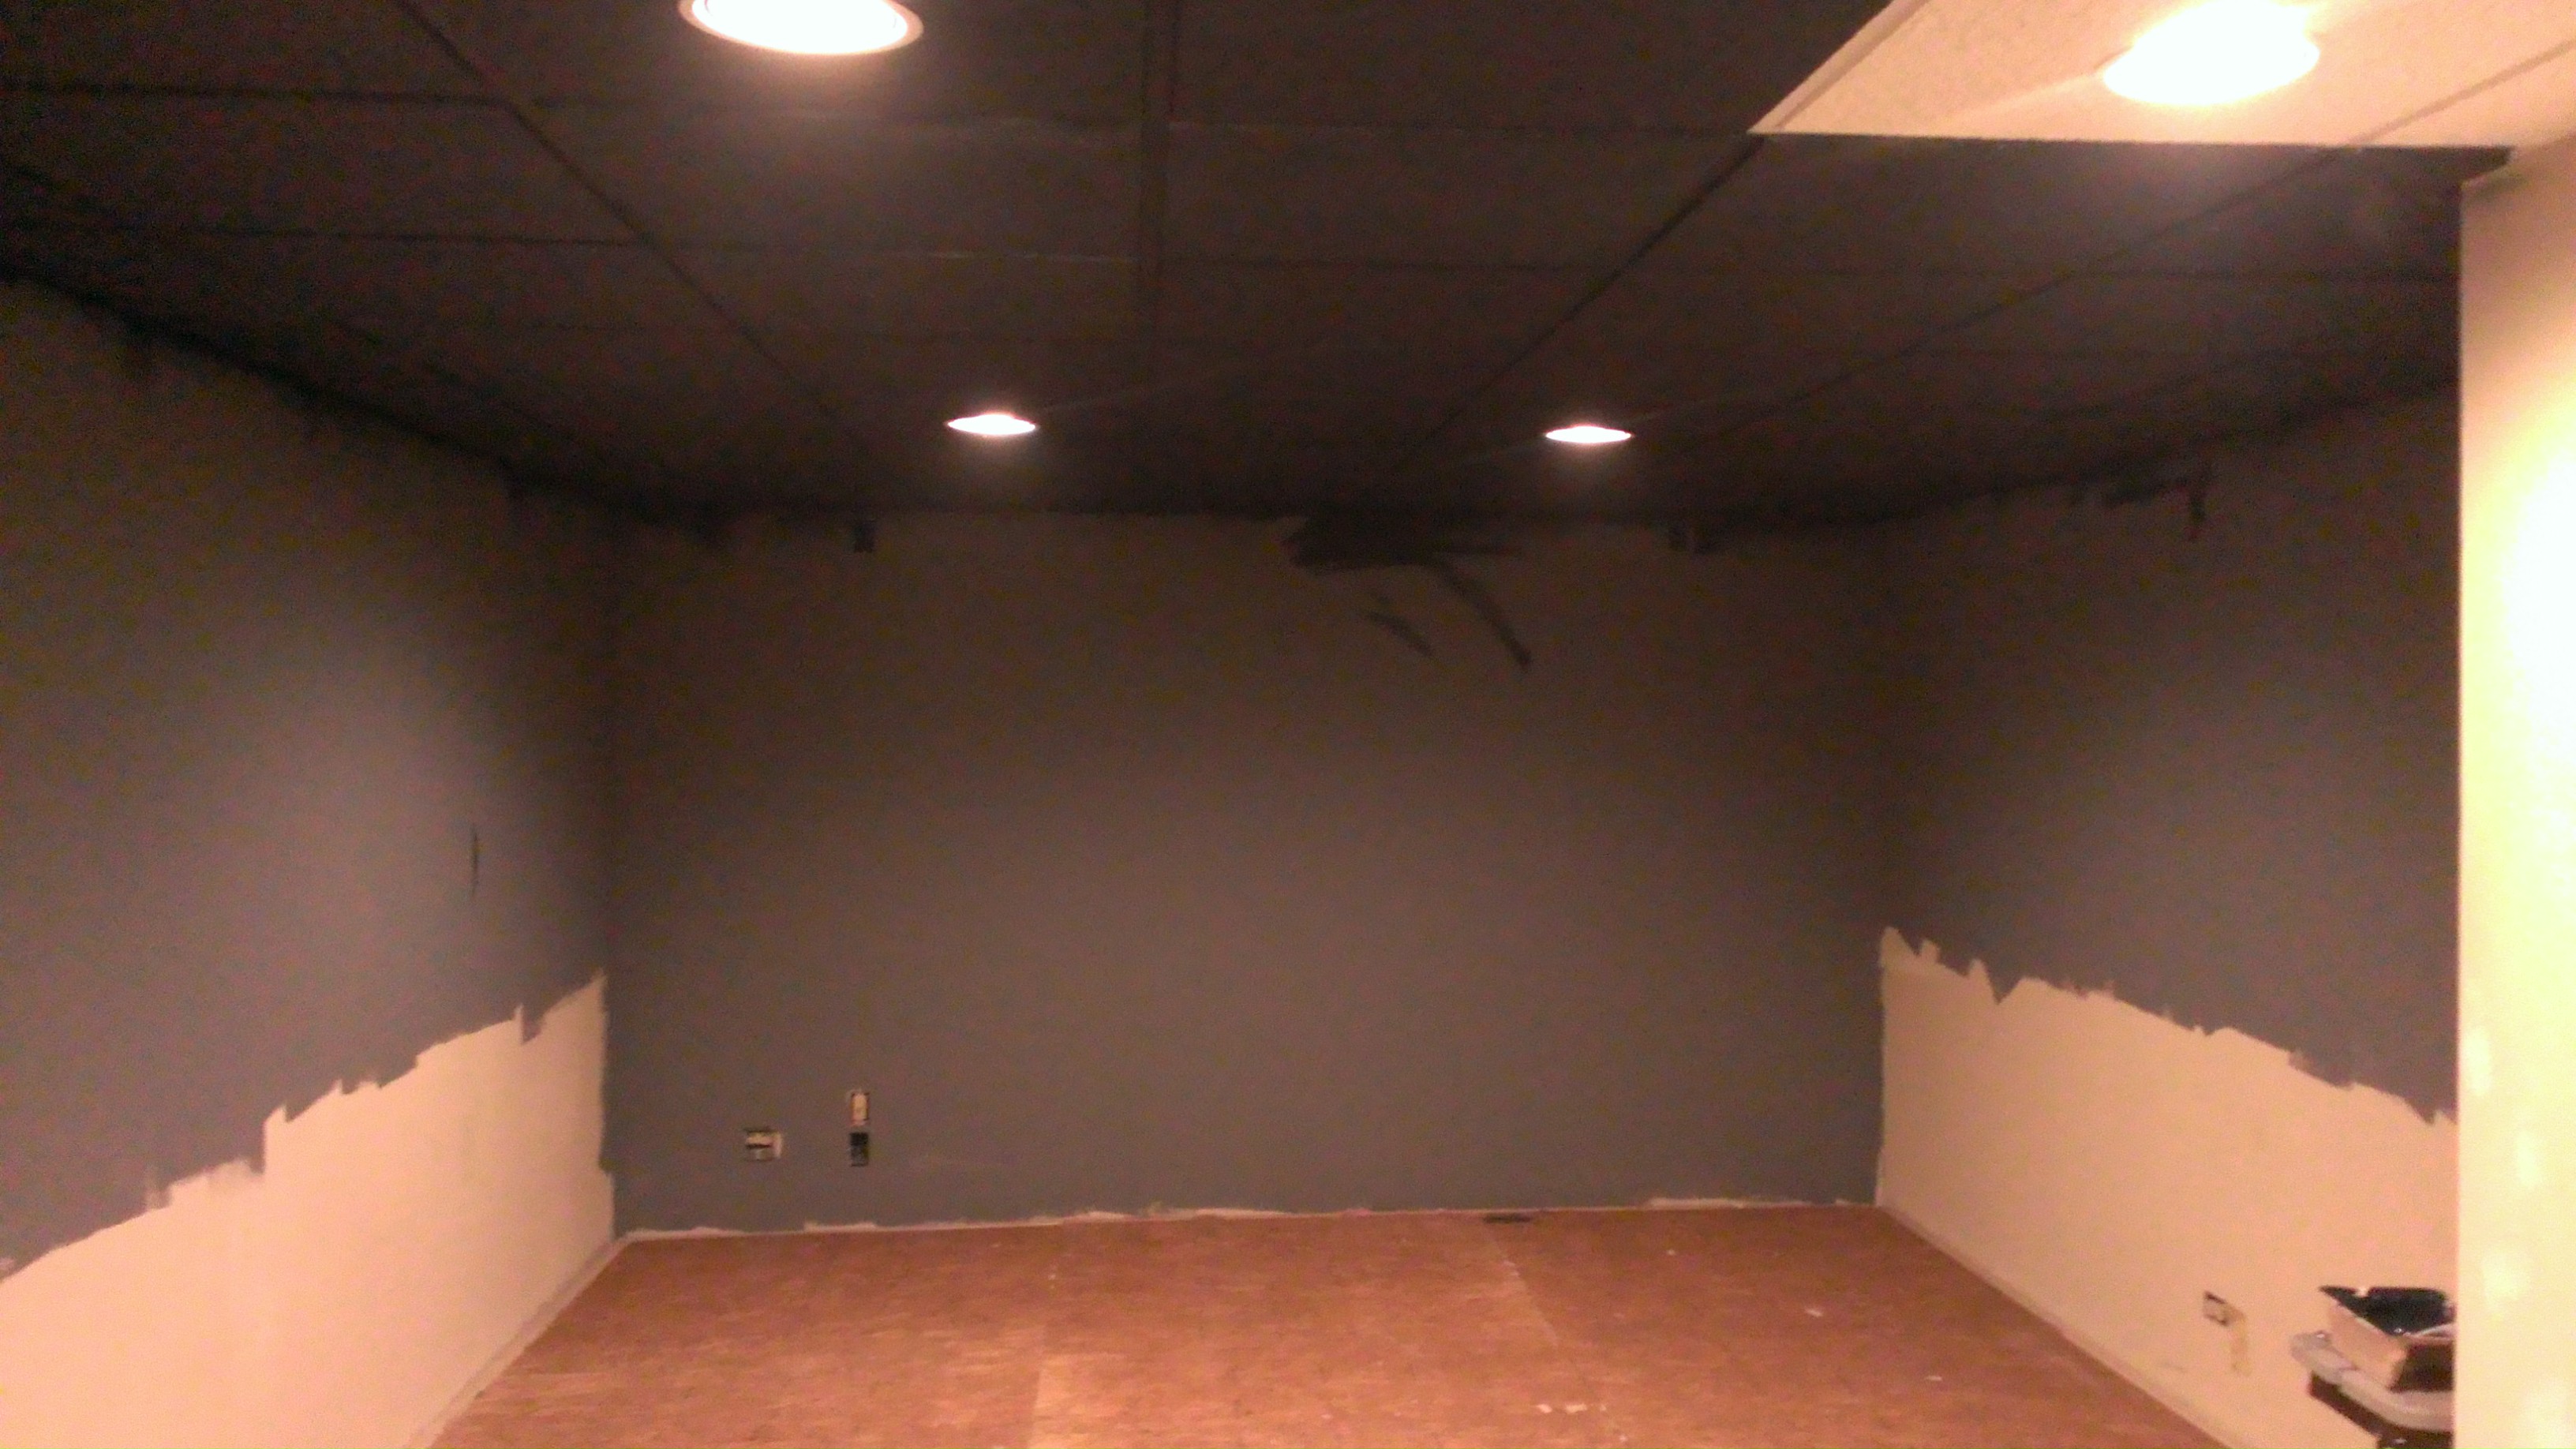
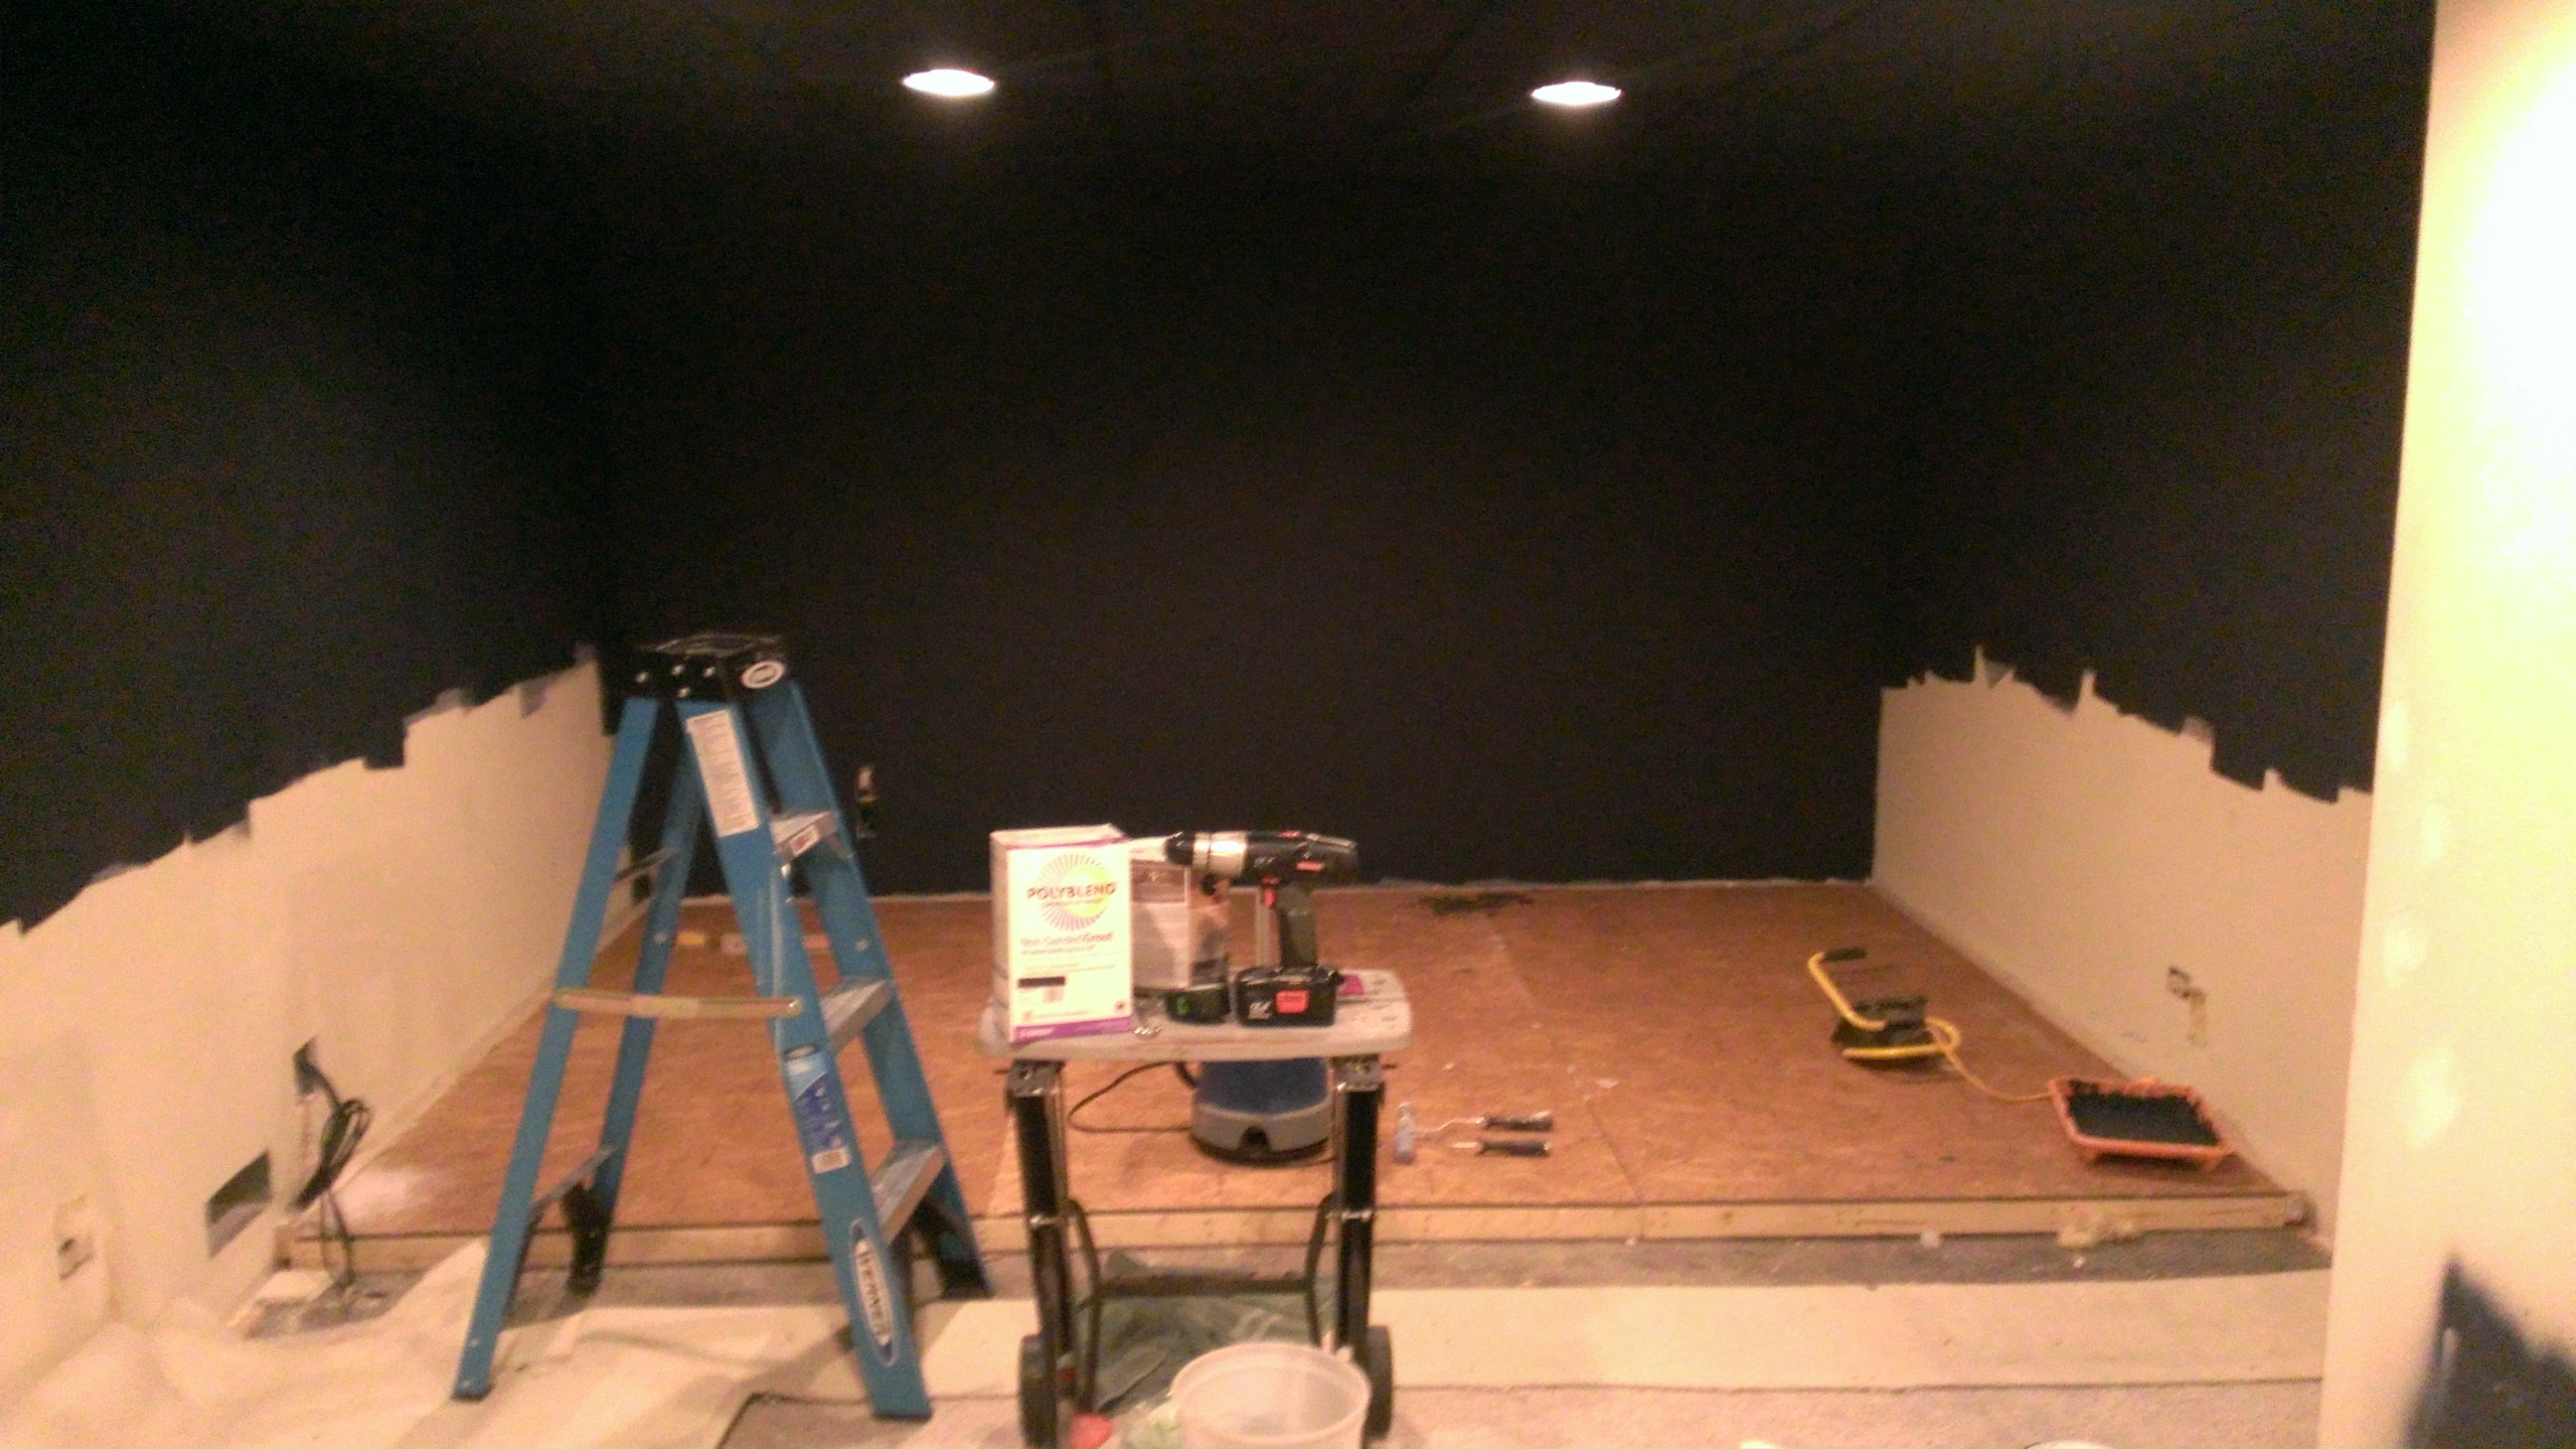
All of the tiles removed for painting – the walls are covered in grey primer at this stage
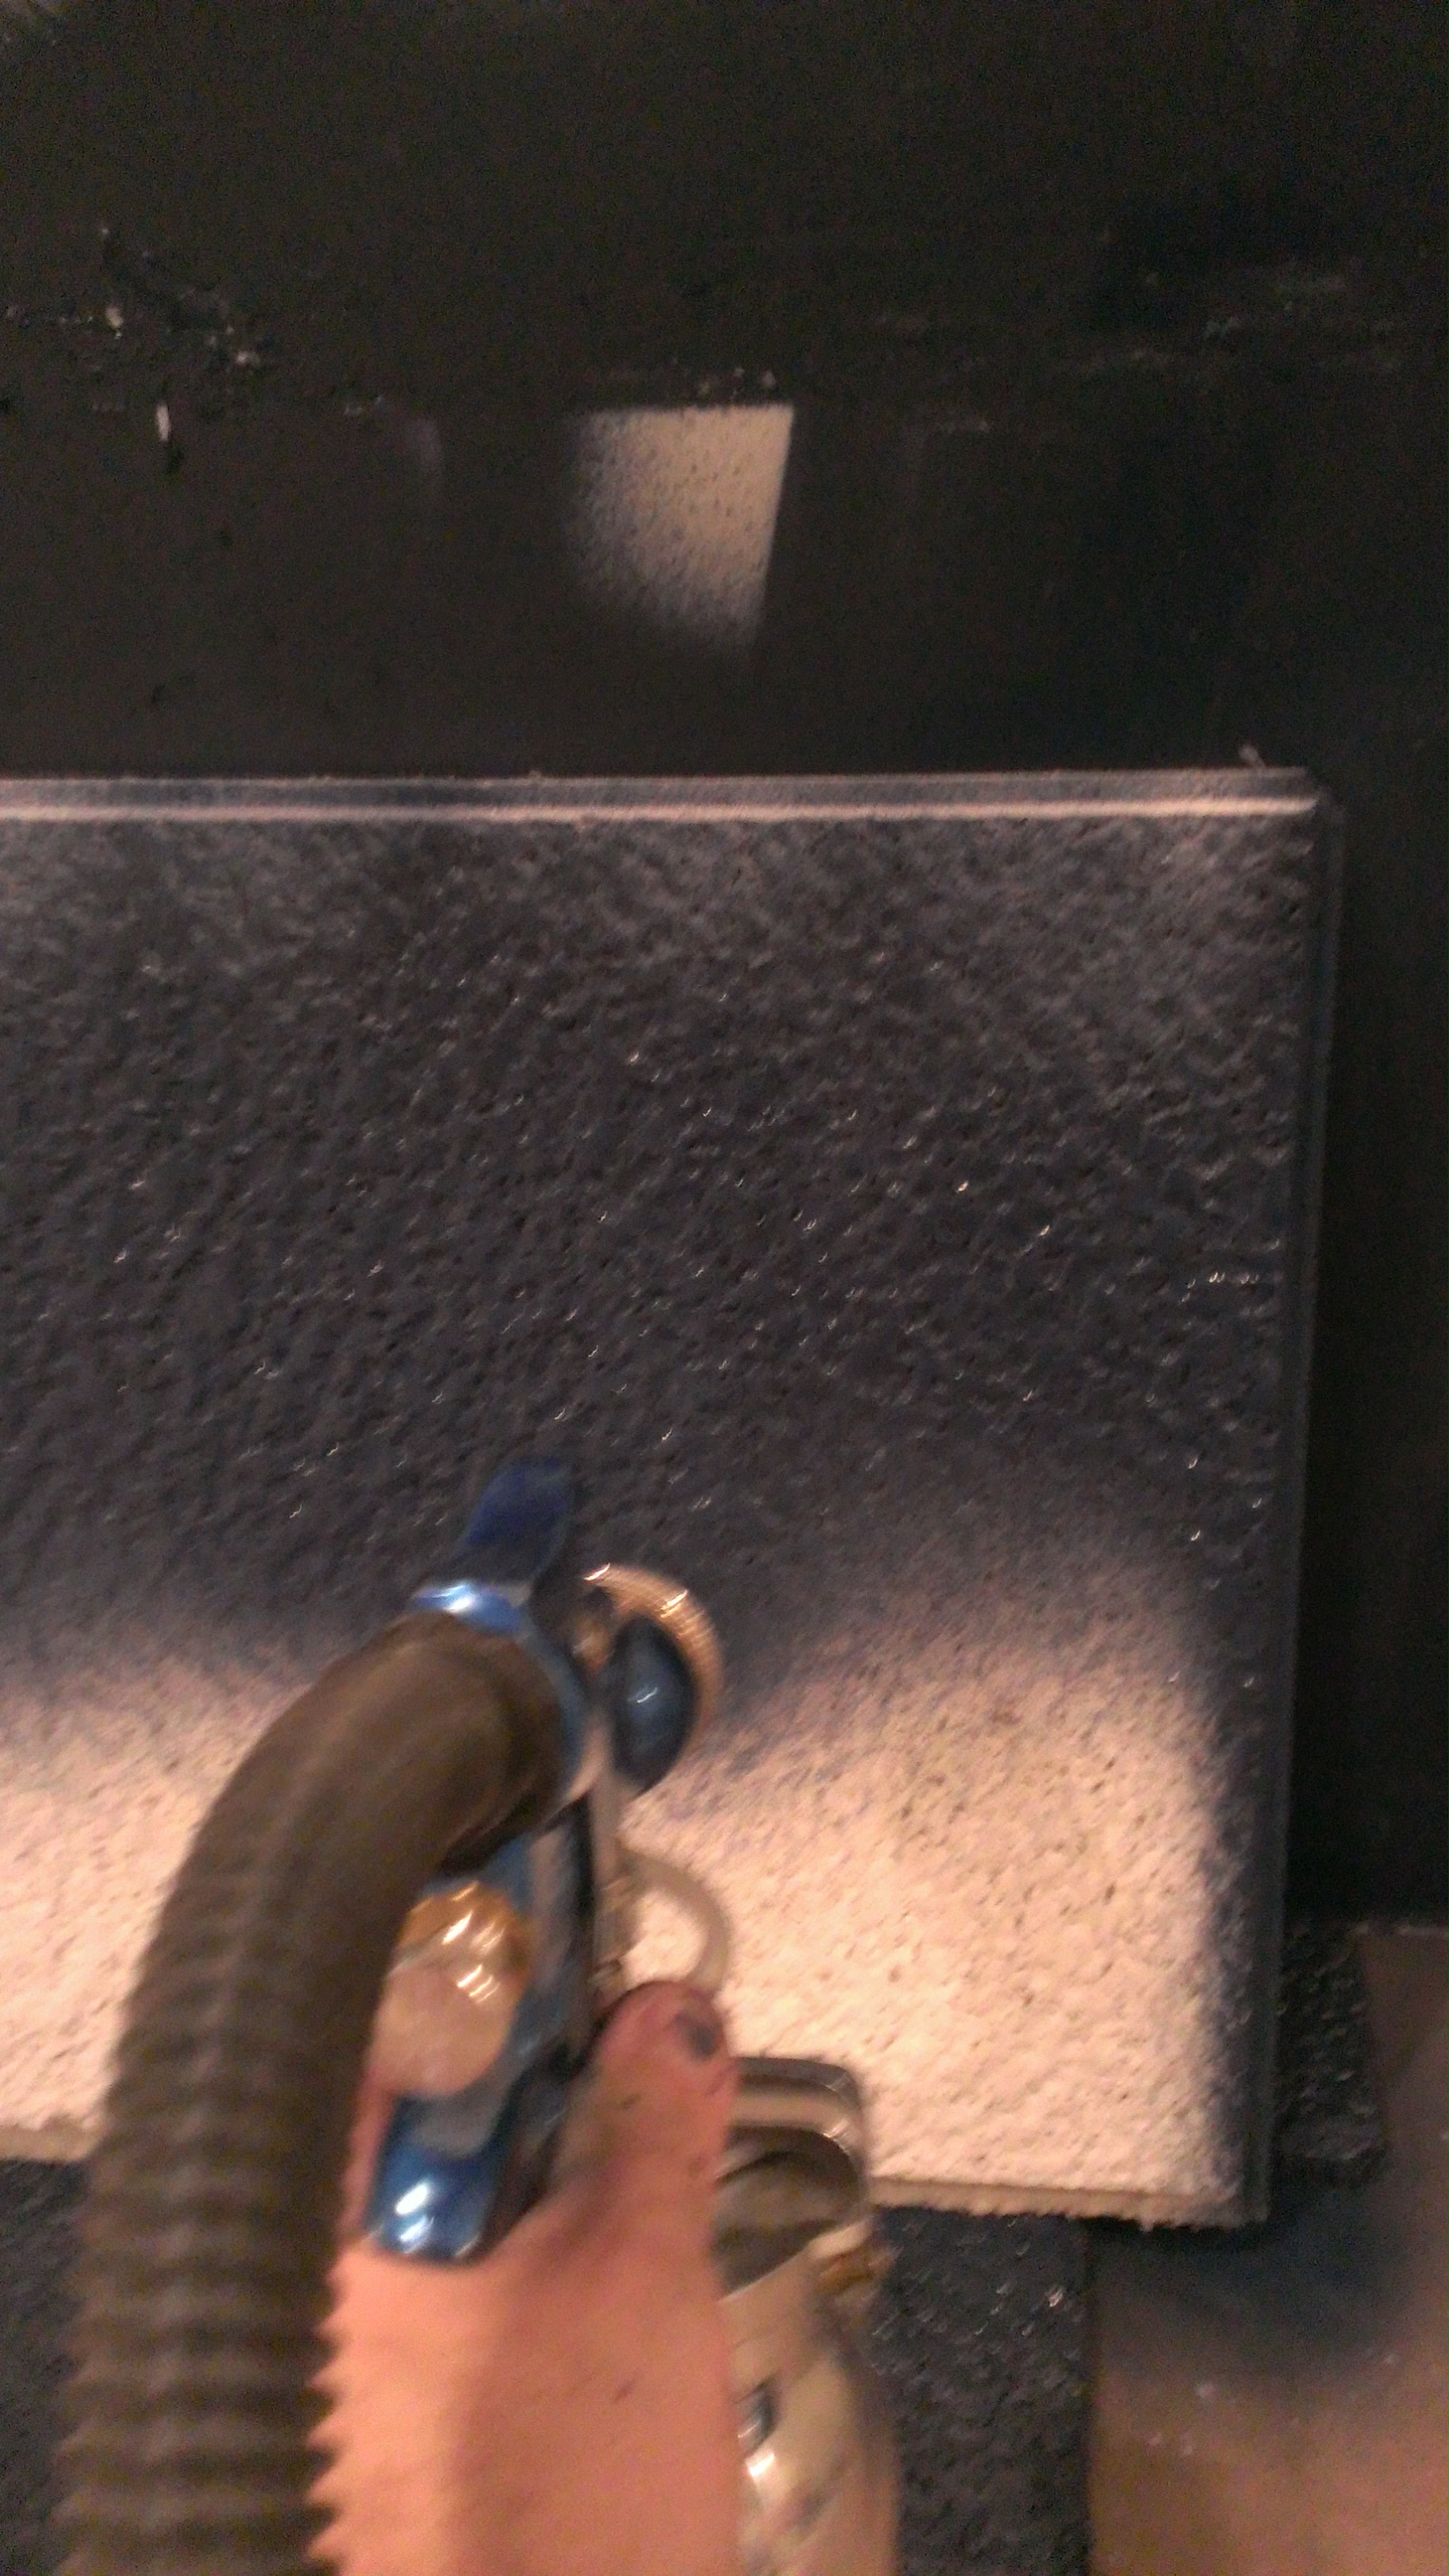
Spraying the ceiling tiles to match walls
Freshly painted ceiling tiles in place
Chalkboard Walls
I knew early on that one thing I really wanted for the “Rock ‘n Roll Basement” was chalkboard walls. We would allow the kids to draw on the walls and I could jot down chords and lyrics! I found a few inspiring images online of folks that mounted empty frames on chalkboard walls, inviting visitors to frame their masterpieces. I thought this was just brilliant – and decided I would copy them.
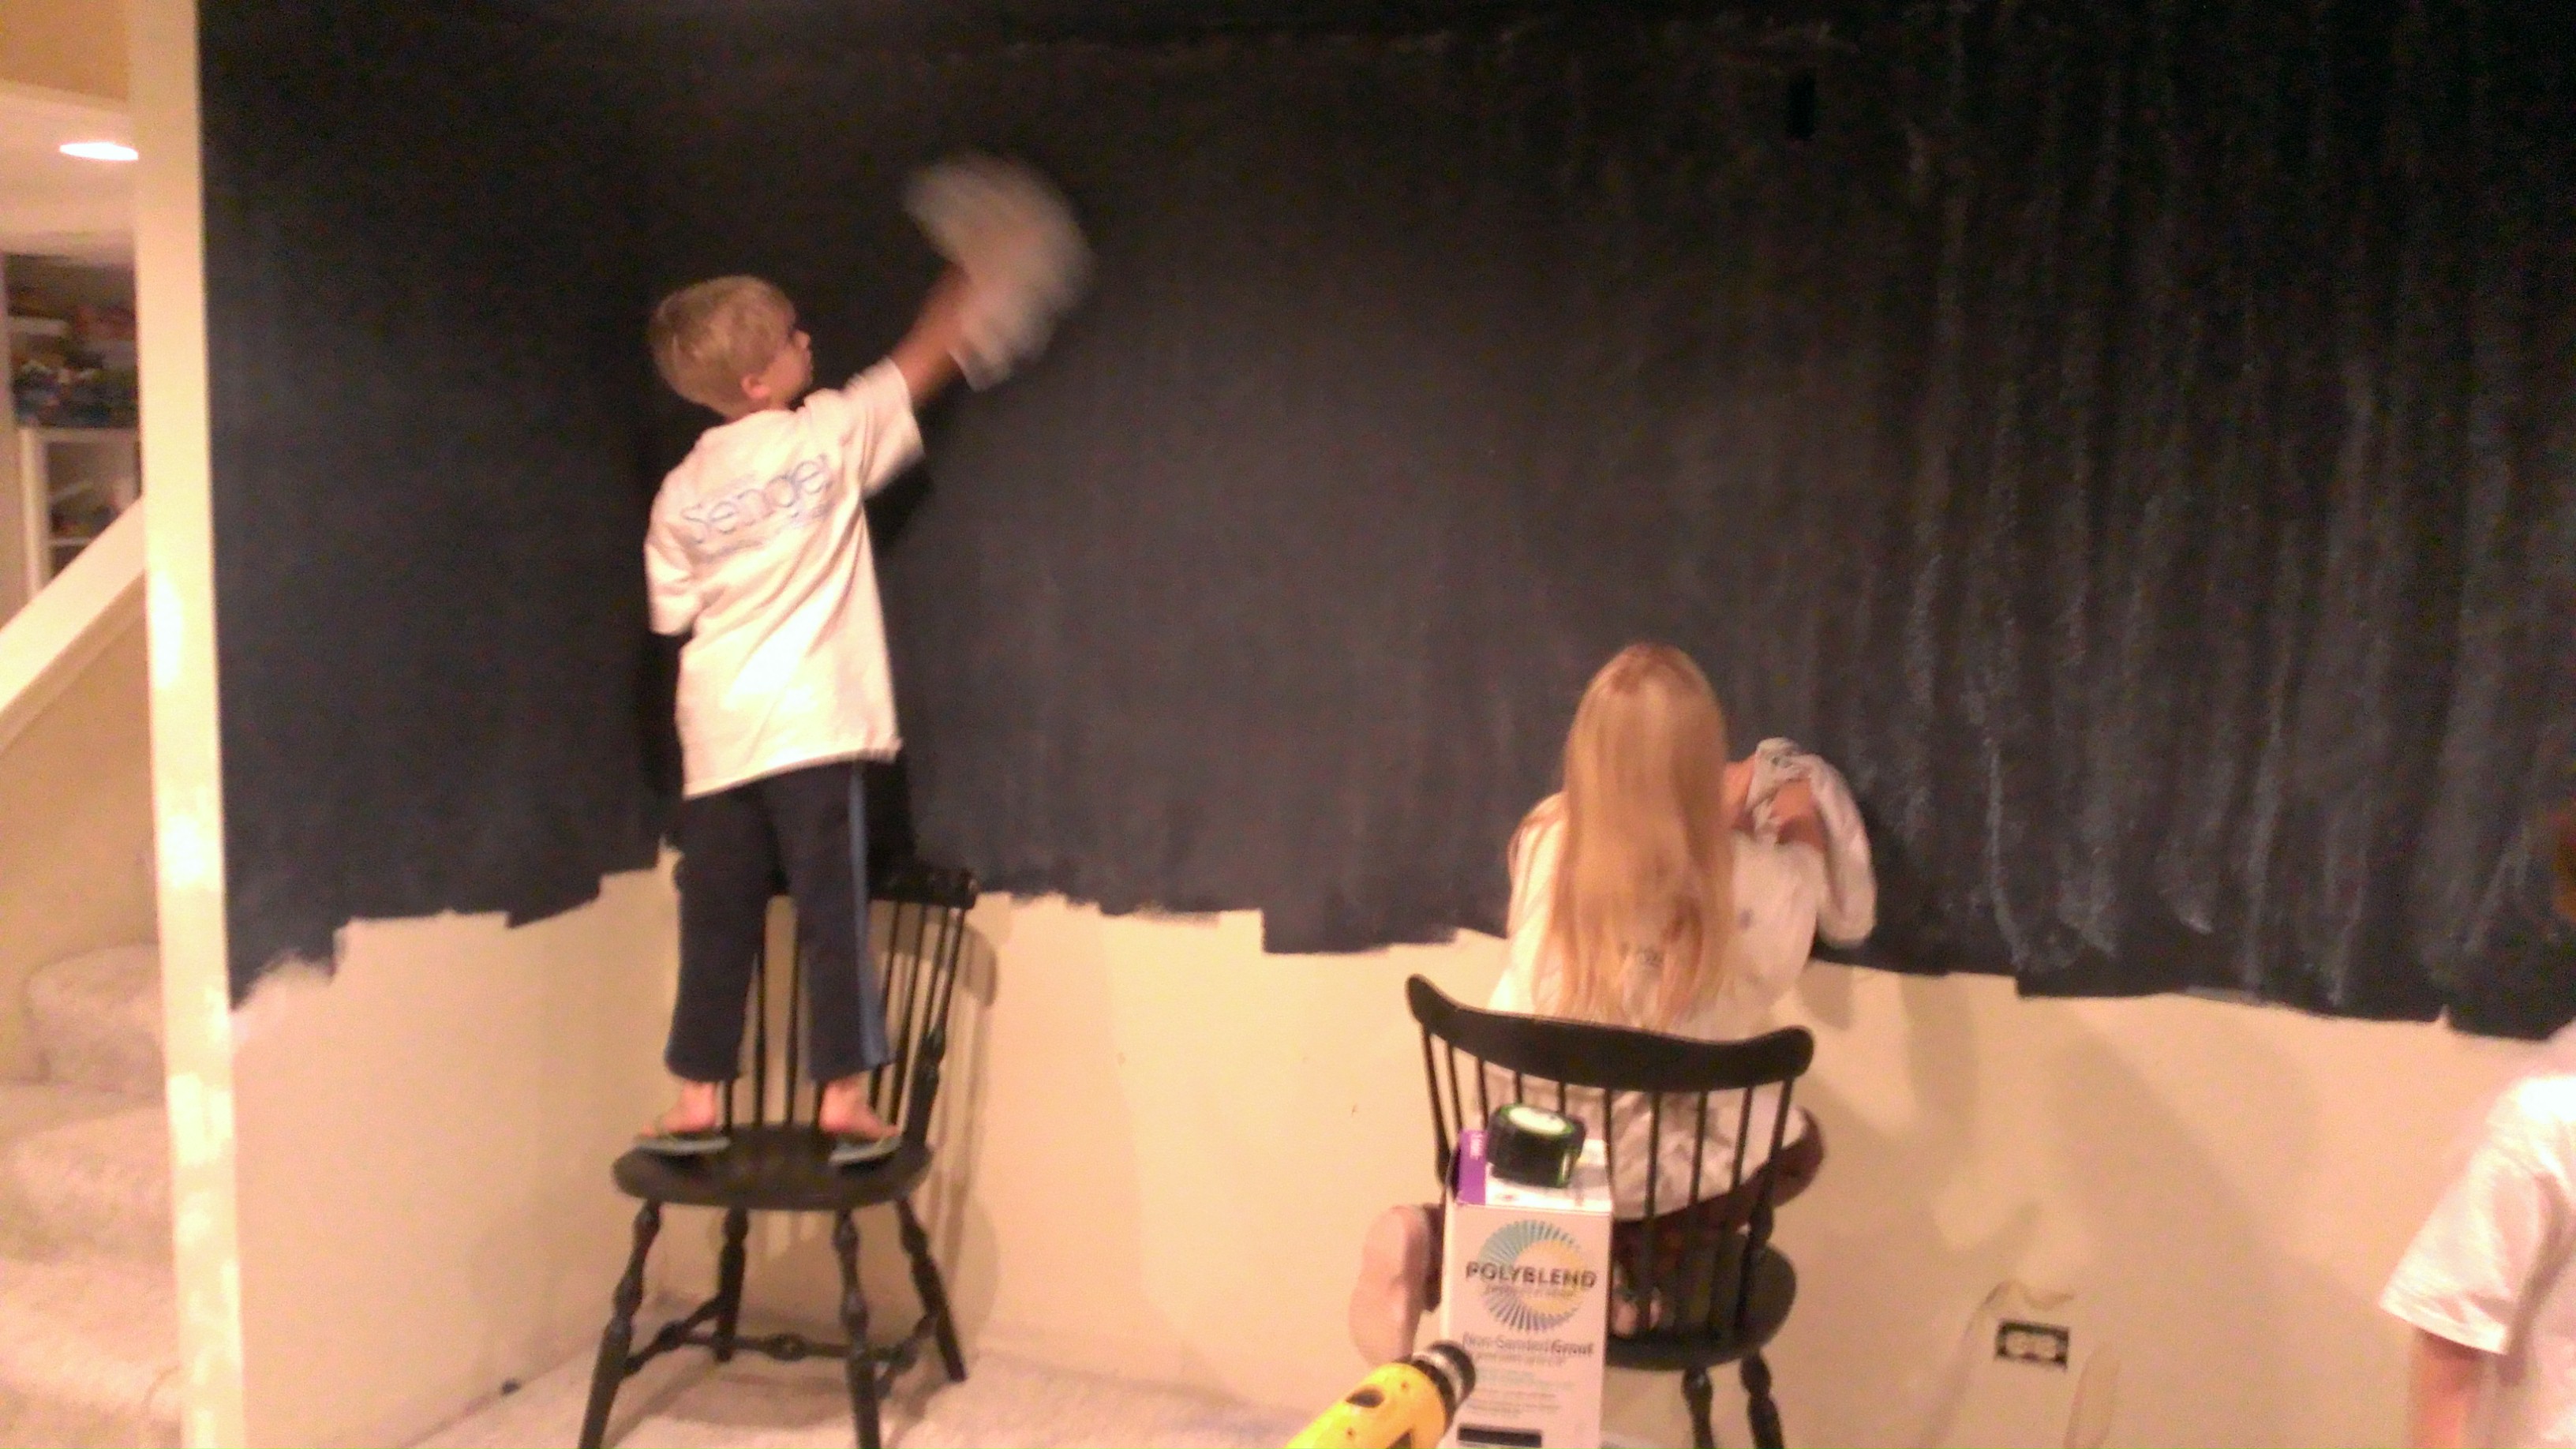
With such a large area to cover, commercial chalkboard paint, which I found available only in limited colors and quart-sized cans, would be both expensive and inconvenient. Thankfully there are numerous articles online discussing making your own chalkboard paint by mixing in non-sanded grout with standard flat latex paint. This worked just great – though it made for a fairly noxious odor, so be warned if you wish to do the same. The added benefit of making our own was the choice of color was virtually limitless. For the basement I chose a color called Starless Night – a very deep blue.
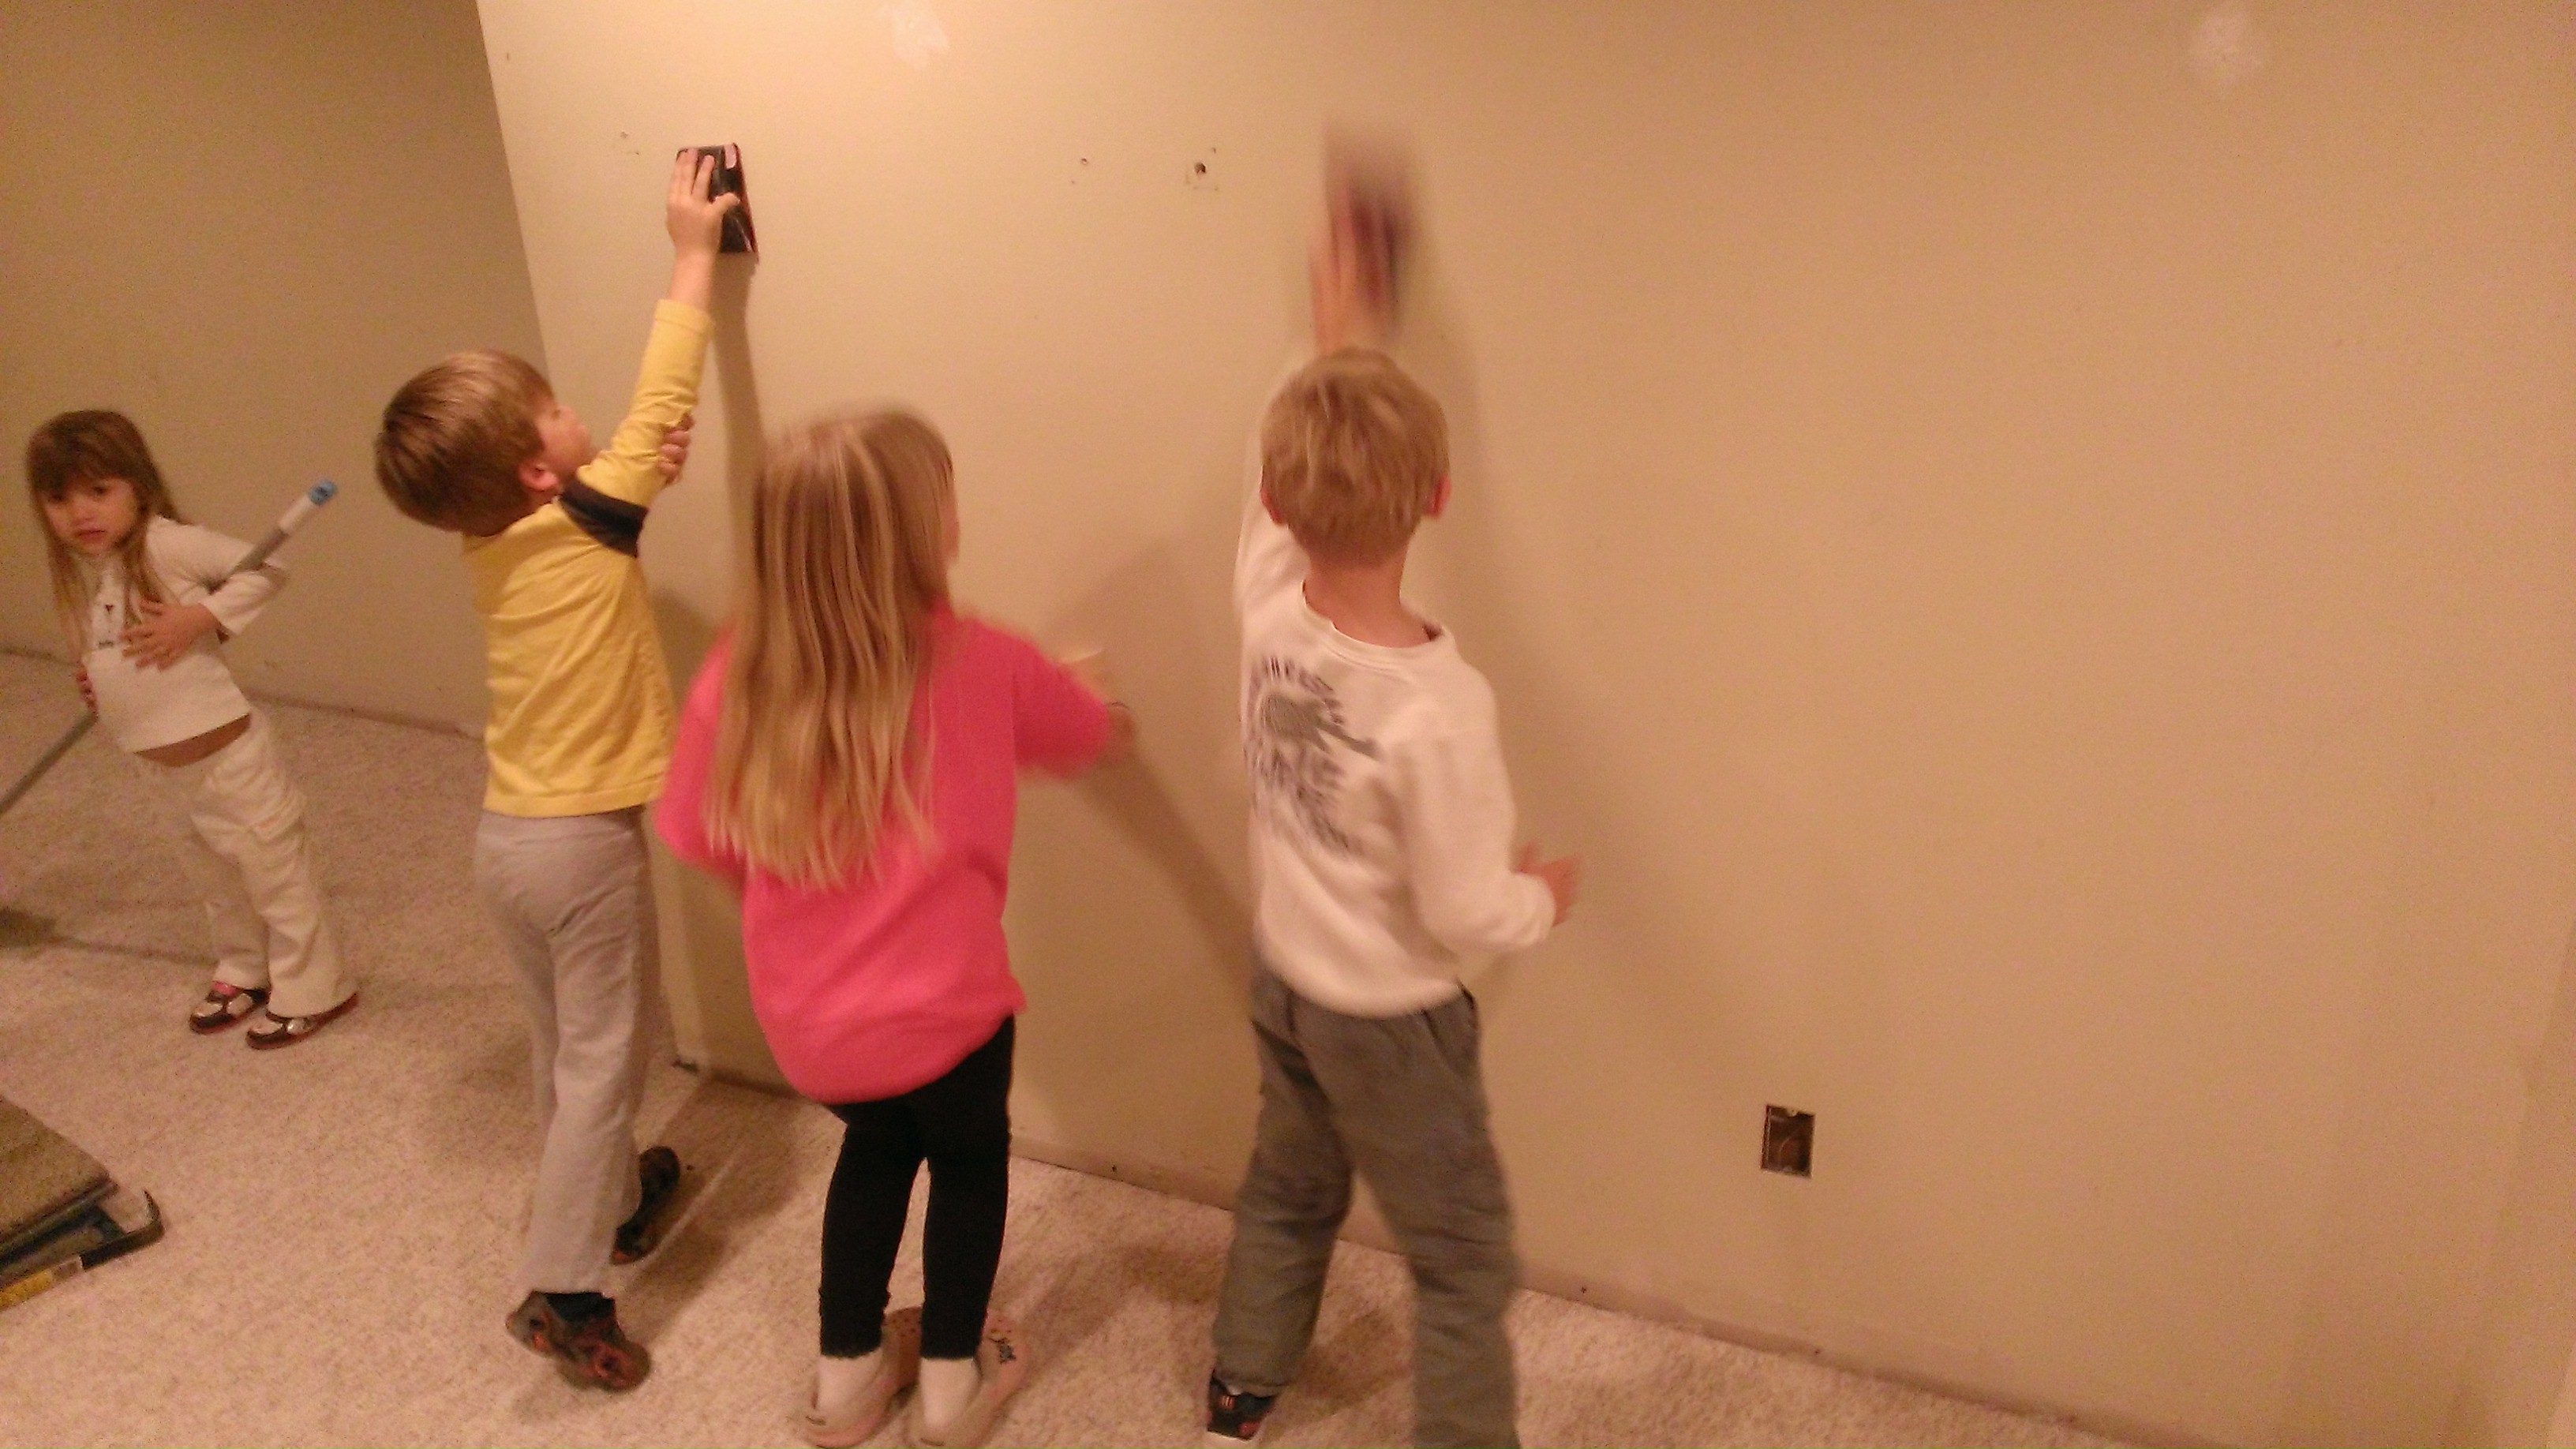
The kids insisted on helping prep the walls.
The kids enjoyed helping with this step – and with such a large are it was definitely an arm-saver.
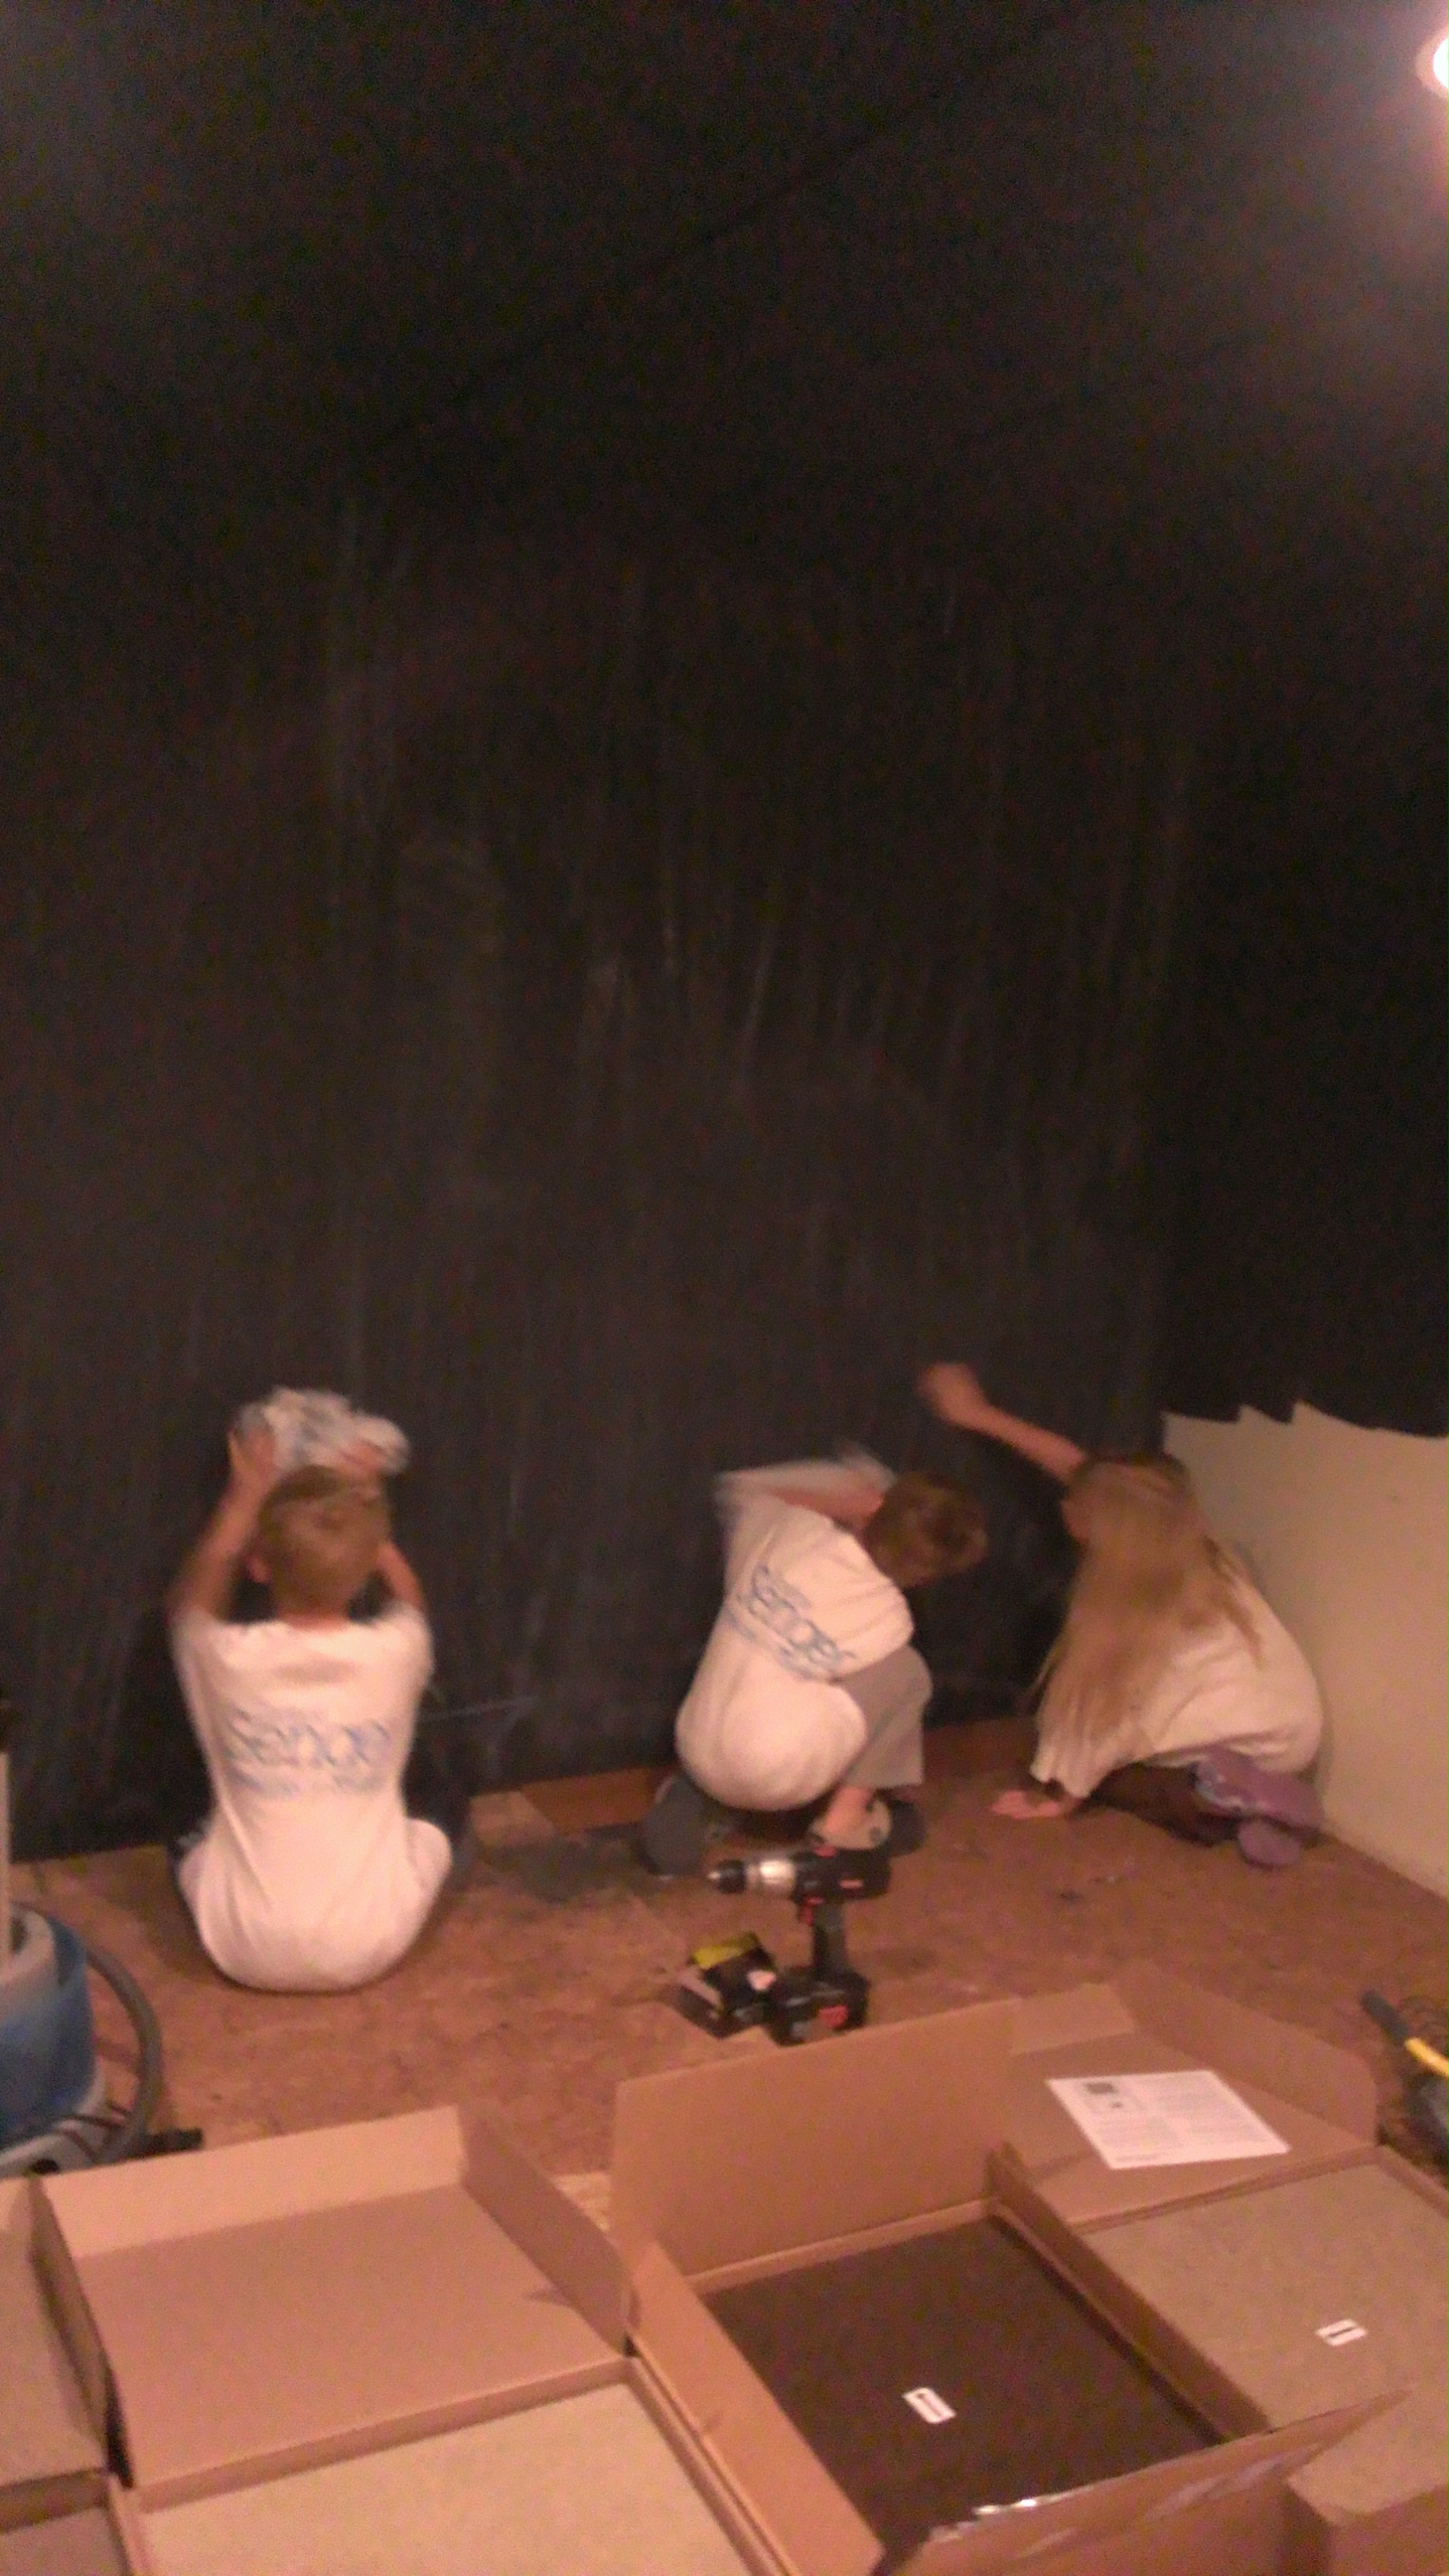
Priming the chalkboard walls with chalk
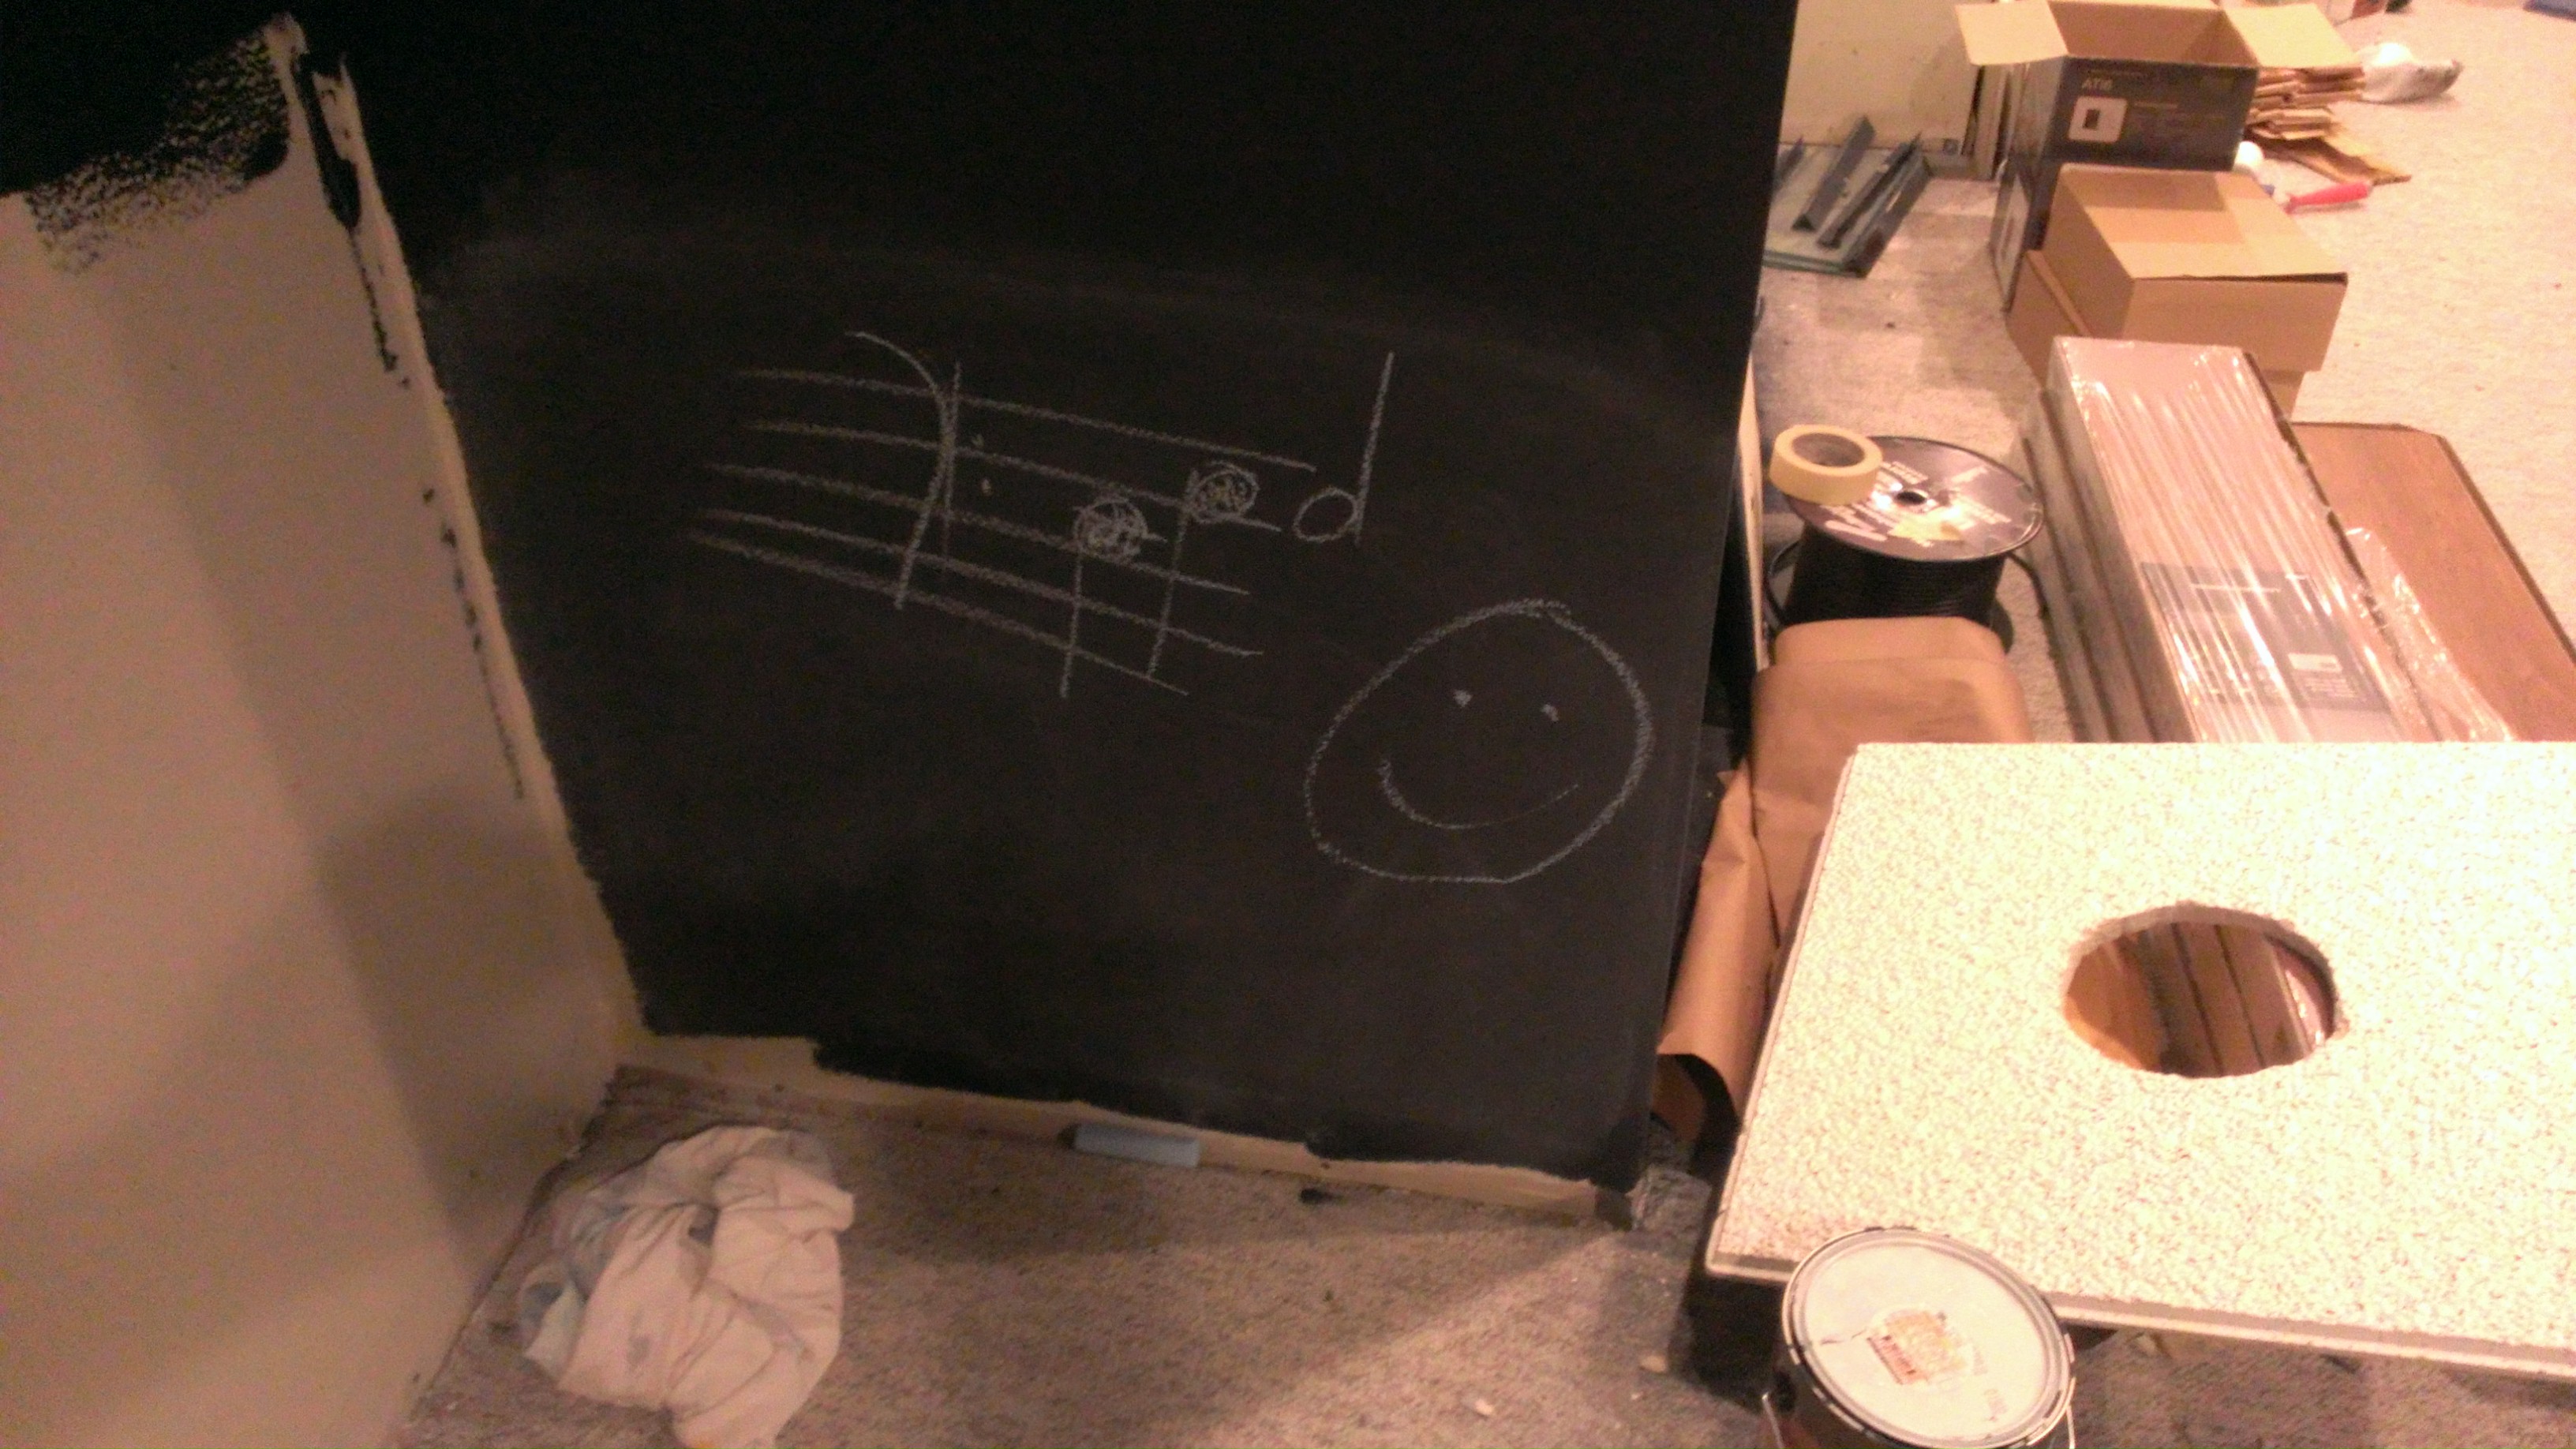
Taking it for a test spin
Wall complete.
Next up…a special wainscotting