The Day Begins
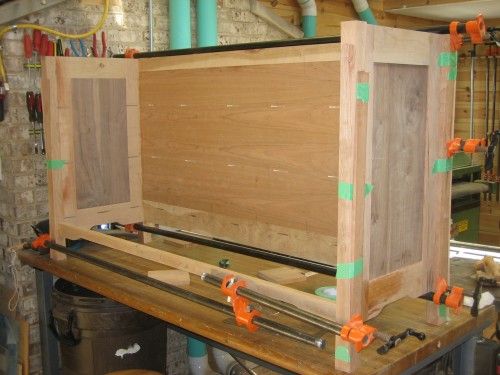
I started the day by marking out and cutting the slots for the biscuits into the inside faces of the sides and back. Following this, I decided to “rehearse” the glue up of the main carcass — the sides, back and bottom front apron. After yesterday’s “flip” I have to admit to being a bit apprehensive about this step, but, lessons learned, I was watchful of the sides and never came close to dropping one this time. The green tape you see is there to protect the legs – I had preserved the offcuts from shaping the legs and I taped them back in place during clamping operations.
Dust Frames
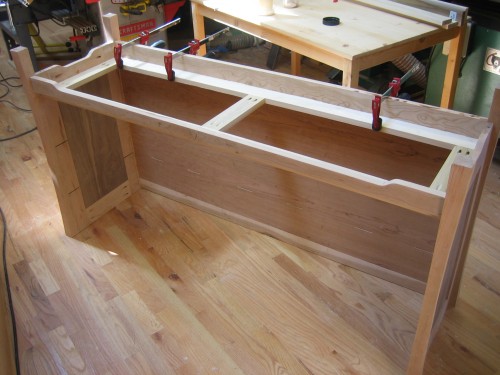
My daughter has a lot of clothes. For the dressers I built for our first two children, I used simple open dust frames. I never truly understood the purpose of solid dust panels until one day, while trying to remove a sweater from my daughter’s dresser, I wound up in a tug-o-war with the dresser drawer. It seems that some clothes in the overflowing drawer had wedged themselves in the opening of the dust panel, effectively preventing the drawer from opening fully. I decided that closed panels were the way to go from now on! Since there’s no drawer below the bottom frame, I figured I could leave that one open. To build the panels, I purchased S4S dimensional poplar from HD — at $1/lf, it seemed worth it to avoid the prep time and wear on my planer knives. To simplify the assembly, I used butt joints and pocket screws to hold them together. Since I had dadoed the full length of the frame members to accept the panels, I had to go back and fill them where the pocket screws would “bite,” but I think this was a fair trade vs. doing stopped dadoes or tenons. I also ran a thinner dado/slot on the outside of the frames to accept the biscuits from both the inside of the carcass and the face frames when they’re installed. The happiest moment was when the first (and then the second, and third) frames slid in cleanly and tightly onto the waiting biscuits.
Thankfully the corners were tight since I didn’t really have a good clamping solution for the middle one!
The completed carcass…
Next up: Walnut face frames!


