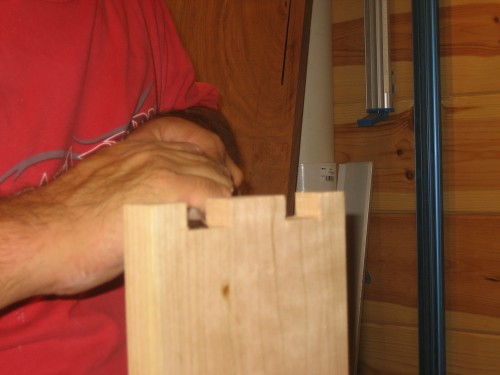
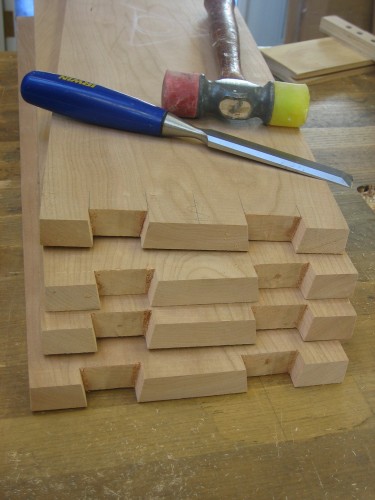
Labor Day weekend my wife took the kids up to the family cabin for a couple days. I spent most of this time in the shop working on the drawers. For this dresser I had designed the drawers with large through dovetails. Since I don’t own a decent dovetailing jig that allows for custom size and spacing, I was going to have to do these by hand. Since I haven’t done many projects with hand-cut visible dovetails, I figured I’d better take my time with these. To make things a bit faster and more accurate, I used the bandsaw with the table tilted to 10 degrees to start the pins and the router table to hog out the majority of the waste. I’m not sure how much faster it is vs. a hammer and chisel, but it was certainly more accurate than I would be solely by hand and saves a bit of wear and tear on the chisel blades — I wasn’t keen on spending my rather limited shop time sharpening chisels!
That said, I do truly enjoy working with sharp chisels as I am here cleaning up the pins:
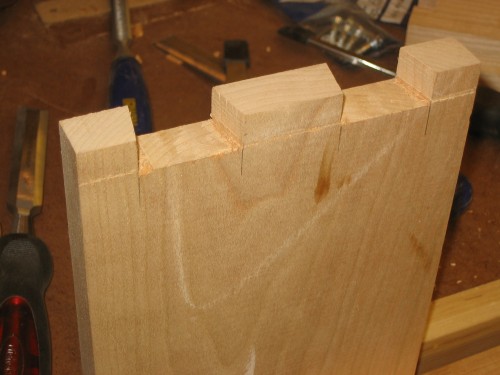
The pins completed on one drawer front:
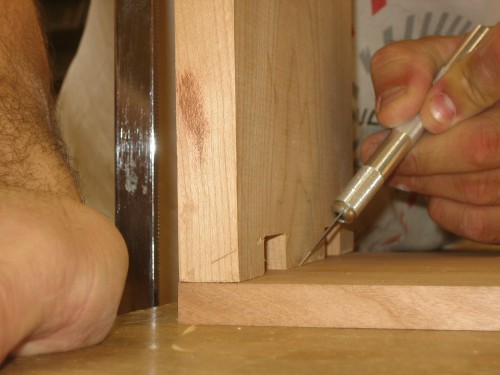
Marking out the tails with an X-acto knife:
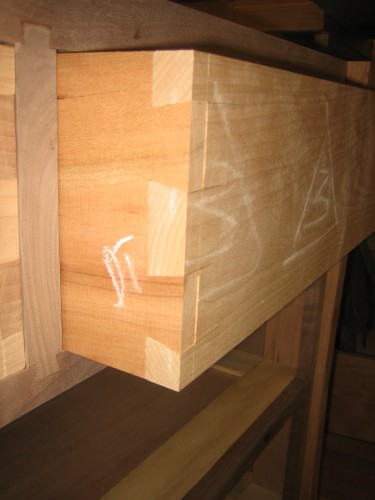
I’m very pleased with the end result. This is a dry fit of one of the drawers…
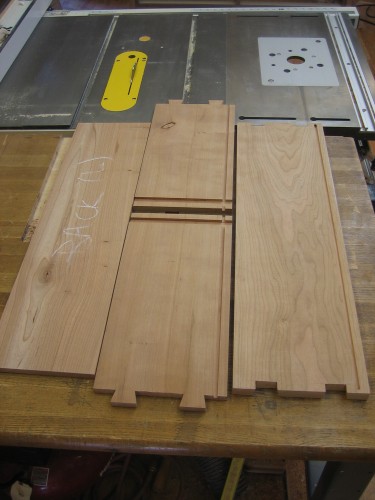
I used a simple dado to attach the drawer backs.
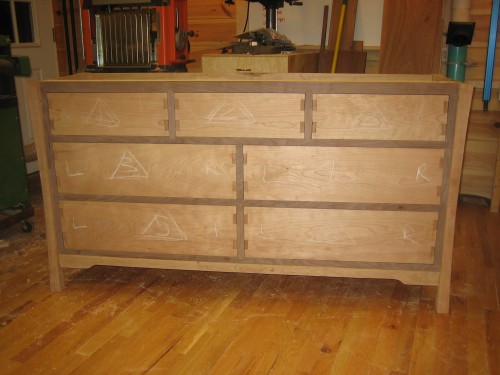
I had originally planned to use sliding dovetail drawer slides, but they fit so well, I decided to simply add guides on either side and a block at the top to keep it from dipping. Here’s the chest with the completed drawers:
Next up is the top. After that, sanding, sanding and more sanding.


