After some searching, I found a few references to folks filling holes like this using “Pour on” epoxy, of the type you might use to encase small chatchkis in a bar top.
A Slow Leak
On the first pour, I found myself constantly “topping off” the depression. I would fill the knot, level it off and a couple minutes later, most of it had been absorbed into the knot. By the time it cured 24 hours later, there was only a thin layer of epoxy, coating, but not filling the knot hole.
Puzzled, I decided to simply pour again. This time it filled just fine. The next day, while moving the piece, I discovered the cause: the knot hole went clear through the board and the epoxy
was leaking out the bottom! With the first coat effectively plugging the hole, the second coat filled it nicely and easily sanded flush (something I was a bit concerned about). The effect is exactly what I had hoped for.
My Favorite Finish
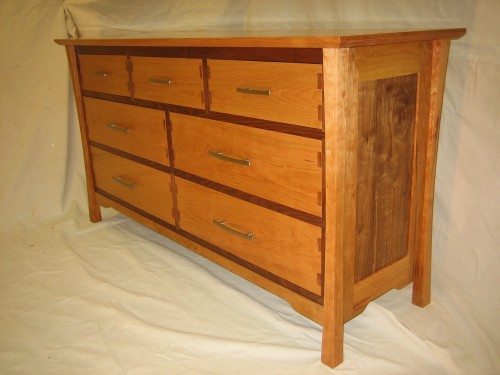
I spent quite a bit of time sanding this piece — and it still probably wasn’t enough. For the finish, I had purchased a wipe-on, “low sheen” Tung Oil-based finish. The first coat on the drawers resulting in less than spectacular results. Though each row was was made from a single board, a couple adjacent drawers were a noticeably different shade. This prompted a second, more vigorous round of hand sanding (and a few choice words). This time, they took the finish much more consistently. A week later I had built up 5 coats on all parts and was ready to attach the top and call this project “done.”
Amateur
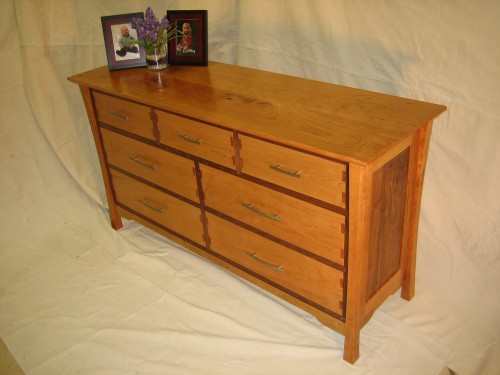
I thought I’d put some pics of the new baby’s older siblings on top…in theater we called this “dressing the set”…


