- A Bunk Bed for My Superheroes
- The Headboard and Footboard Part I, Making Xs
- Assembling the Circle-X Panels
- Test Assembly and Finishing the Ends
- The Back “X” and Top Bunk Safety Rails
- Building the Stairs and Installation
Laying out the Ends
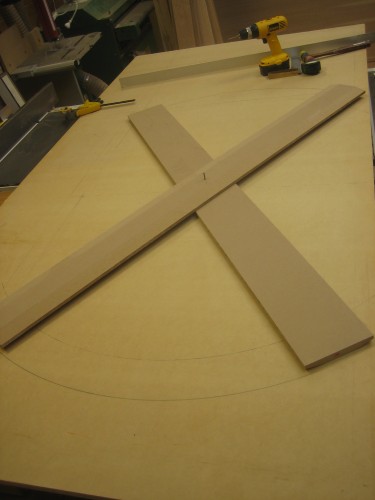
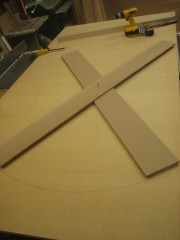
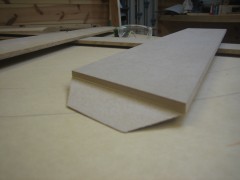
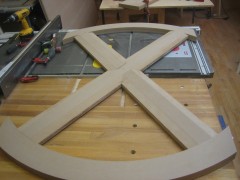
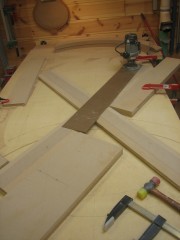
Typically I find a detailed SketchUp drawing to be sufficient for my builds. For this project, however, I felt the need to do a full-size drawing to lay the components out on. After drafting an end on a 4×8 sheet of MDF, I started ripping down another MDF sheet to 6″ wide strips. After much thought, the easiest way to build the edge-beveled, circle-inscribed Xs would be to cut the strips, bevel the edges on the table saw, and then cut the compound joints to put them together. I’d alternate the full-length ones to provide strength. After ripping and beveling the MDF strips, I drilled holes in the middle of two of them and, using a nail for a pivot, lay them out on the full-size plan.
Compound Angles
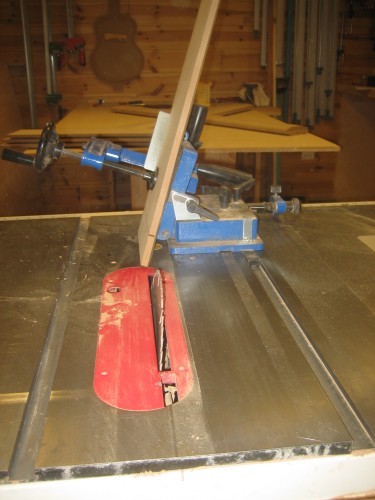
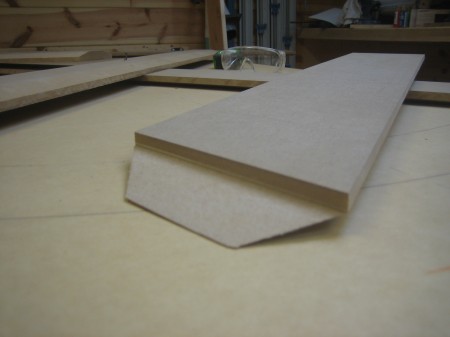
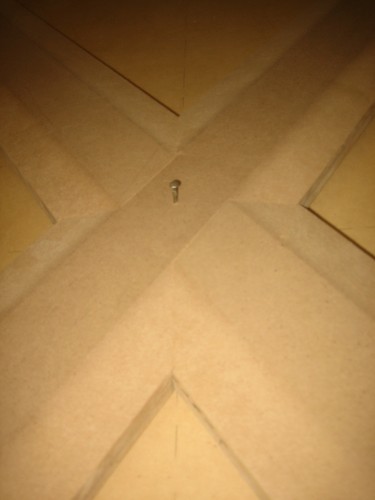
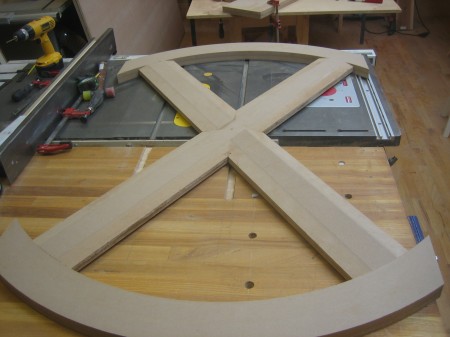
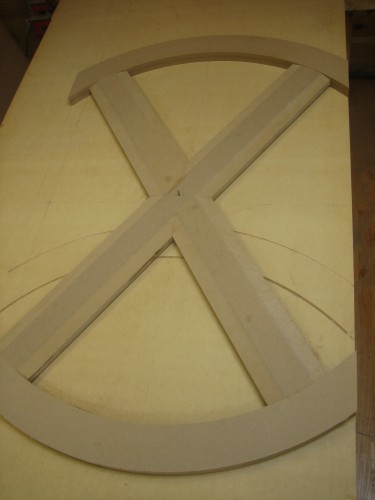
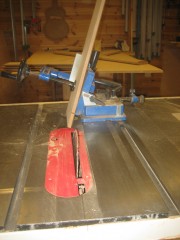
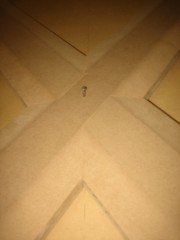
Cutting the compound angles necessary to join the shorter pieces in the center properly required setting both my tenoning jig and the table saw blade at different angles. Rather than try to calculate this, I just drew lines and lined things up by eye, plus a bit of trial and error. I was very lucky — it all came together much faster and easier than I thought it would. The completed joints came out very tight. It’s almost a shame that this core of MDF will be coated with my favorite rubberized compound when finished. Because of the texture, there’s a lot of room for slop here — but these joints would actually work as raw hardwood.
Top and Bottom Arcs
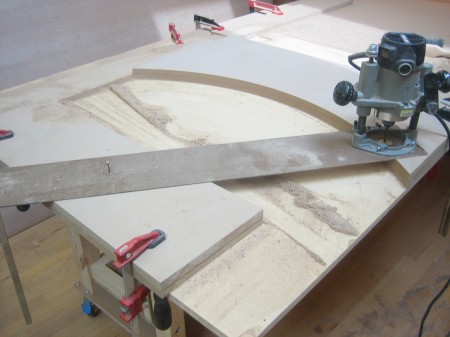
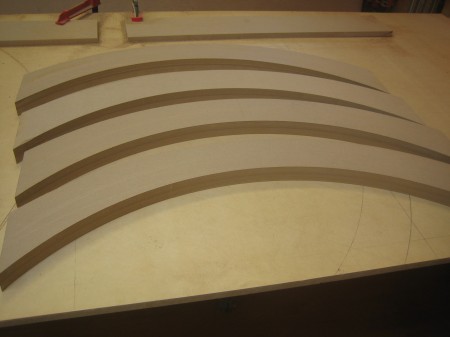
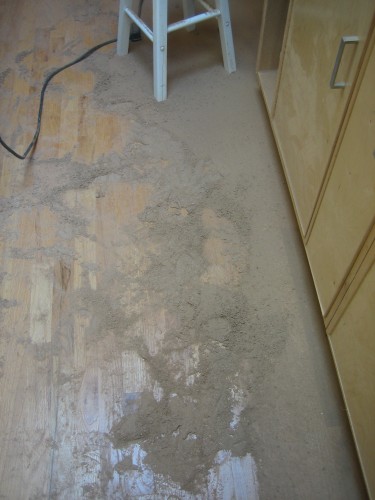
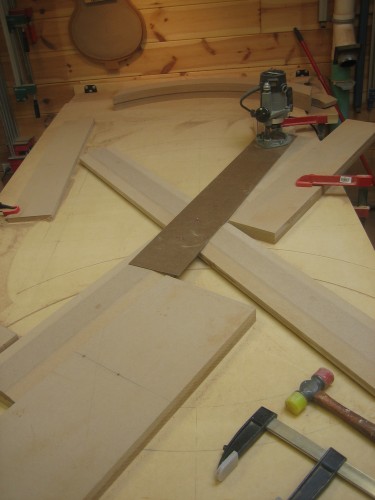
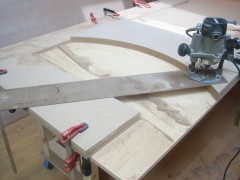
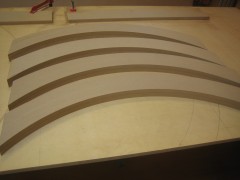
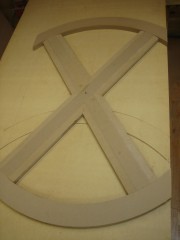
The design calls for the “X”s to be inscribed within a 60” diameter top and bottom arc. These were fairly easy to cut, but I was reminded precisely why I so rarely work with MDF. What a mess!
Inscribing the “X”
My biggest concern here was that I would cut the arc improperly and not be able to get the top and bottom to sit square with the side posts. Fortunately things worked out just perfectly here, even with my jury-rigged arc cutter (having misplaced my large adjustable one).
Next Steps…
Next up will be cutting the legs, and fitting the cherry ply wedge panels that fill the top and bottom spaces. As mentioned above, the MDF pieces will be coated with a rubbery compound and then painted. However, the wooden panels and legs will be stained and finished. Therefore I’ll cut the joinery with the festool domino, dry fit both ends, and then disassemble for finishing. One of the ends will also be cut down at the top back corner where the steps will meet the end. So far this has been a messy but interesting build!
- Laying out the first “X”
- The joint was a bit tricky to cut, but I really dig the result
- Both the jig and blade were angled to make the cut
- Completed joint out of the clamps
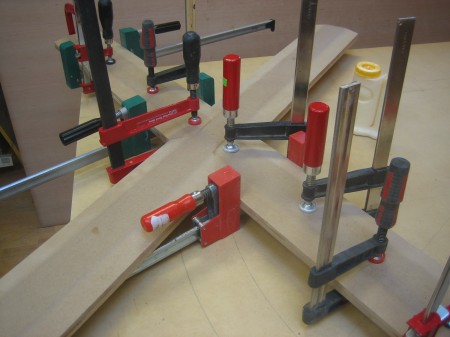
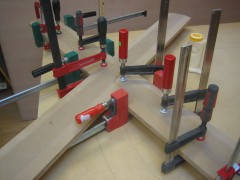
- Gluing up the “X”
- Cutting the top and bottom arcs
- Arcs cut and ready
- Ready for my Festool domino to join the pieces
- Trimming and radiusing the X ends
- Second “X” ready for joining


