

Fits and Starts
The last couple weeks have been crowded with both personal and professional activities. I’ve had to work in found time, an hour here, an hour there. My next task was to fit the upper and lower bouts of the “X”s with their panels.
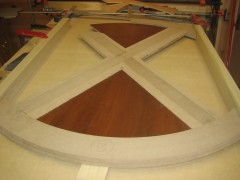
Finishing the Wedges
The pie wedges are cut from 1/2″ cherry plywood, stained to match the poplar hardwood used elsewhere. Though it seems a shame to stain cherry, the cheaper plywood readily available to me was pretty poor stuff and, well, I wasn’t 100% certain I wasn’t going to use cherry for the rest of it when I got it…so, that’s where we are. In any case, I figured it’d be far easier to stain and finish the panels before they were glued into place in their MDF frames. After a bit of experimentation, I settled on a two part process of penetrating stain topped with a gel stain. Then I went to the big box and wound up buying a single can of Minwax® Polyshades and using that instead. It does a very nice job of obscuring the poplar and hiding the green, though my attempts to brush it on with a foam brush left me less than satisfied. I wound up wiping it on instead, which produced far superior results. Definitely a time-saver, and I think they came out great, no?

Staining the plywood wedges
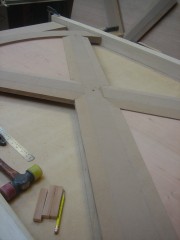
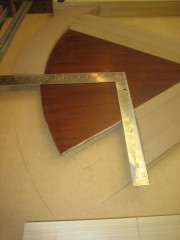
Notching for Entry
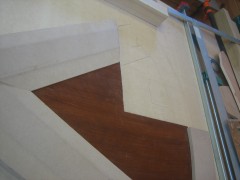
I must admit to being a bit concerned about notching out the top for the entry. I considered leaving the top as-is since I’m fairly certain it wouldn’t be at all difficult to climb over the end. However, it simply didn’t look right that way and it would probably get old having to slide over the arc. In any case, I dry fit the assembly on top of the full-size drawing and laid out the notch.
To my amazement it came out essentially dead-on. Sometimes you get lucky!

Laying out the top bunk entrance

Top corner cut out

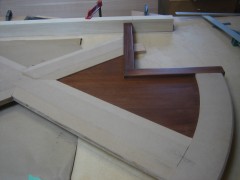
Trim for knock out finished and dry fit
Assembling the Panels
With relatively stable MDF frames and plywood panels, it seemed safe to glue the panels in place instead of trying to float them. They’ll also provide extra strength to the relatively weak MDF structure. The glue-up went smoothly. The posts are here to help align all the parts; I plan to mortise and drill for the rail assembly and stain them before gluing the panels permanently between them. Now I’ve just got to figure out exactly how I’m going to join the rails. Although I’ve purchased some metal knock-down bed-rail hangers, I have concerns both about the possibility of a child on the lower bunk pushing the top rail up and out, and the holding power of screws holding in the end grain. I’m leaning right now toward using these plus a single long bolt through the post into a barrel nut in the bed rail to keep it together. The problem with that is I absolutely loathe barrel nuts – I can never get them to line up just right. I’ll keep mulling this over….any ideas?

Center panel glued up and set aside with posts for safe-keeping
-

- Cutting a slot for the cherry ply panels
-
- Dry-fitting the panels
-
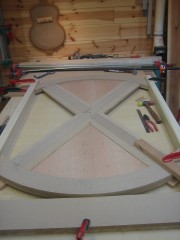
- Panels test fit
-

- Staining the plywood wedges
-
- Dry fit
-
- Laying out the top bunk entrance
-
- Top corner cut out
-
- Trim for knock out finished and dry fit
-

- Center panel glued up and set aside with posts for safe-keeping