Over the last couple weeks I’ve completed the construction of the side and end rails and cut the slats for supporting the mattresses. I also settled on somewhat novel connection hardware for the rails. Woodcraft sells a very inexpensive bed rail set bracket set that are nonetheless very sturdy and heavy duty. I’ve augmented the connection with a single 10x50mm domino in each rail for added security and support. I cut the slots to exact width in both the rail and the post, so they will fit snug and the rail won’t have any vertical movement.
Before gluing up the ends, they will need to be finished. But before that, I wanted to ensure the whole thing fit together. The MDF “Circle-X” sections that fit into the ends, though solid, aren’t designed for actual support. End rails on the inside of the ends are there to hold the rails together and mask view of the ends of the mattress from the outside. So it was time for a test assembly:

Test assembly without the Circle-X parts

Slats in place

Sean testing his top bunk
Concrete
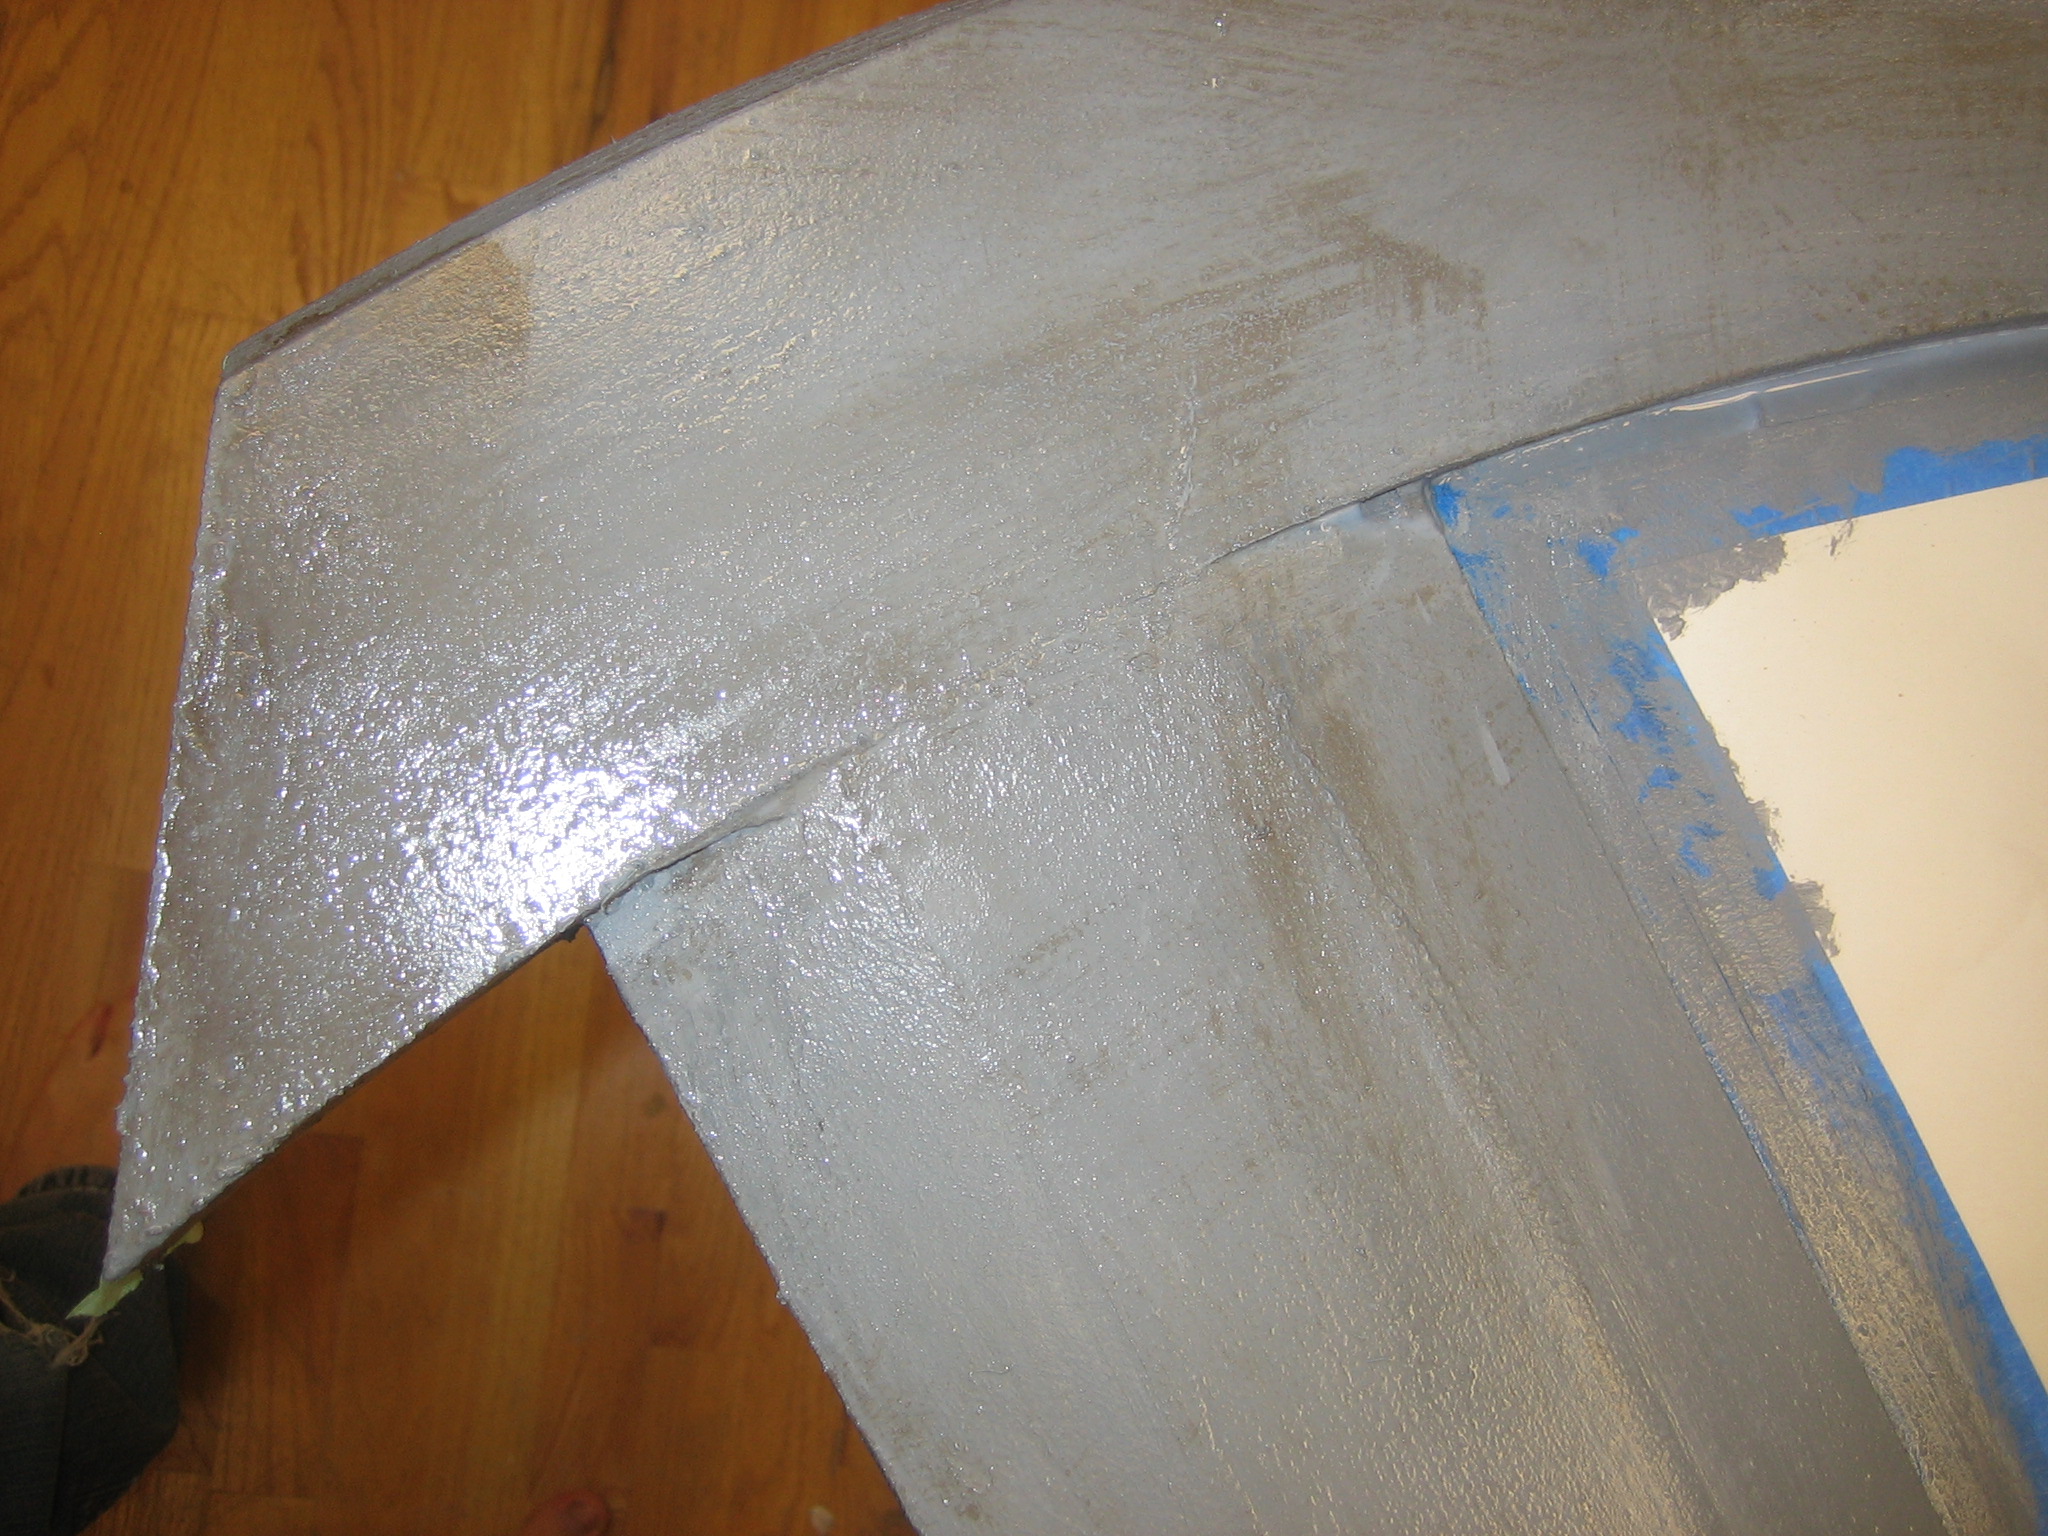
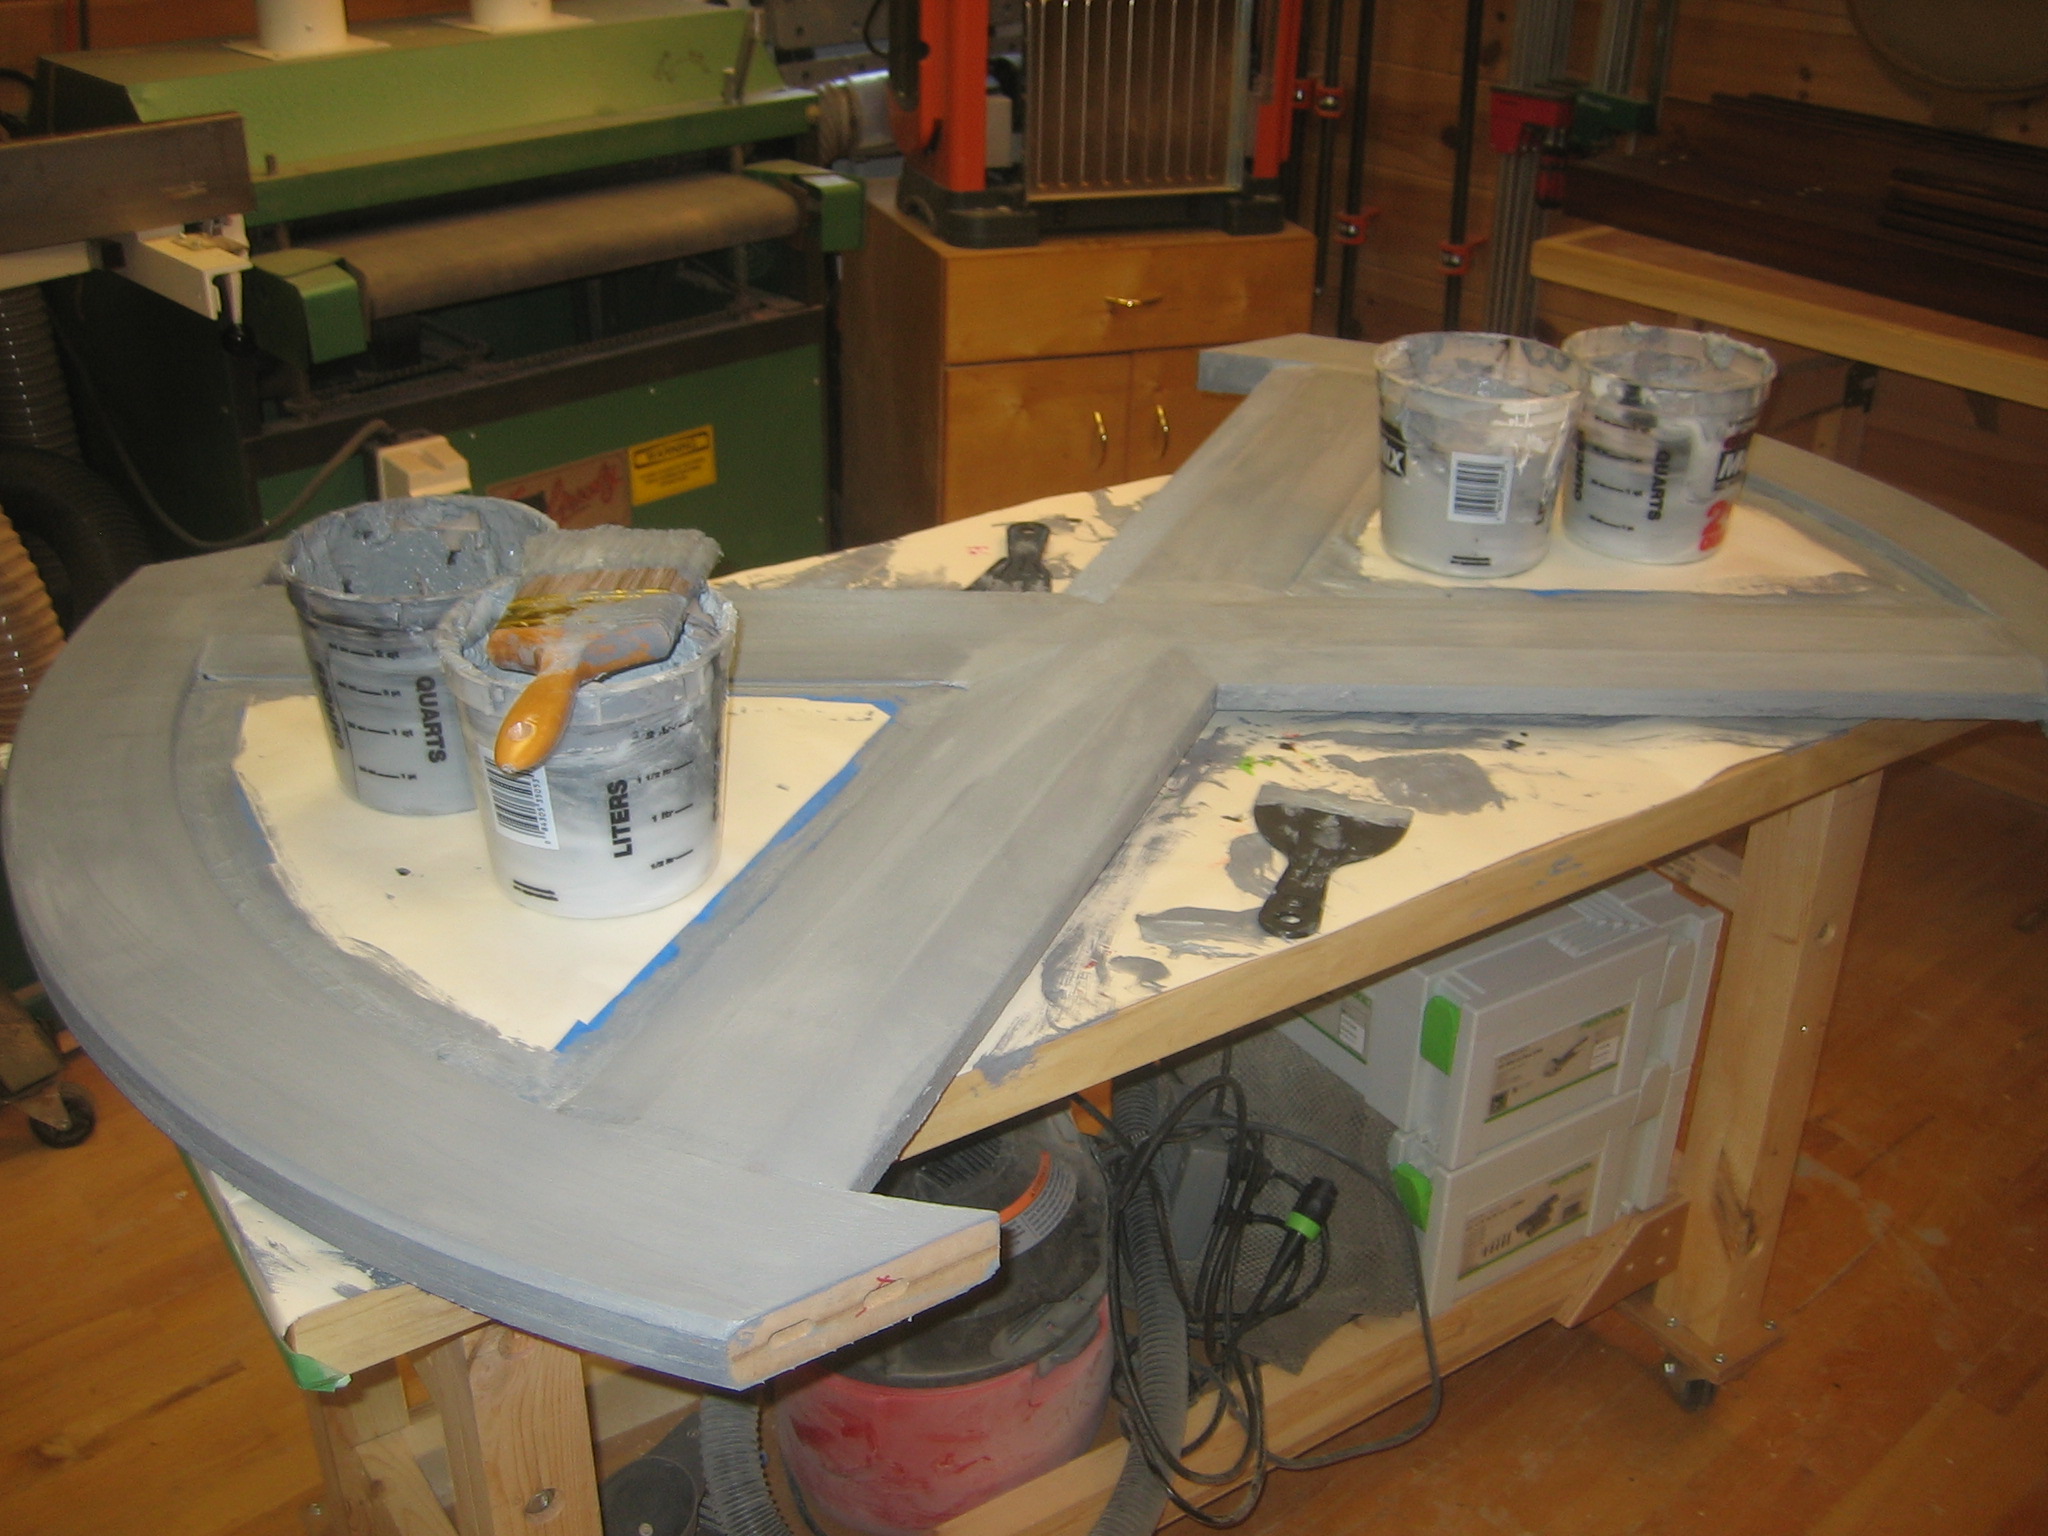
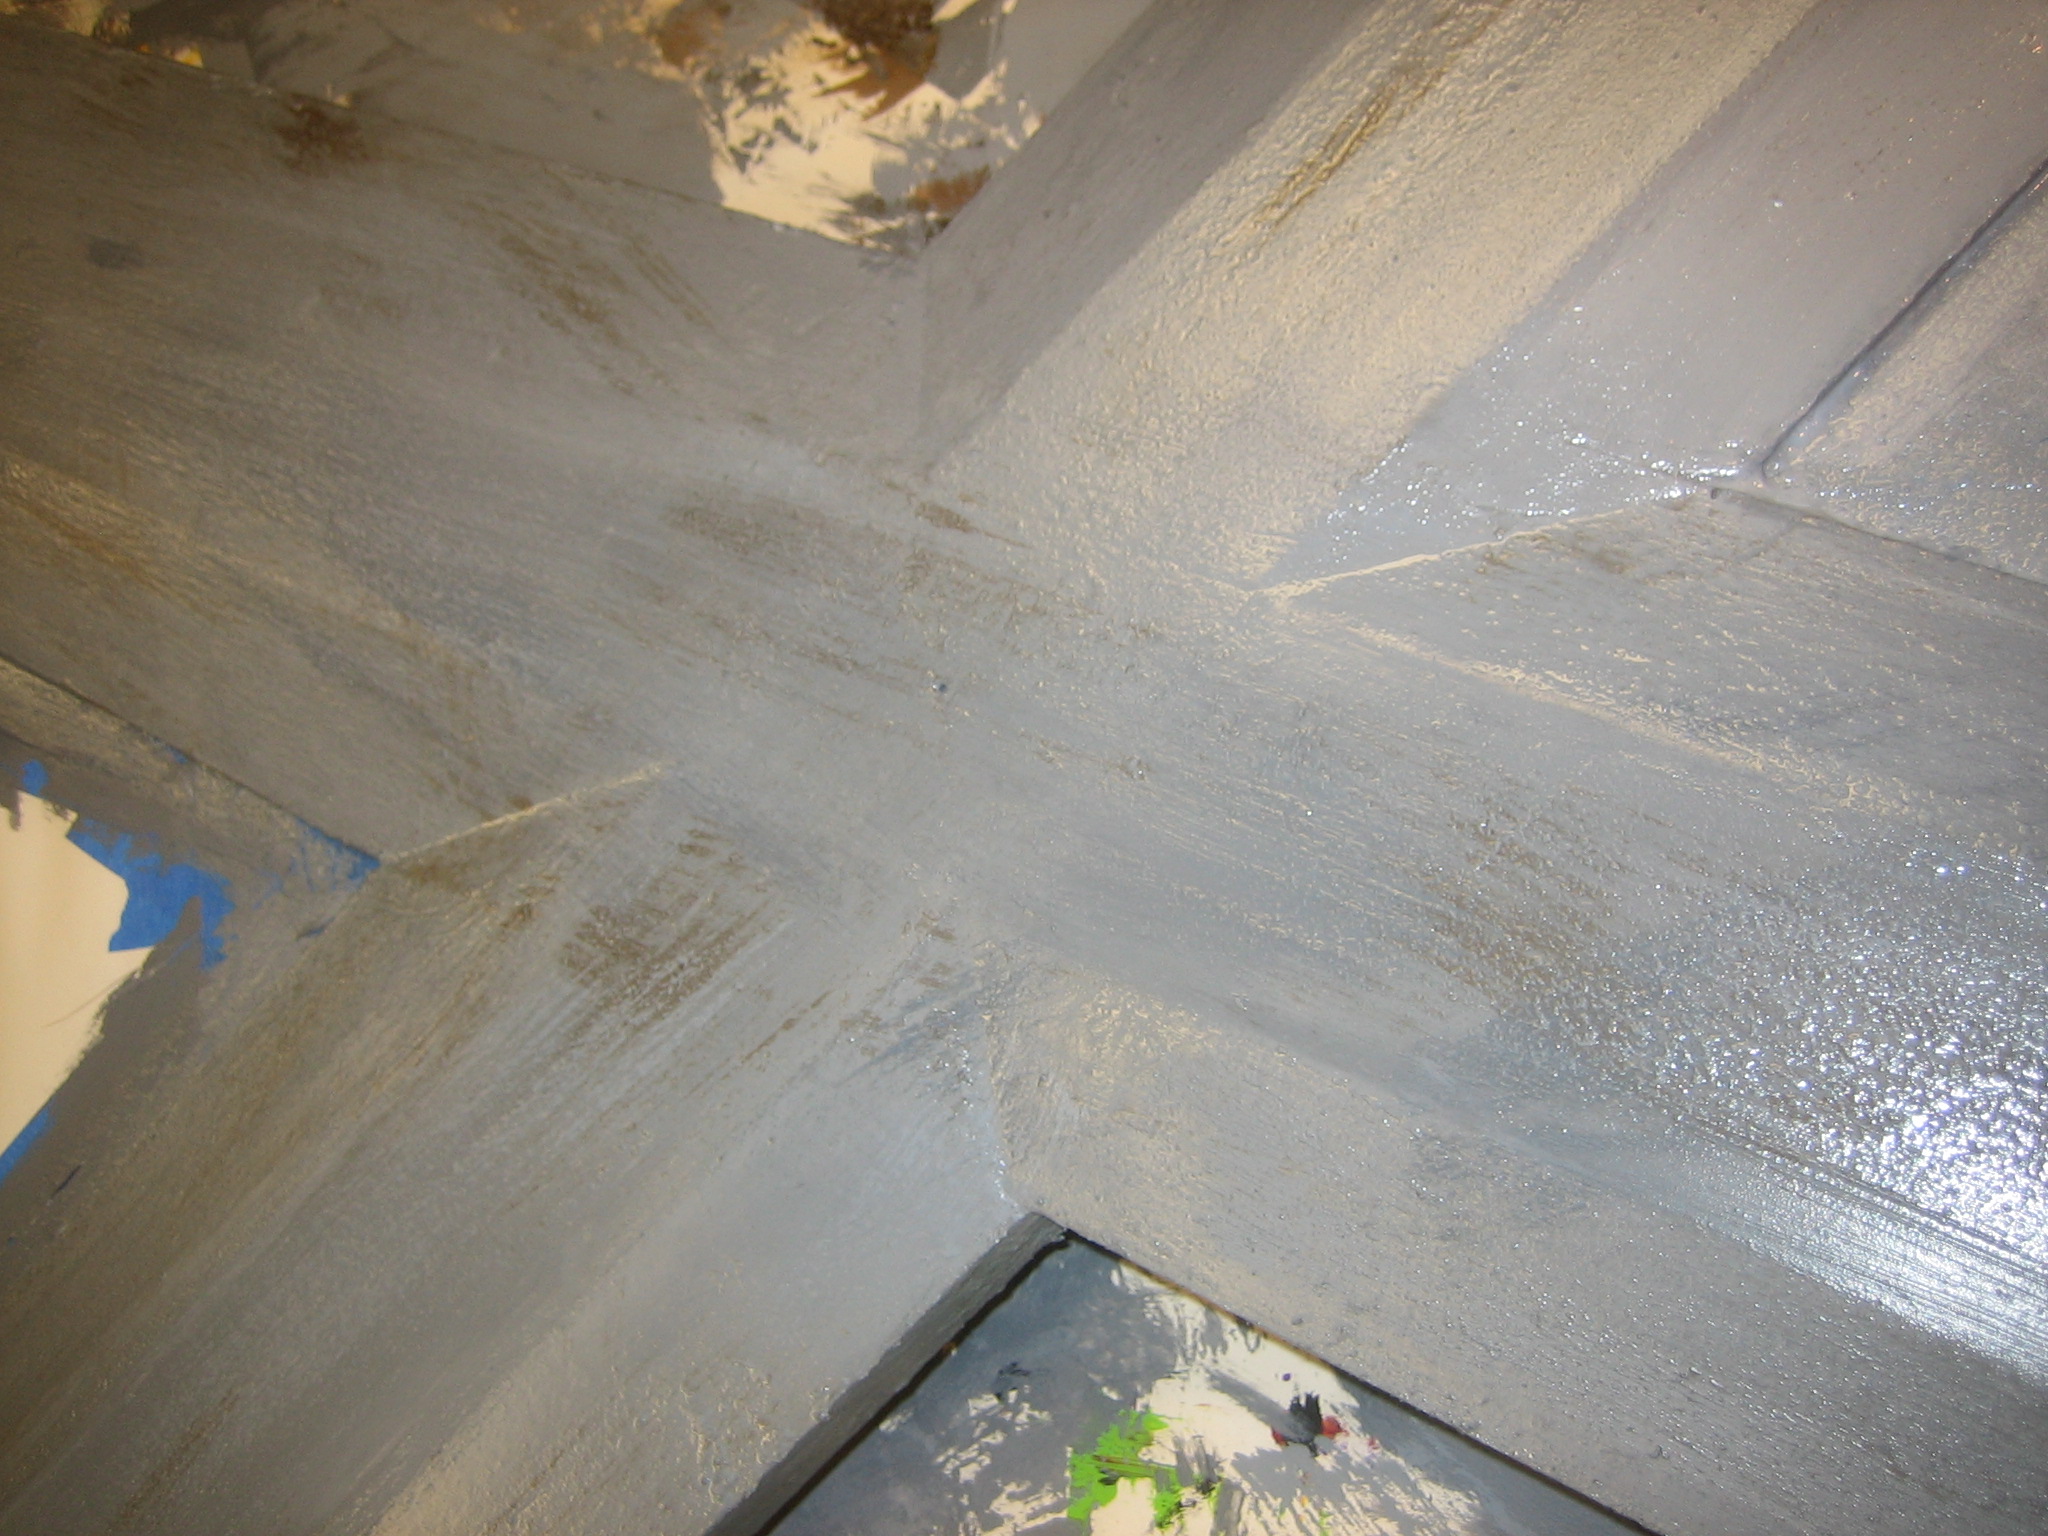
The large “X”s in the panels are designed to mimic concrete. Though I’m no scenic artist, I have a good friend who is. Michael Sprada is an incredible artist (and entrepreneur) and was generous enough to provide me step-by-step instructions for creating a concrete-y finish on the MDF. The first part involves a product I’m very fond of — Jaxsan. This is a water-based rubberized roofing compound we’ve used on many theatrical sets to add realistic textures and finishes to everything from sidewalks to tree trunks. I purchased a 5 gallon pail of the stuff a few years back for a basement project that got scrapped, but now I finally get to use it. The basic process involves mixing up a bunch of batches of the stuff tinted with latex paint to various shades of grey. This is “wet-blended” onto the MDF in random, organic patterns. When this coat drys, we dry brush more gray paint on top, along with some oil-based brown stain. Finally, the entire assembly is given a few coats of a water-based poly finish like Polycrylic.

Tinted Jaxsan

Wet-blended Jaxsan

Dry brushing oil stain

Poly coating the finished "concrete"
Next steps…
Next up is gluing together the ends, assembling the bed and completing the large back “X” cross-brace and the top rails. Once these are complete it’s on to the stairs!
-

- Test assembly without the Circle-X parts

-

- Sean testing his top bunk

-

- Slats in place

-

- Tinted Jaxsan

-

- Wet blending the Jaxsan
-

- Dry brushing oil stain

-

- Wet-blended Jaxsan

-

- Poly coating the finished “concrete”

-

- Mmmmm….organic-y