

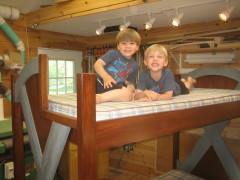
In the last few weeks since my latest post, I’ve made significant progress on the bed. I applied the finish to the poplar parts and glued up the head and foot ends of the bed. At this point I was able to test-assemble the bed and give the kids a chance to take it for a test…er…rest?

The boys give it a test run
Back “X”
The “X” across the back of the piece is very similar to the “X” logos in the ends, minus the top and bottom arcs. It was cut from some lightweight MDF and assembled very much like the ends. One big difference was I didn’t bother to bevel the back edge as that would never be seen, and without the bevel, construction was far easier as it eliminated two of the compound angle intersections.

Fitting the "X" on the back
Jaxsan 600 and Dry Brushing
I used the same basic finishing technique on the back that was used on the ends; Jaxsan 600, dry-brushed with various shades of grey paint, and some brown oil-based stain. I made this one a bit lighter as I noticed the sides dried darker grey than I’d intended. I also added more texture to this one. This process was a blast and I’m thrilled with the results.

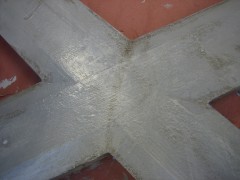
Finishing the back "X"

Distressing the surface

I used both oil- and water-based stains in the dry-brush

From the front
Top Bunk Safety Rails
No bunk bed is complete without safety rails along the top edges. I did turn to the CPSC web site for this one to ensure that I met with the minimal standards. Although this won’t be going up for sale, I figured the rules were (probably/maybe?) based on scientific evidence of some sort. At least they were better than going with my gut. Thankfully the design I’d originally drawn up appears to work just fine.
The rails were built from bent and cut 1″ EMT conduit. I first attempted bending them with a ($80!) bending tool. The problem was the resulting curves were far too gentle and the look was wrong. I’d originally considered using square tube steel, but I’d need to buy a wire-feed welder and either rent a power miter or outfit my DeWalt with a grinding disc and un-mount it from the wooden walls/counter to avoid the sparks. Instead, I built a form and manually bent the pipes around it. Though this results in crushing the pipe at the bends, they actually came out really well I think. A couple coats of Rust-Oleam silver metalic paint + primer and they were ready!

EMT railings bent, cut, and test fit

Our new wind chimes or painting the front safety rails?

Painted rails in place

Just need to build the stairs!
Just about complete…just need to build the stairs!
-

- The boys give it a test run
-
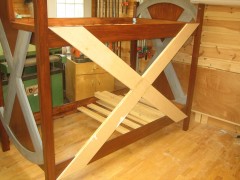
- Fitting the “X” on the back
-

- Finishing the back “X”
-
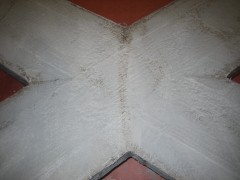
- Distressing the surface

-
- Covered with Poly
-

- From the front
-
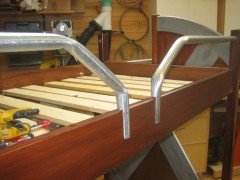
- EMT railings bent, cut, and test fit
-
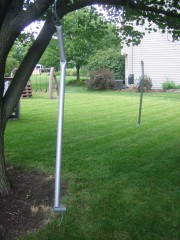
- Our new wind chimes (or painting the front safety rails)
-

- Painted rails in place
-
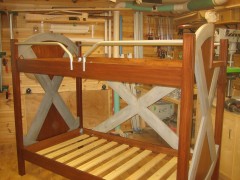
- Just need to build the stairs!