Although I’m rather anxious to make progress on the acoustic guitar project, the recent departure of a close family friend caused me to shift gears briefly to build them a going away present. During the glue-up process, I was frustrated by the lack of suitable bench space. My old glue up table was a $50 IKEA pine piece that bit the dust some time ago…and I hadn’t yet gotten around to replacing it. From the start of the shop design process I had envisioned a mobile assembly/work bench that could tuck under the counter when not needed. I decided that before getting back to the guitars, I needed to make some long overdue shop improvements, starting with this new assembly bench.
Out with the old
I bought my current Sears Craftsman table saw during a floor-model sale some time ago. Because of a minor mix-up during pickup, the manager had offered a “make good” deal on a few other floor models, marking them down even further. For some reason (probably NYW), I’d always wanted a radial arm saw. And the price was hard to pass up, so I brought it home along with the table saw. Ultimately, after a number of attempts at setting this thing up, I was never happy with it. There was clearly something off with the lift mechanism in the main column. After years of literally collecting dust and taking up valuable workspace, I figured it was time to throw in the towel on this tool and make better use of my limited resources.
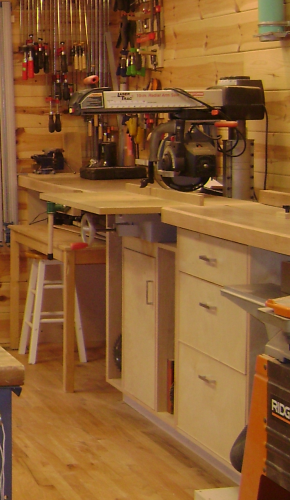
The radial arm saw (and old IKEA table in the background)
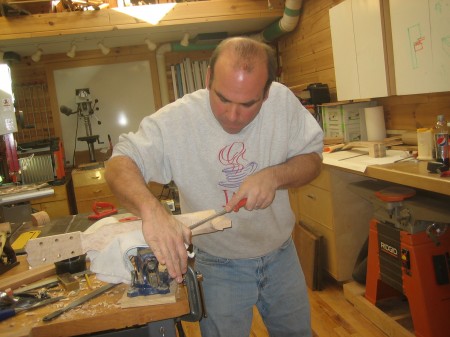
You can see the white board with drill press cabinet in the background
Better use
Last year I’d picked up an inexpensive 16″ scroll saw for doing intarsia and inlay work. This $100 saw has already seen far more use than the radial arm saw and was sorely in need of a permanent home. The hole was plenty big enough to fit both this saw and my benchtop drill press that has been mounted to a rolling cabinet for years. So I moved the DP and scroll saw to their new home, removed the casters from the old rolling cabinet, and slid it underneath my main workbench to use as hand tool storage. I’m loving this new arrangement.
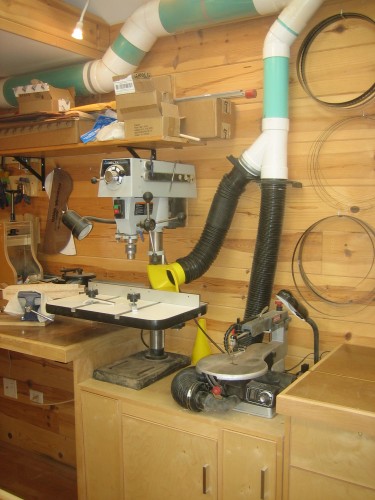
Drill press and scrollsaw mounted and hooked up to dust collection
Two new benches
Removing the DP cart freed up signficant wall space in the back of the shop where I had a large white board hanging. Because it was previously behind the drill press (and portable planer), this white board saw somewhat limited use. Shortly before the Woodcraft photo shoot, I had built some storage cabinets faced with white boards, which have turned out to be incredibly useful. Consequently I no longer need dedicate so much extra wall space for a white board. I figured this would be a fine place for another bench. However, it would need to collapse to free up the floor space for larger assemblies. Now that I had a plan, it was time to design the benches and put ’em together!
Doors and 2×4’s
I considered building the new benches out of laminated Ash or Maple. Ultimately I decided this would take far too long and cost a bit too much. I needed something that I could put together relatively quickly that would provide a flat, heavy, solid work surface and hold up to years of abuse. I recalled reading some reports of woodworkers using doors for work tables. This seemed like a great idea. Because I would need to cut it down to something well under 30″ x 80″, and because I want to be able to clamp things securely on the surface, I would need to use solid core doors. I found a couple in stock at the big blue store where, over the phone, an employee was willing to sell me the worst two he could find in stock as “scratch and dent,” at a reasonable discount. So I quickly picked up a couple doors and a handful of the best 2×4’s I could find and set out to turn them into a couple work tables.
Mobile Workbench
Because I needed to cut the doors down to roughly 56″ x 26″, the raw edges required banding. The “stuffing” was a kind of particle board, though lighter and less cohesive than the stuff I’m accustomed to working with. I’m guessing there’s a special name for it but I just don’t know what it is. In any case, it clearly wouldn’t suffice to simply glue some hardwood edges to the stuff. Biscuits wouldn’t cut it either — they were far too small. This is where my Festool Domino came in handy — I was quickly able to insert some 10mm x 50mm dominos in the raw edges to join with some 1″ poplar edging. Worked like a charm and should hold for as long as the tables are in service.
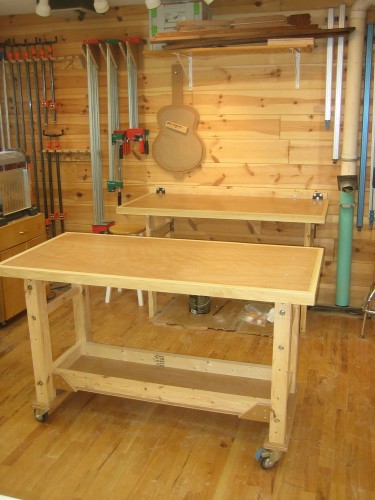
The new benches may be used individually or ganged together
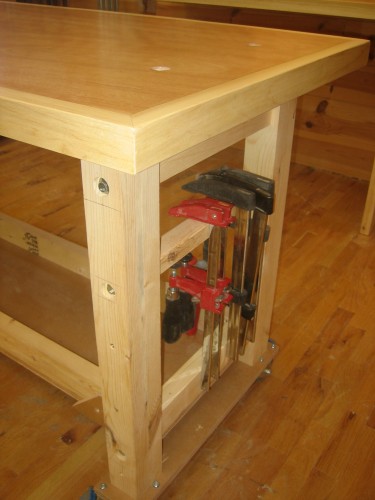
Spot for small F-clamps during glue-ups
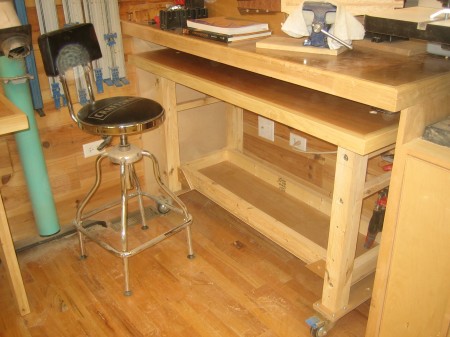
Mobile bench tucks under existing counter
Collapsible Workbench
The collapsible bench on the back wall is identical in size and height to the mobile version. It is held up by two swing out 2×4 legs that fold in flat to the wall, allowing the bench top to drop down on a couple heavy-duty hinges. One of the most interesting things about this back bench is the door was skinned with a piece of curly luan. In my theater days we used luan for building basic flats. I don’t ever recall seeing any with curly grain, though I suppose I probably never noticed as we typically painted over them with latex instead of clear poly. So this was a real treat and makes for a rather interesting-looking work bench.
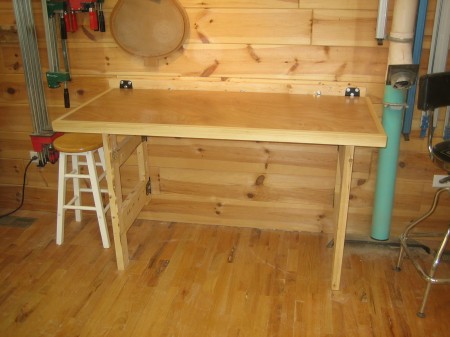
New collapsible work surface
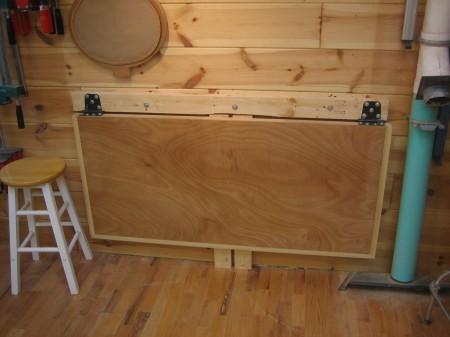
Folds flat to the wall for storage
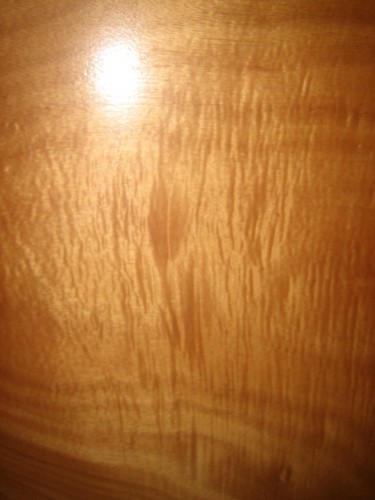
Curly Luan
Future expansion…
I was initially planning on building a new clamp rack (you can never have enough clamp racks!) to fill the space above the collapsible bench, however while taking these pictures a new thought occurred to me. Because this back wall is also an outside wall, I’m currently considering cutting a hole in it and installing a vent fan to make this area into a pop-up spray booth. I’ve been setting up a temporary booth in the garage when needed, however it is a cumbersome, time-consuming process that I can only do in the warmer months. I could collapse the table for large items or install a lazy susan on it for smaller pieces. Now I just need to read up on the proper way to put one together!

