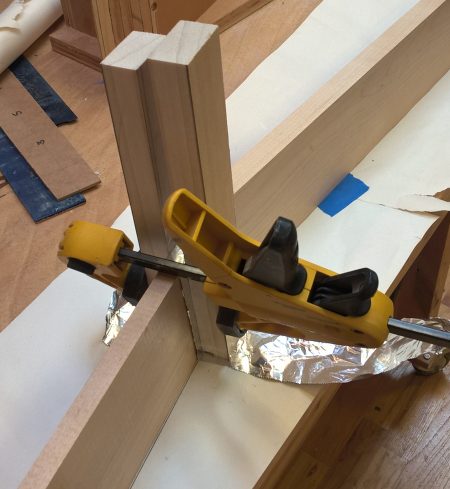
Gluing the scarf joint
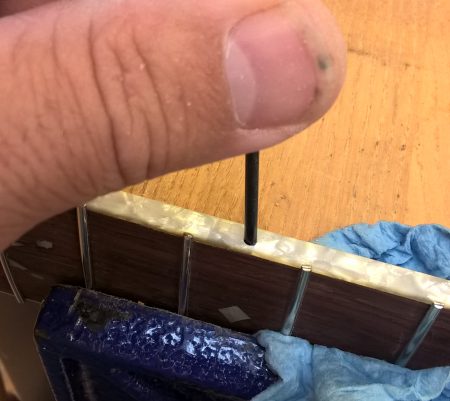
Installing the side dots
Side dots installed
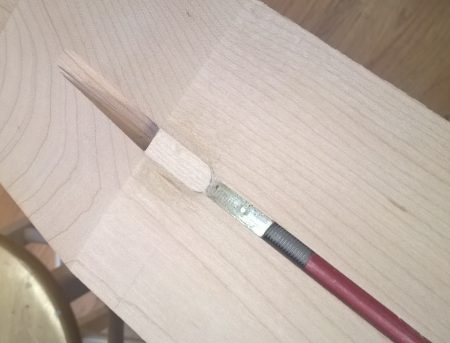
Truss rod installed
Gluing on the headstock veneer
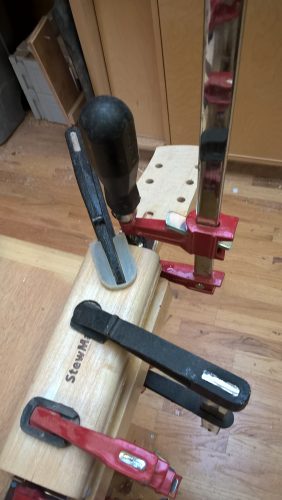
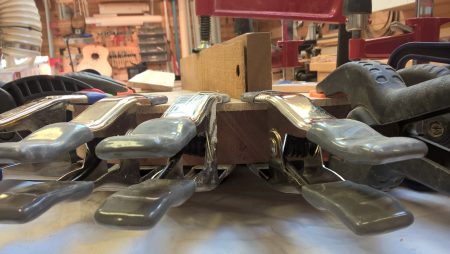
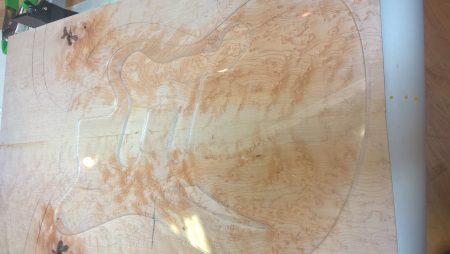
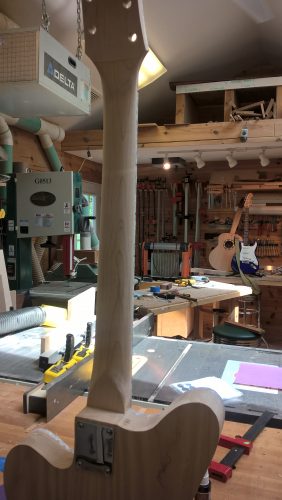
Gluing on the fretboard
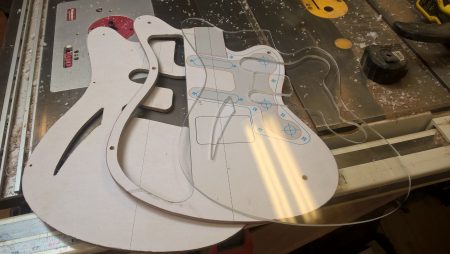
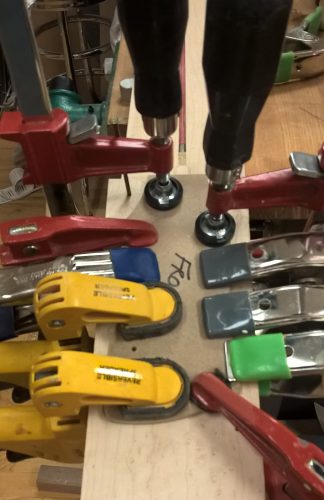
Aligning the neck with a laser before routing the pocket
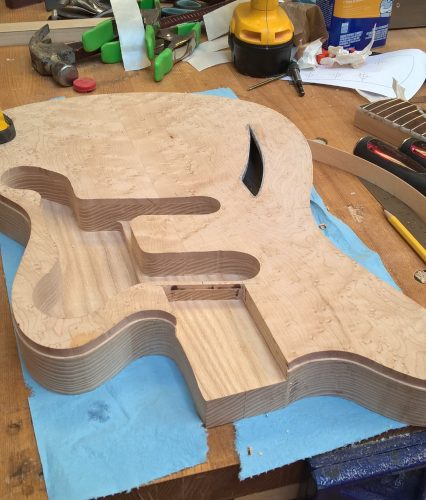
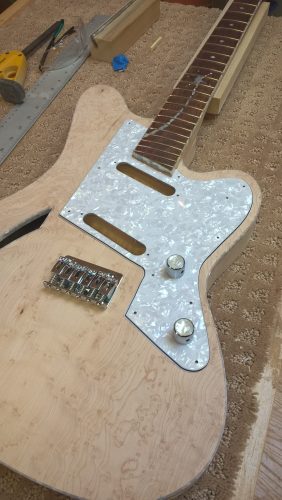
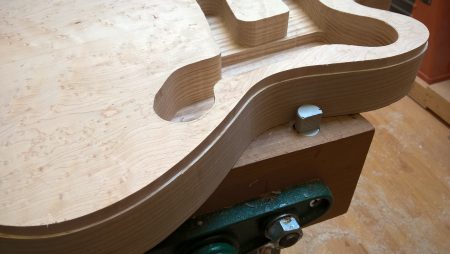
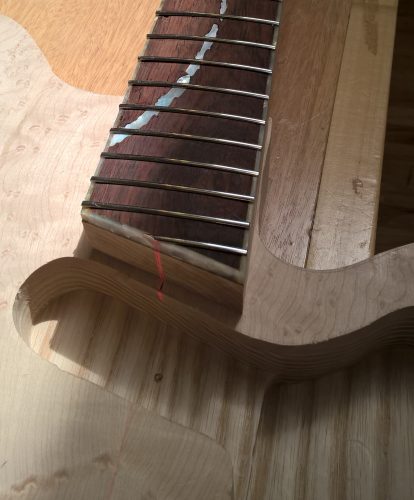
Neck pocket routed and corners cleaned up
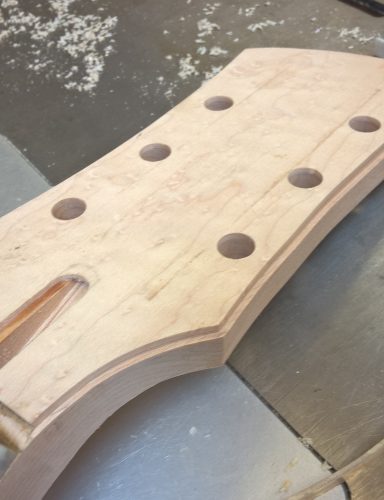
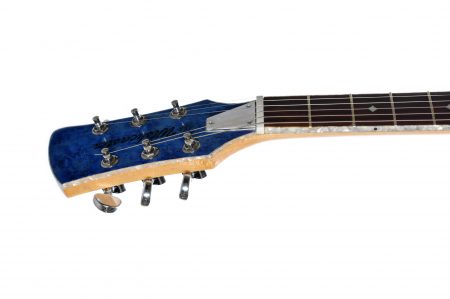
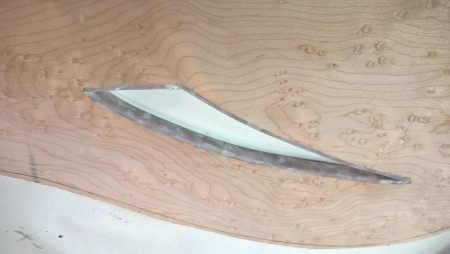
Binding ledge cut in headstock
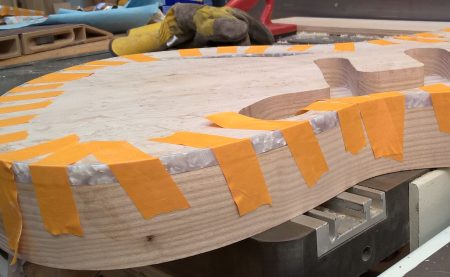
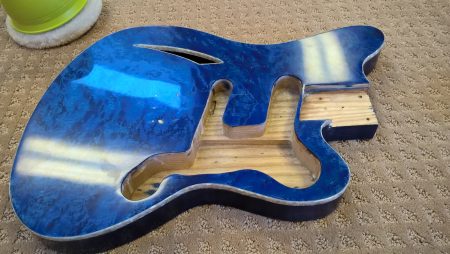
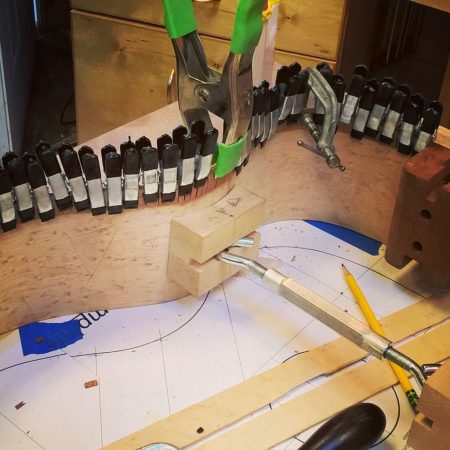
Binding the body
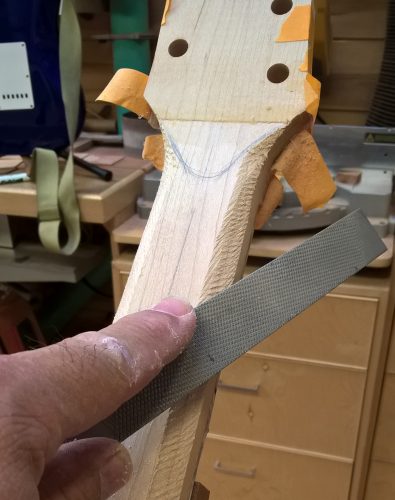
Carving of the neck begins
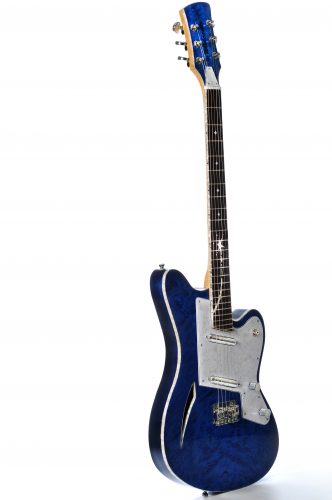
Finished neck profile
After a couple weeks away, I was finally able to spend a weekend in the shop.
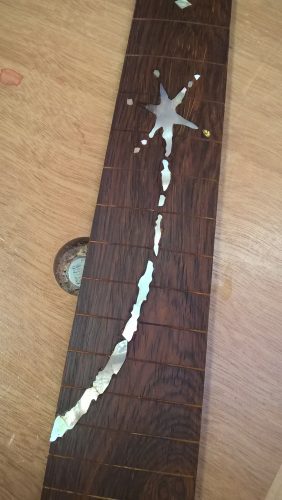
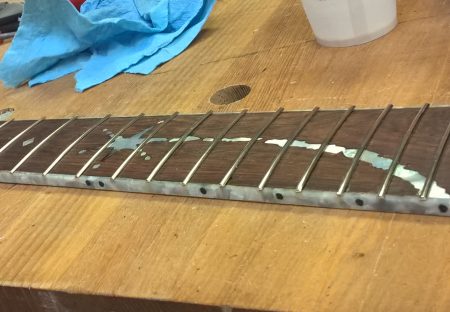
Returning to the fretboard, I gave it a bit of thought and ultimately decided rather than try and fix the bad frets (there were probably 8-10) and paint the fretboard with CA (see the previous post), I would basically pull most of them and redo the work.
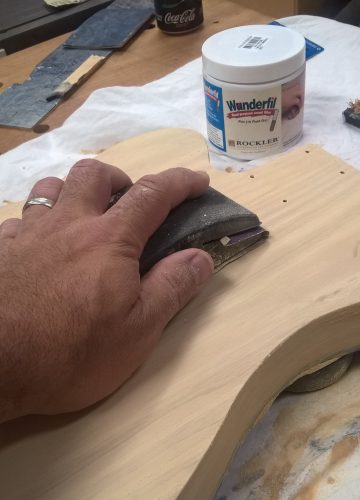
This allowed me to scrape back the glue-stained areas until clean. I also discovered that the reason I had so much trouble the first time is simply that the fretwire wasn’t bent enough. I hadn’t thought it critical that the wire radius match the fretboard perfectly. However, when I decreased the radius of the wire (by increasing the bend), the frets slotted perfectly without gaps at the ends. My guess is that matching the bend becomes more critical on bound fretboards where the tang on the ends is cut away to clear the binding.
In any case, the refret job left me with a much nicer fretboard with properly-seated frets and a nice, clean surface.
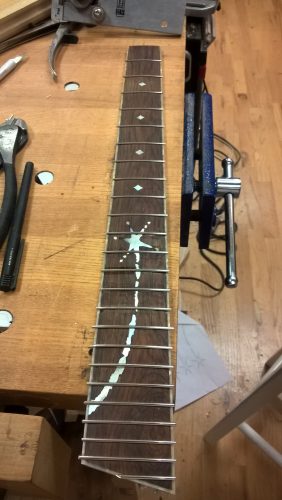
Using a 3/32″ bit, holes were drilled in the fretboard for the side dots. These were “glued” in by dipping the plastic stick in acetone, which acts as a solvent for the material, and then pushing it into the hole. I scraped the side, leaving a clean, flush black dot in the appropriate fret positions.
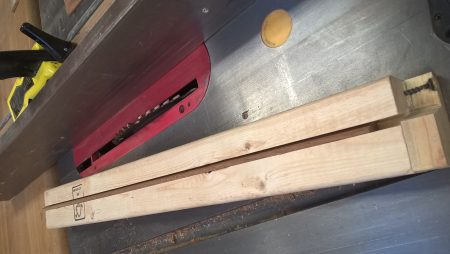
the Headstock Scarf Joint
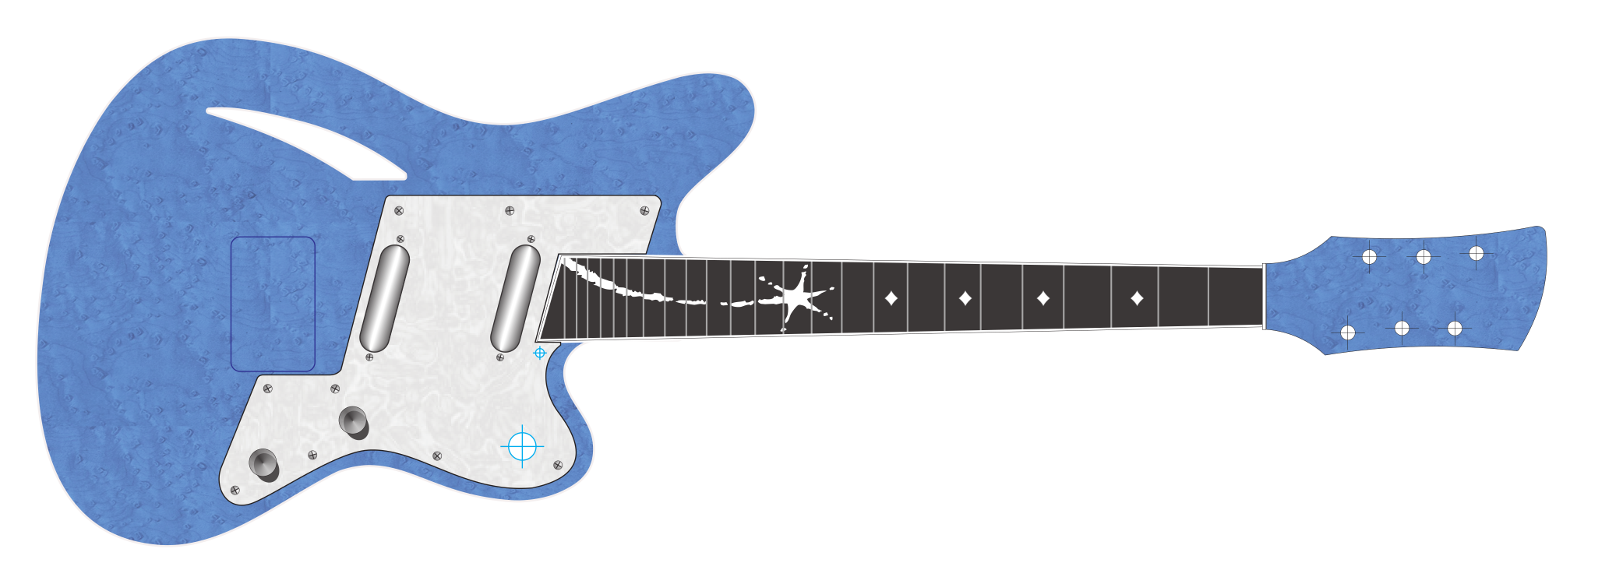
The original Charvel Surfcasters featured an angled “Gibson-style” headstock. I’ve worked with both angled and straight and much prefer this style. Though Fender’s single-piece neck is easier to construct, I dislike the need for string trees and I wanted to match the original Charvel for this build as well.
Though I’d yet to finish a neck build (the last two electrics I built featured mass-produced necks), I have started several acoustic necks. These were made with scarf-jointed headstocks.
Consequently, I’d already built a jig for the band saw to help make this angled cut. It was just a matter of dusting the jig off and putting it to use. The band saw left a rough, hollow cut, which is to be expected. A bit of sanding and scraping was all that was needed to true this up before gluing the neck together.
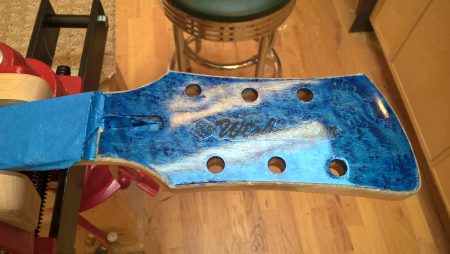
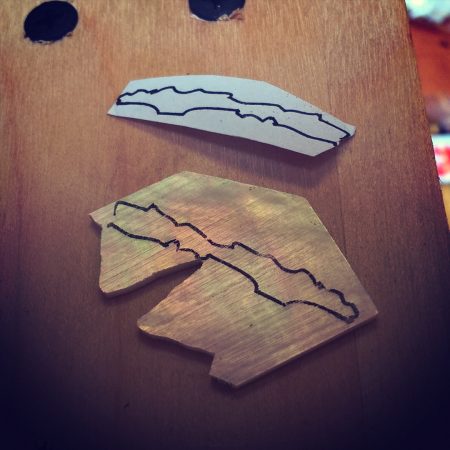
The headstock veneer was cut from a piece of birdseye Maple left over from the body cap. This was first angled at the nut side to match the headstock angle, and then glued into place using nails to ensure it didn’t wander under the clamps. I cut a template from MDF and used it to mark the headstock. I used a nail set to punch an indent to mark the tuner hole locations and help align/guide the drill bit. These were drilled out and the headstock and neck were cut just oversize on the bandsaw. Fearing tear out in the end grain side, I opted to sand the headstock to final size rather than using a pattern-routing bit on the router table.
Now it was time to glue the fretboard into place. I used an old plastic Gibson-size nut as a spacer to help position the fretboard. Then using a trick I picked up online, I covered the truss rod with a piece of 3/4″ wide masking tape before applying glue to the neck. This is removed just before the fretboard is clamped in place and prevents the glue from immobilizing the truss rod, rendering it useless. The radius sanding board was used as a clamping caul to maintain even pressure and ensure a good tight joint.
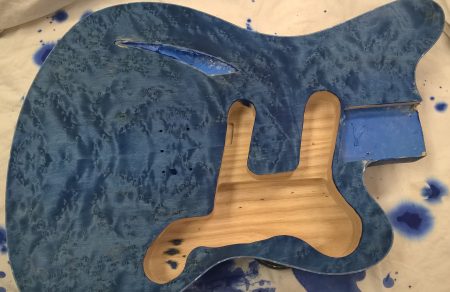
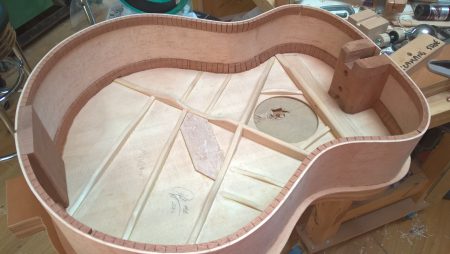
Once the glue dried, and while the neck was still a rectangular block, I used it to mark out the neck pocket on the body. A laser level was used to line up the neck with the body center line, ensuring this line passed through the center of the nut. I then clamped the neck and body in proper alignment and blocked out the neck with boards on either side and the end of the neck blank. Once these were in position, the neck was removed leaving the boards in place as a neck pocket template. With this setup I was able to route a 5/8″ deep pocket exactly matching the neck.
I tried using masking tape on the sides of the boards where the router bit bearing rode to ensure the hole was a hair undersized. Unfortunately, the router bit wound up tearing this tape up (guess I needed to keep the tape at bearing depth and above). I used a chisel to clean up the corners, which for this neck are anglular and not rounded as the bit had left them. Because the tape trick proved ineffective, the pocket was slightly too big and the neck fit rather loosely. To fix this, I ironed on a strip of edge banding to the inside side of the pocket. This worked brilliantly and the neck was now snug.
Binding
I’d cut the binding rabbet in the body a few weeks ago. I used the router table to route the ledge in the headstock and proceeded to bind the headstock first. The Stewmac “Bind All” adhesive works reasonably well, but it sure is messy!
Using the heat gun to help bend the plastic binding I was able to complete the job, covering my fingers with cement in the process. I repeated the procedure on the body and set it aside to cure for at least 12 hours before scraping it flush to the top.
Carving the Neck
Now I was finally at the bit I was most anxious about: hand carving the neck. I’d successfully carved a scroll for a dulcimer peghead, and the contours on an SG-style guitar for my first build. But neither of these impacted the instrument’s actual performance. The neck was entirely different. The neck is the primary interface with the player and one of the first things most players will notice and comment upon after picking up the instrument. It seemed a daunting task to carve this with sufficient precision and with an appropriate feel. But, it was next and it certainly wasn’t going to carve itself – so I dug in.
I first drew a straight line down the center of the back of the neck to act as a reference. I also freehanded some lines near the head and tail to mark the transition points and took some measurements and traced the profile of my favorite neck (my Ovation acoustic).
With my Fender Squier Strat sitting on a stand within eyeshot to act as a reference, I began carving, alternating between a rasp and a Stanley Sureform tool. It took a bit to get the neck clamped reasonably securely. I definitely need to invest in or devise a better clamping jig. The rasp worked a bit faster but also tended to chew up the wood. The sureform made smooth or rough cuts depending on how I used it, in what direction in relation to the grain it was pushed.
I started working my way from the edges toward the center. Once the edges were curved to meet the fretboard, I began working toward the still flat center. About a third of the way through I stopped using the rasp, preferring the cut and control of the sureform.
Once the top 2/3rds was reasonably close, I flipped the neck around and carved down to the tail end, blending it toward the center. As I neared what seemed like a final profile, I began testing it out repeatedly. I would first chord the Stratocaster, then move to the carved neck to compare the feel. At some point I decided it was “good” and that I should be done. However, I wasn’t completely convinced it was perfectly to my liking. It was certainly acceptable and I began to fear going too far and ruining the neck with a careless move.
I brought the guitar into the music room and compared it to my other guitars. It certainly was slinkier than my Epiphone Wildkat. But the Wildkat can be a bit tiring to play for an extended period. It compared favorably to my old Les Paul copy as well, though I wasn’t certain it was any better or even necessarily as good.
I decided to take a break from carving and instead align and attach the neck to the body. Before I could do that, the binding, now cured, needed to be flushed.
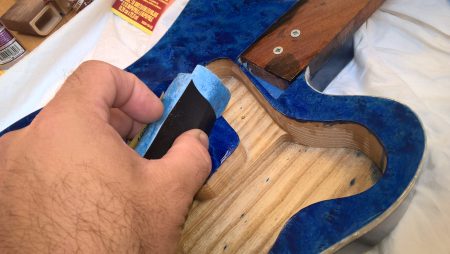
For the body this was fairly easy as the binding was only slightly proud of the top and sides. A card scraper made quick work of it. The headstock was a different story as I had intentionally routed a much shallower ledge to more closely match the binding on the side of the 1/4″ thick fingerboard. I decided to use an X-acto knife to first trim back the plastic binding a bit before scraping.
Unfortunately, I also ignored the voice in my head that said never to cut towards yourself! The blade slipped and while the cut across my thumb didn’t hurt too much, I donated a significant amount of blood to the headstock. Thankfully this cleaned up with a bit of sanding — after sitting down for 5 minutes to apply pressure to the cut. At least now I can truthfully say I literally put my sweat and blood into this build.
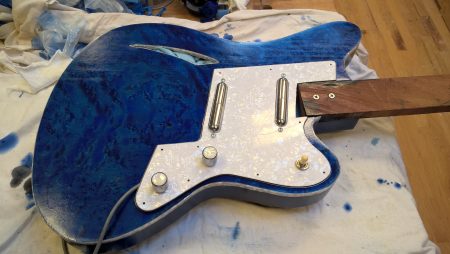
Once the binding was flush, I turned back to joining the neck with the body. They aligned quite easily and I found having the neck attached to the body provided the extra support I was missing on my first round of carving.
Ultimately I decided I was going to continue to work on carving the neck until I was certain it was, if not perfect, something I’d want to play routinely. At this point I switched to my scrapers. With these I was able to achieve a smooth finish and a final profile that feels and looks like it came from a factory. It is quite comfortable to fret from top to bottom.
It was a lot of work, but it wasn’t as bad as I feared and I’m quite proud of the results. I’ll just have to wait and see what my guitar-playing friends have to say after trying it out for the first time!